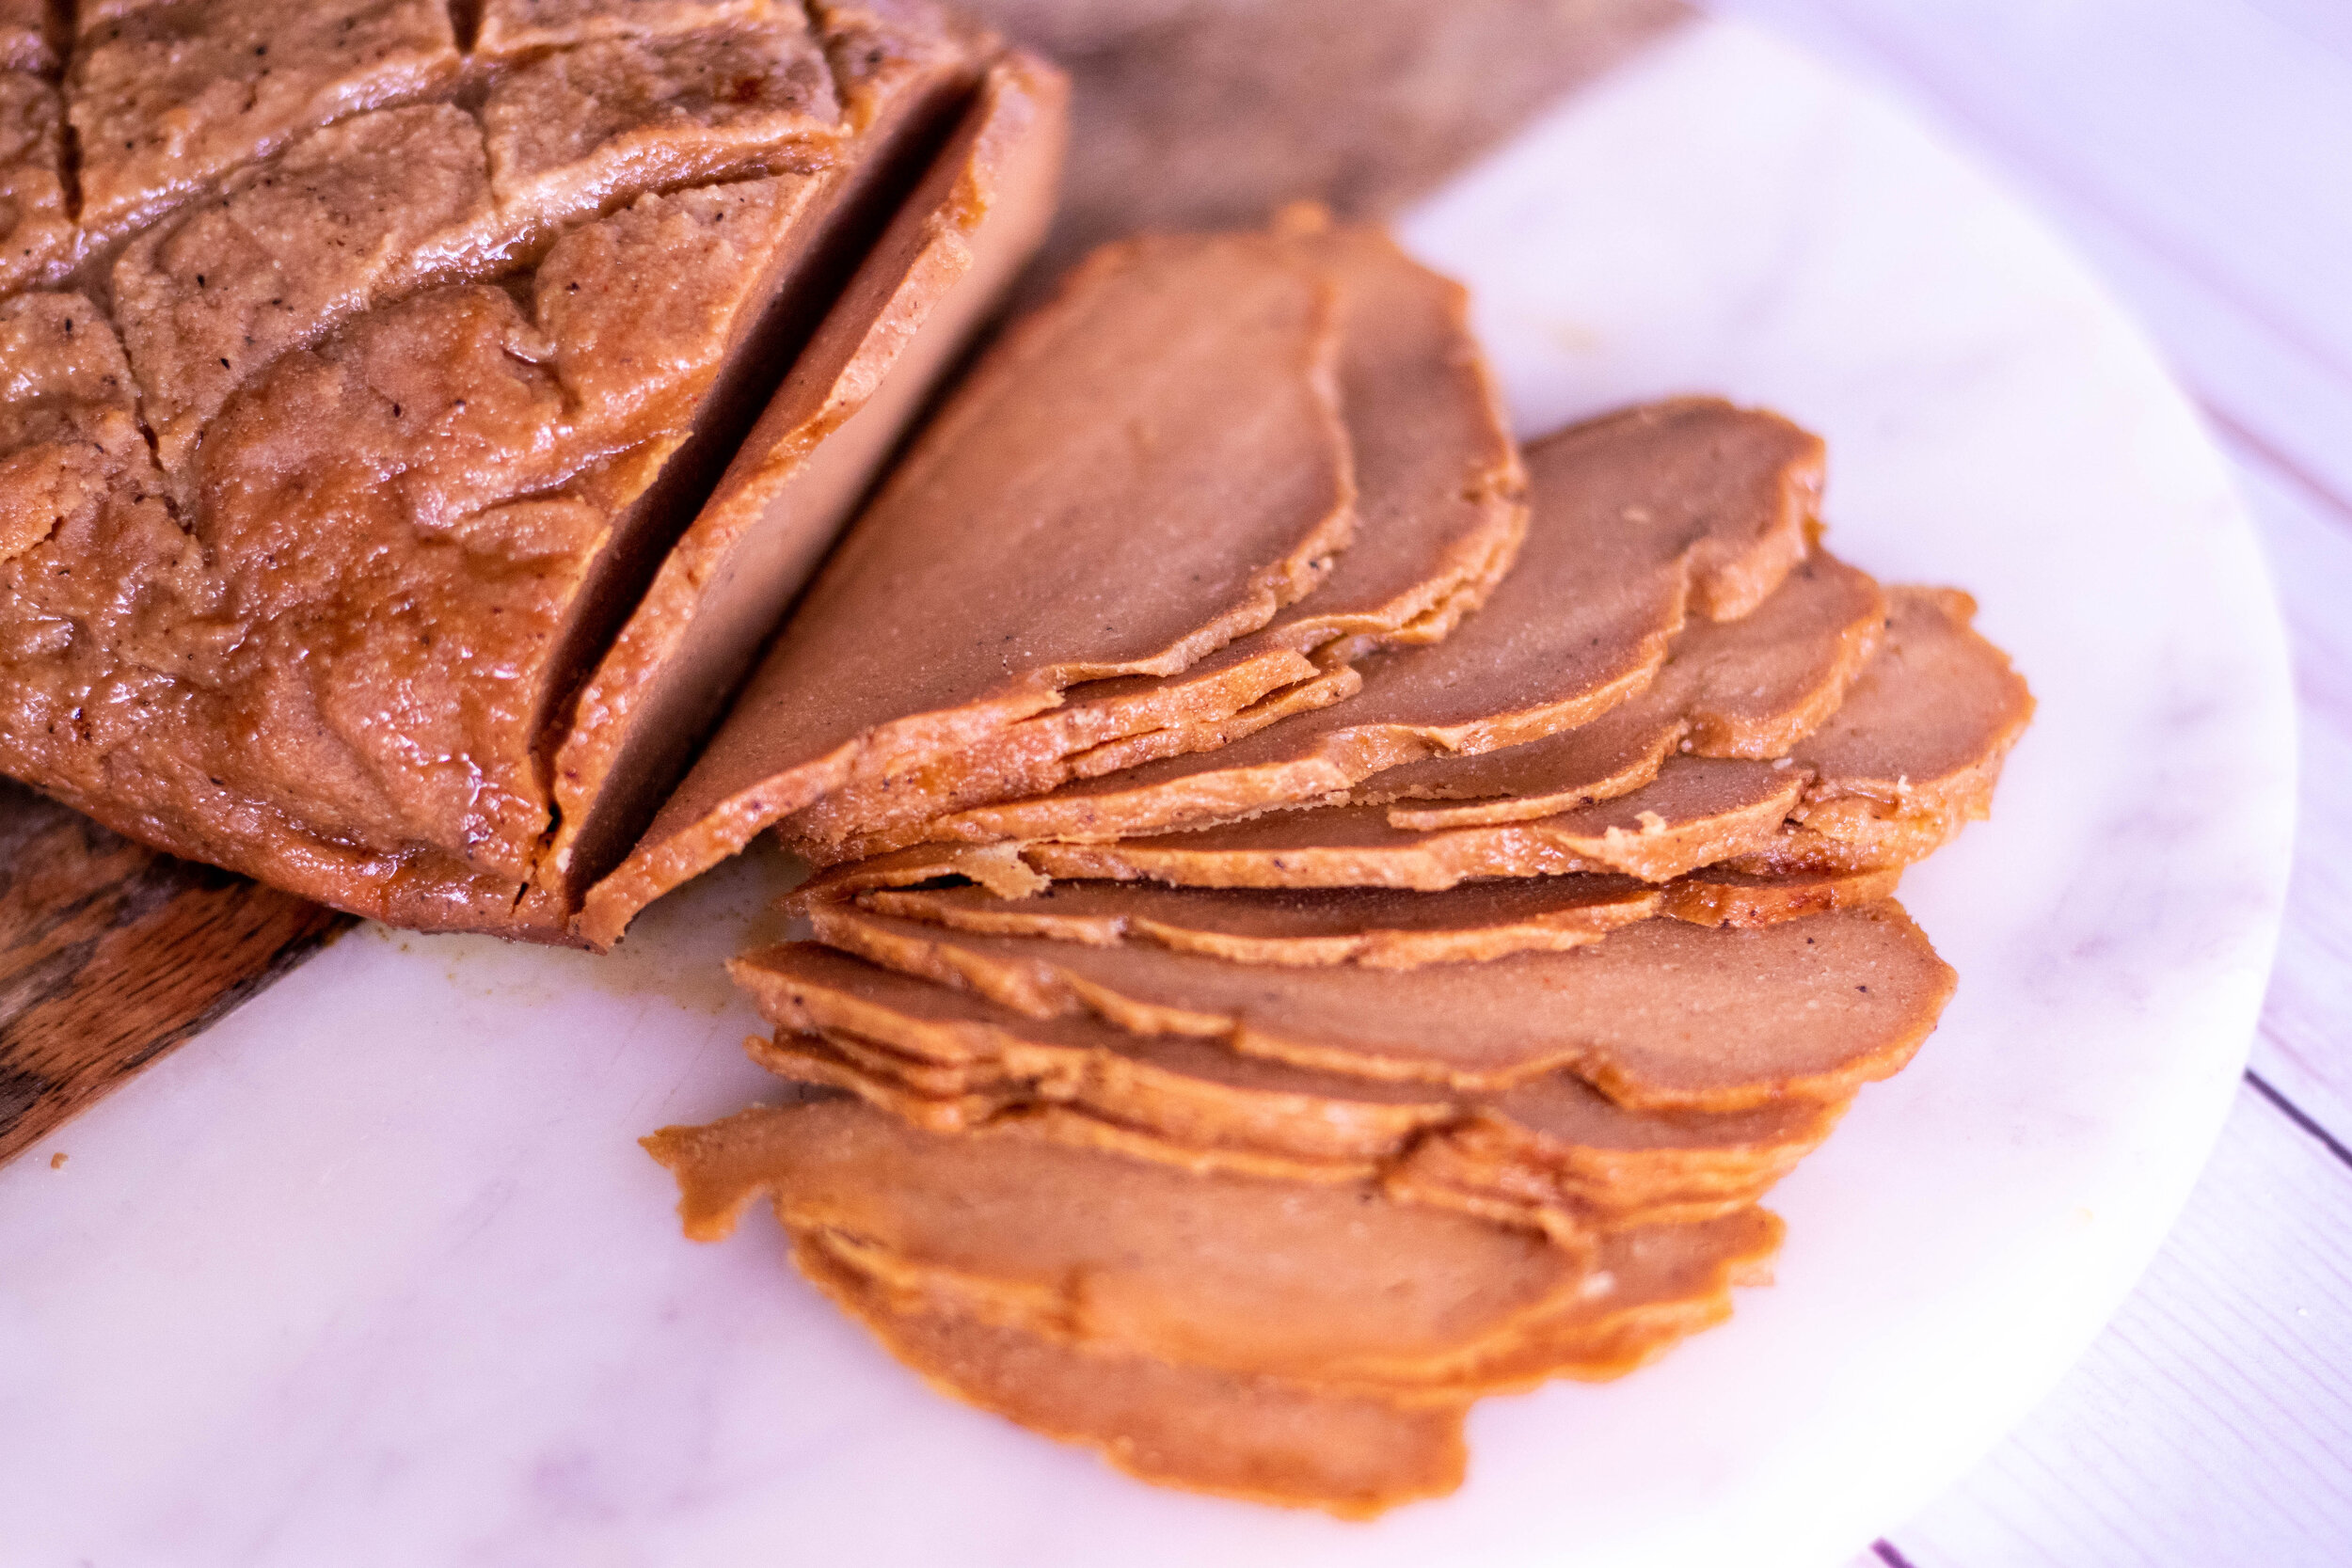
beef

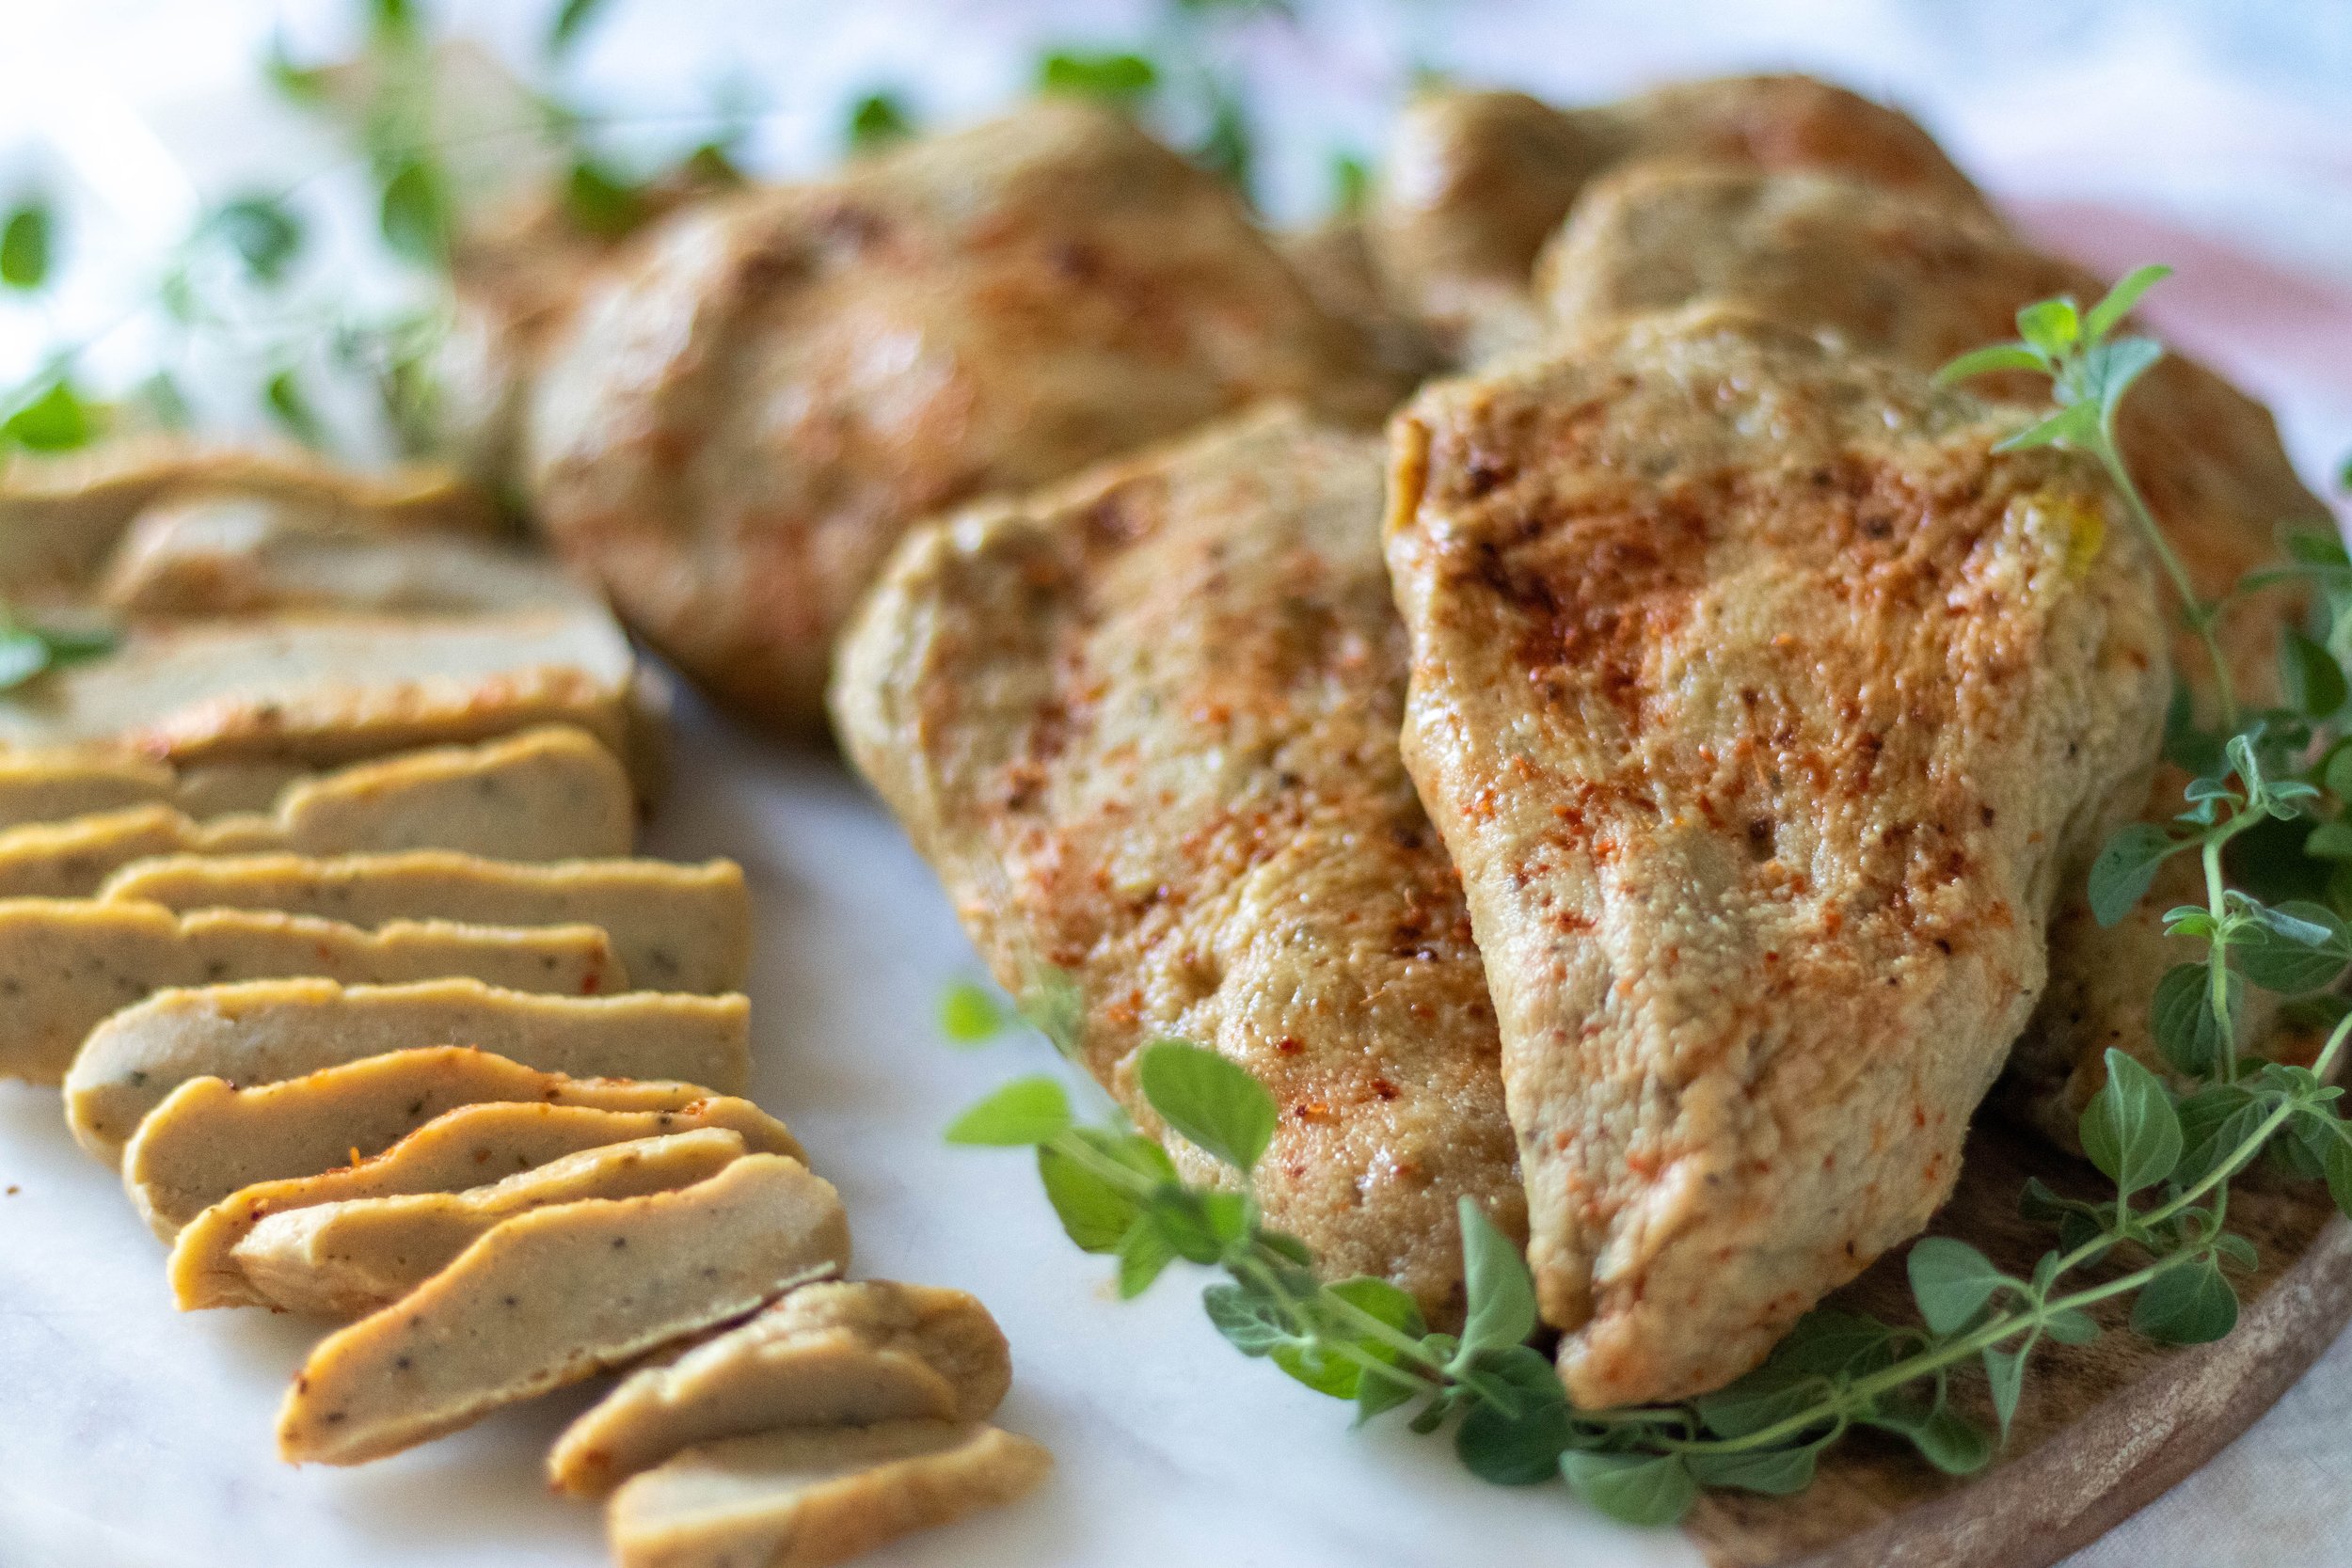
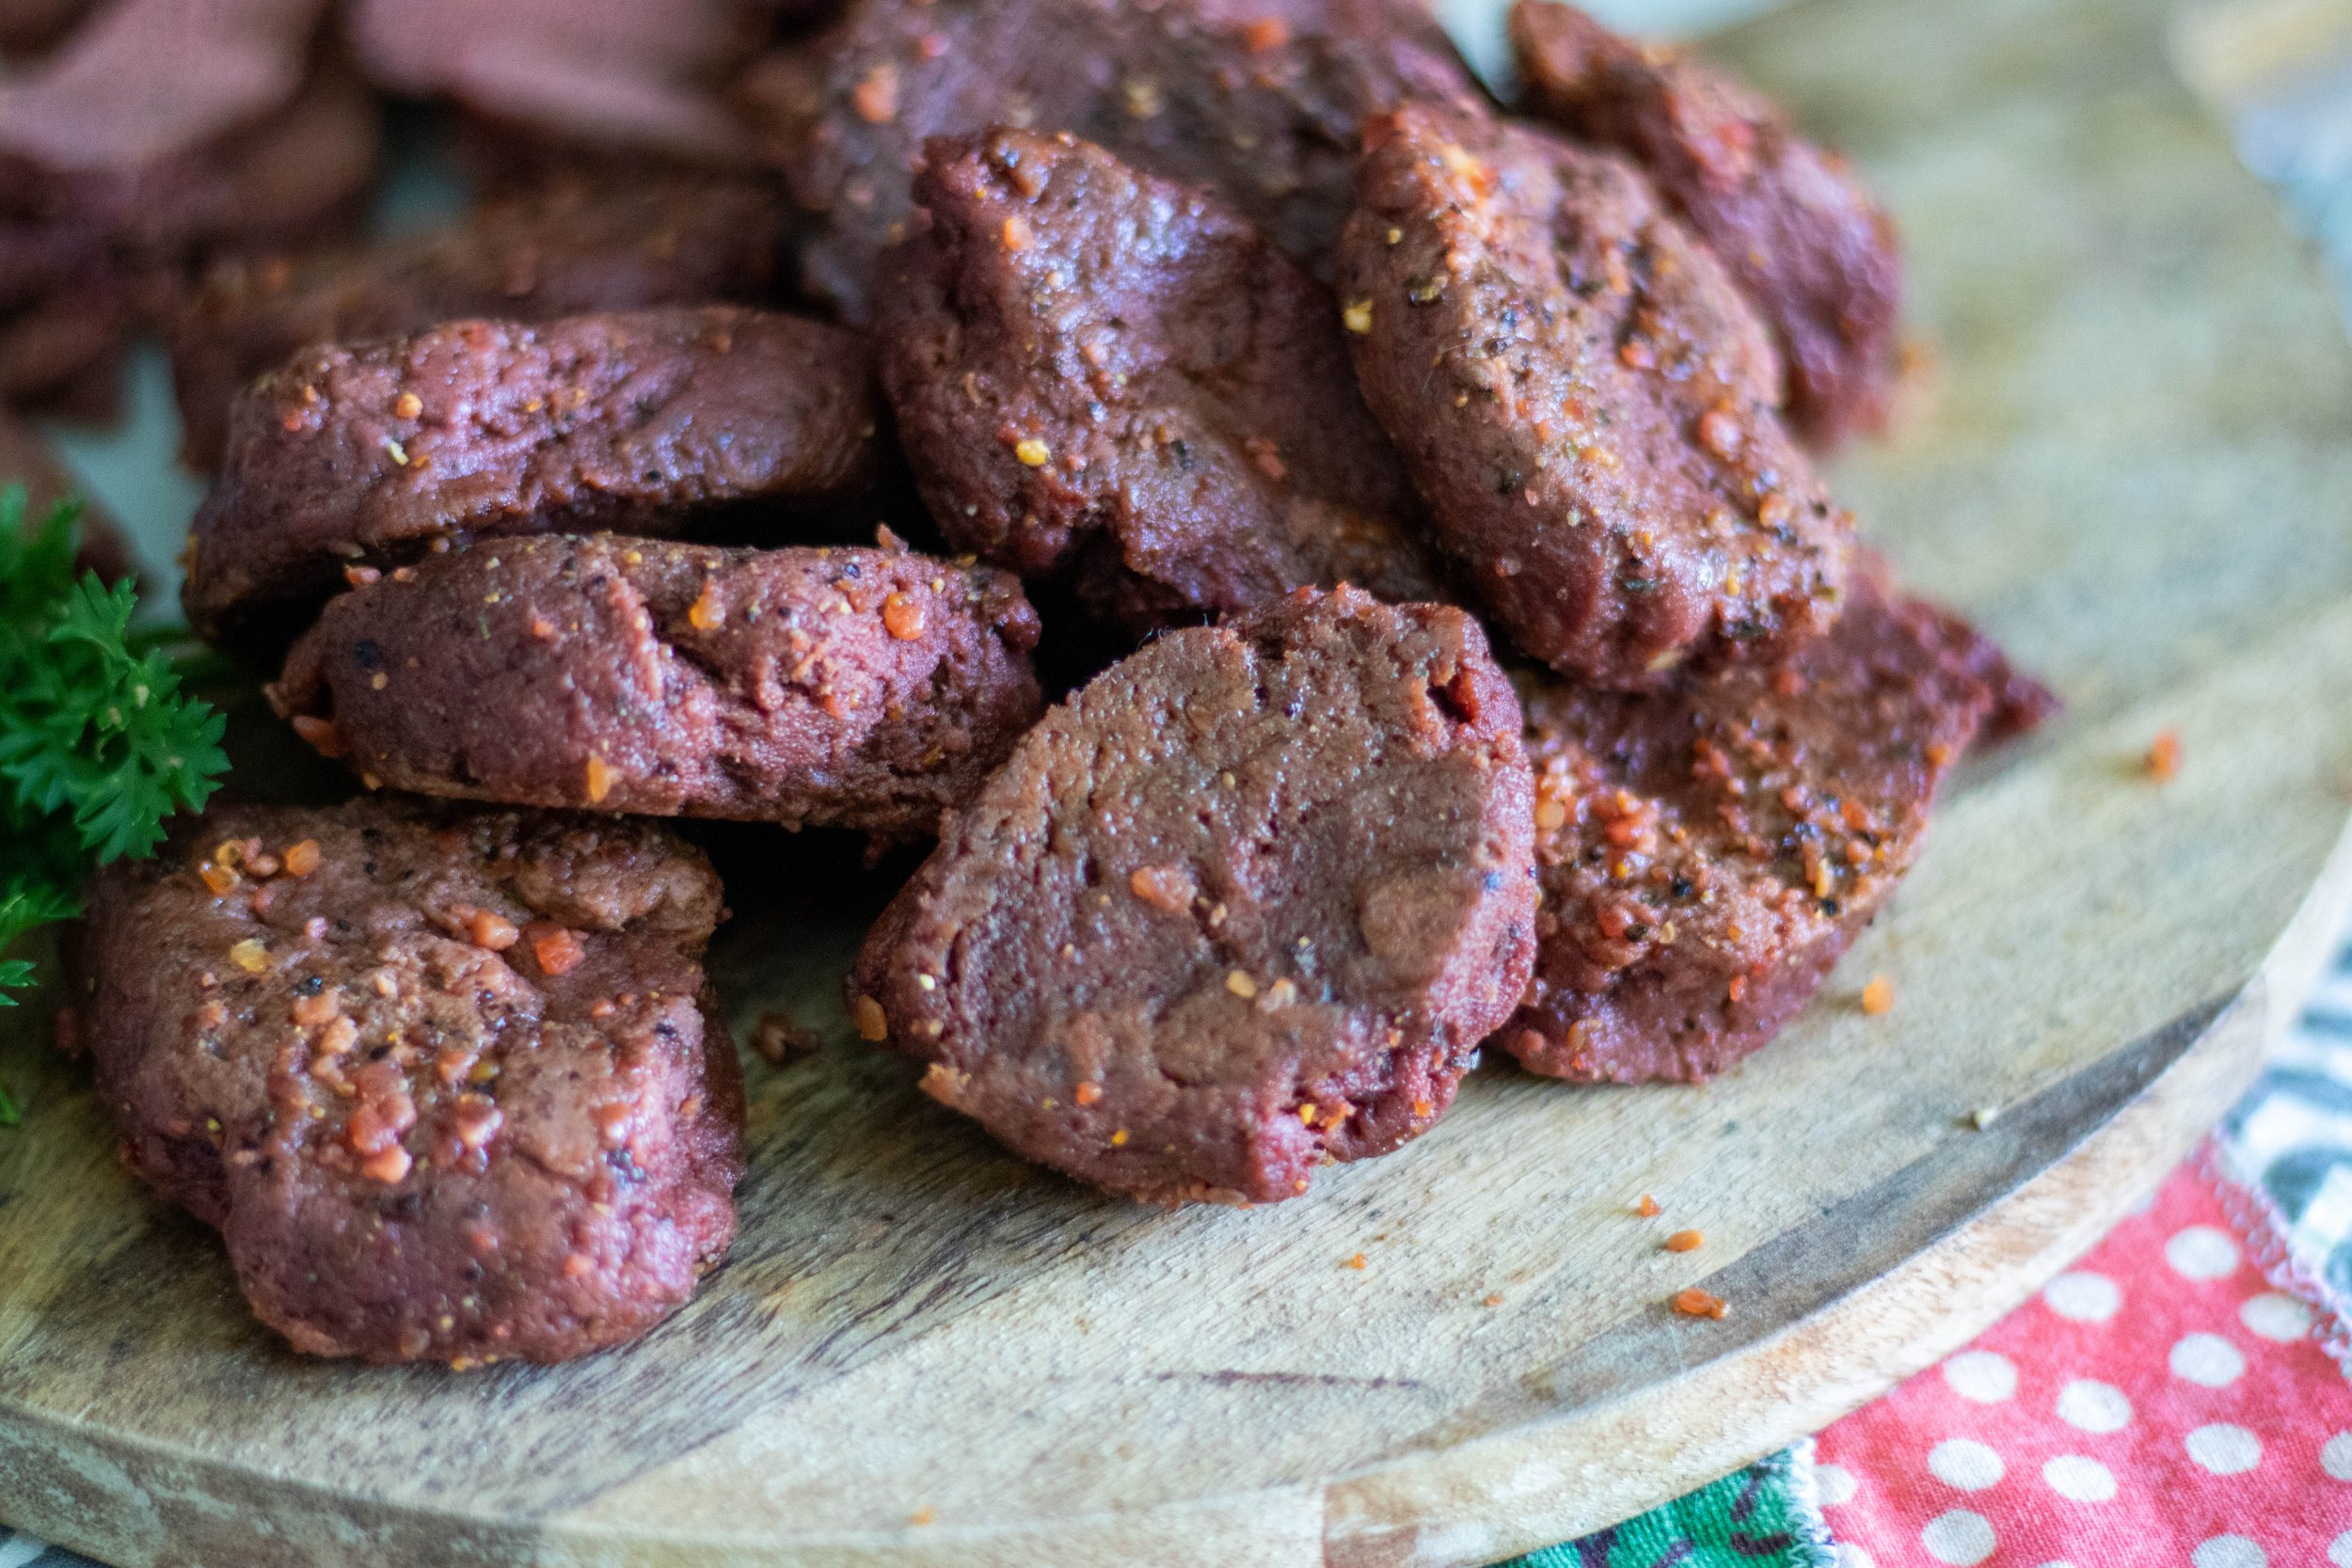
Vegan Steak Tips

I hava a lot of seitan recipes on the site. From vegan chicken breast to a whole array of vegan deli meats, but steak was not something I had never really prioritized. I was not a big steak eater way back when I ate meat, so it wasn’t of great importance for me to veganize. Until it was.

My oldest daughter however LOVED steak. Like she would have eaten it every day if would have let her when she was little.

Recently I mentioned that I was going to grill kabobs for dinner, and my oldest daughter asked if I could please try and make steak so she could have a vegan steak kabob. I was grilling that night so If I was going to make steak it needed to be smaller pieces because as I always preach to yall, SEITAN NEEDS TO REST!!!!

So the obvious solution was a vegan steak tip. I could make them that morning and we would be able to eat them that night. I still prefer my seitan rest a full day, but for smaller pieces like these, or the vegan chicken breast on my site that are thin, a good 8 hour rest will normally do.

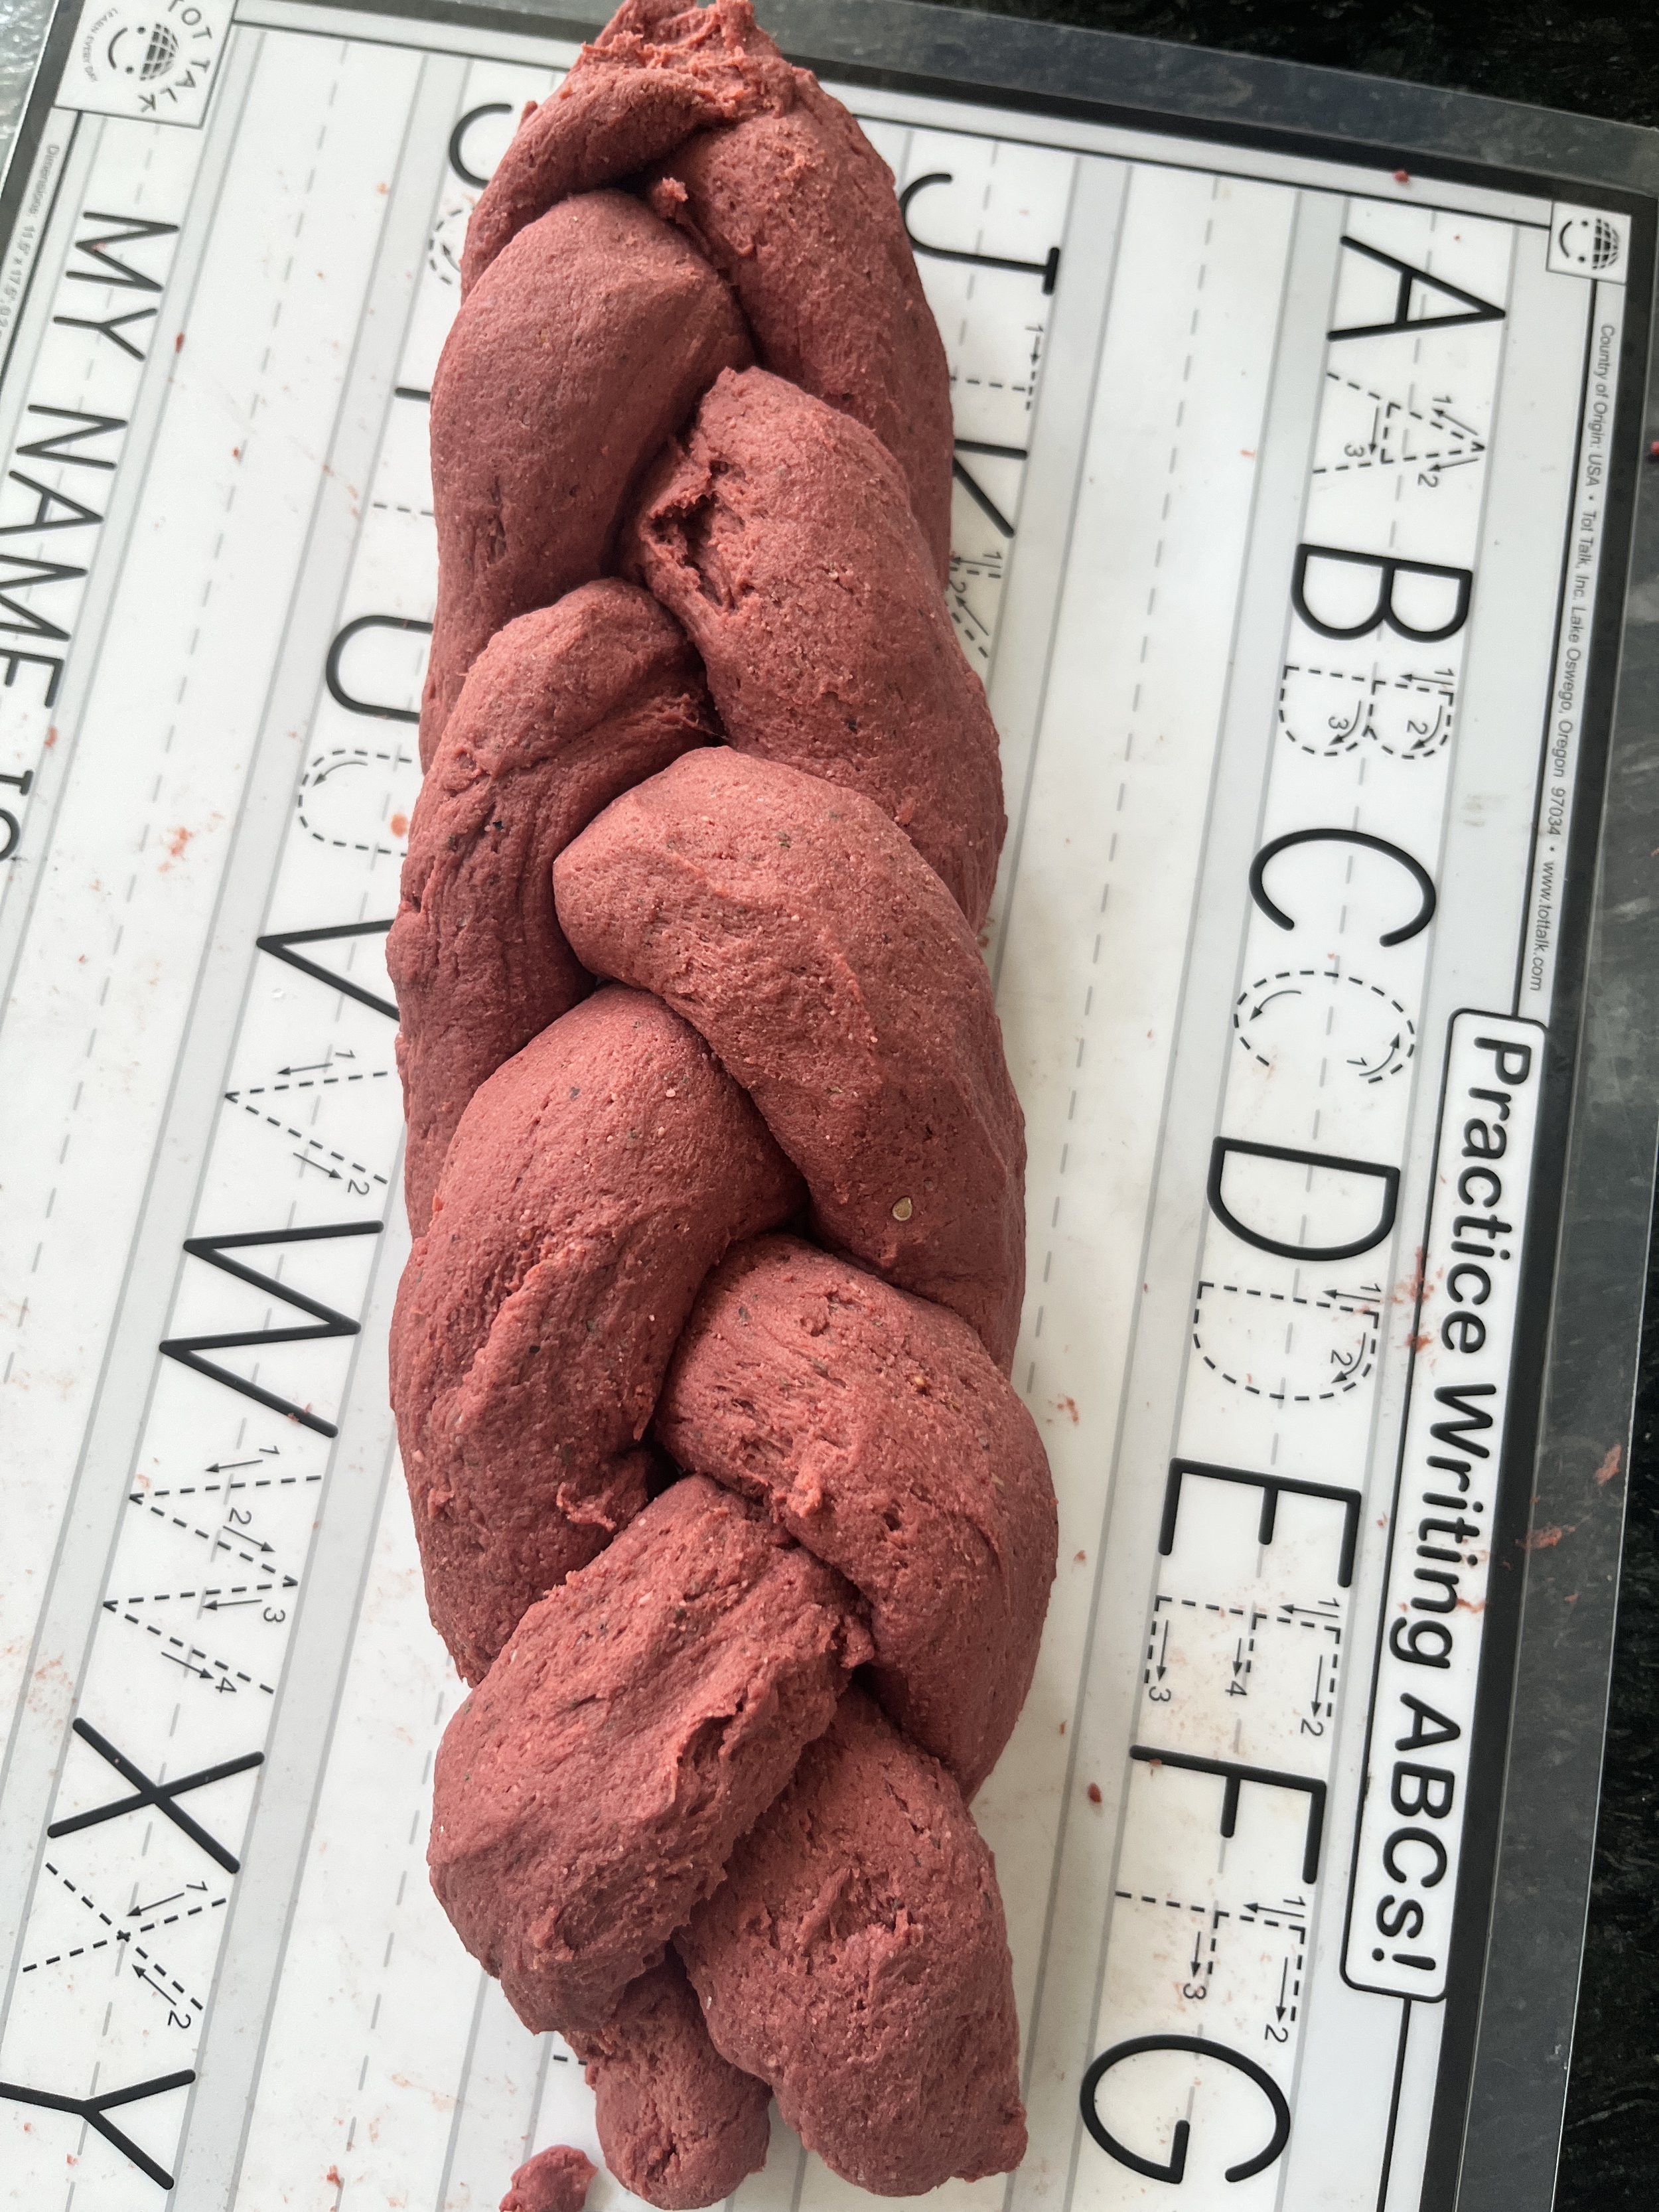
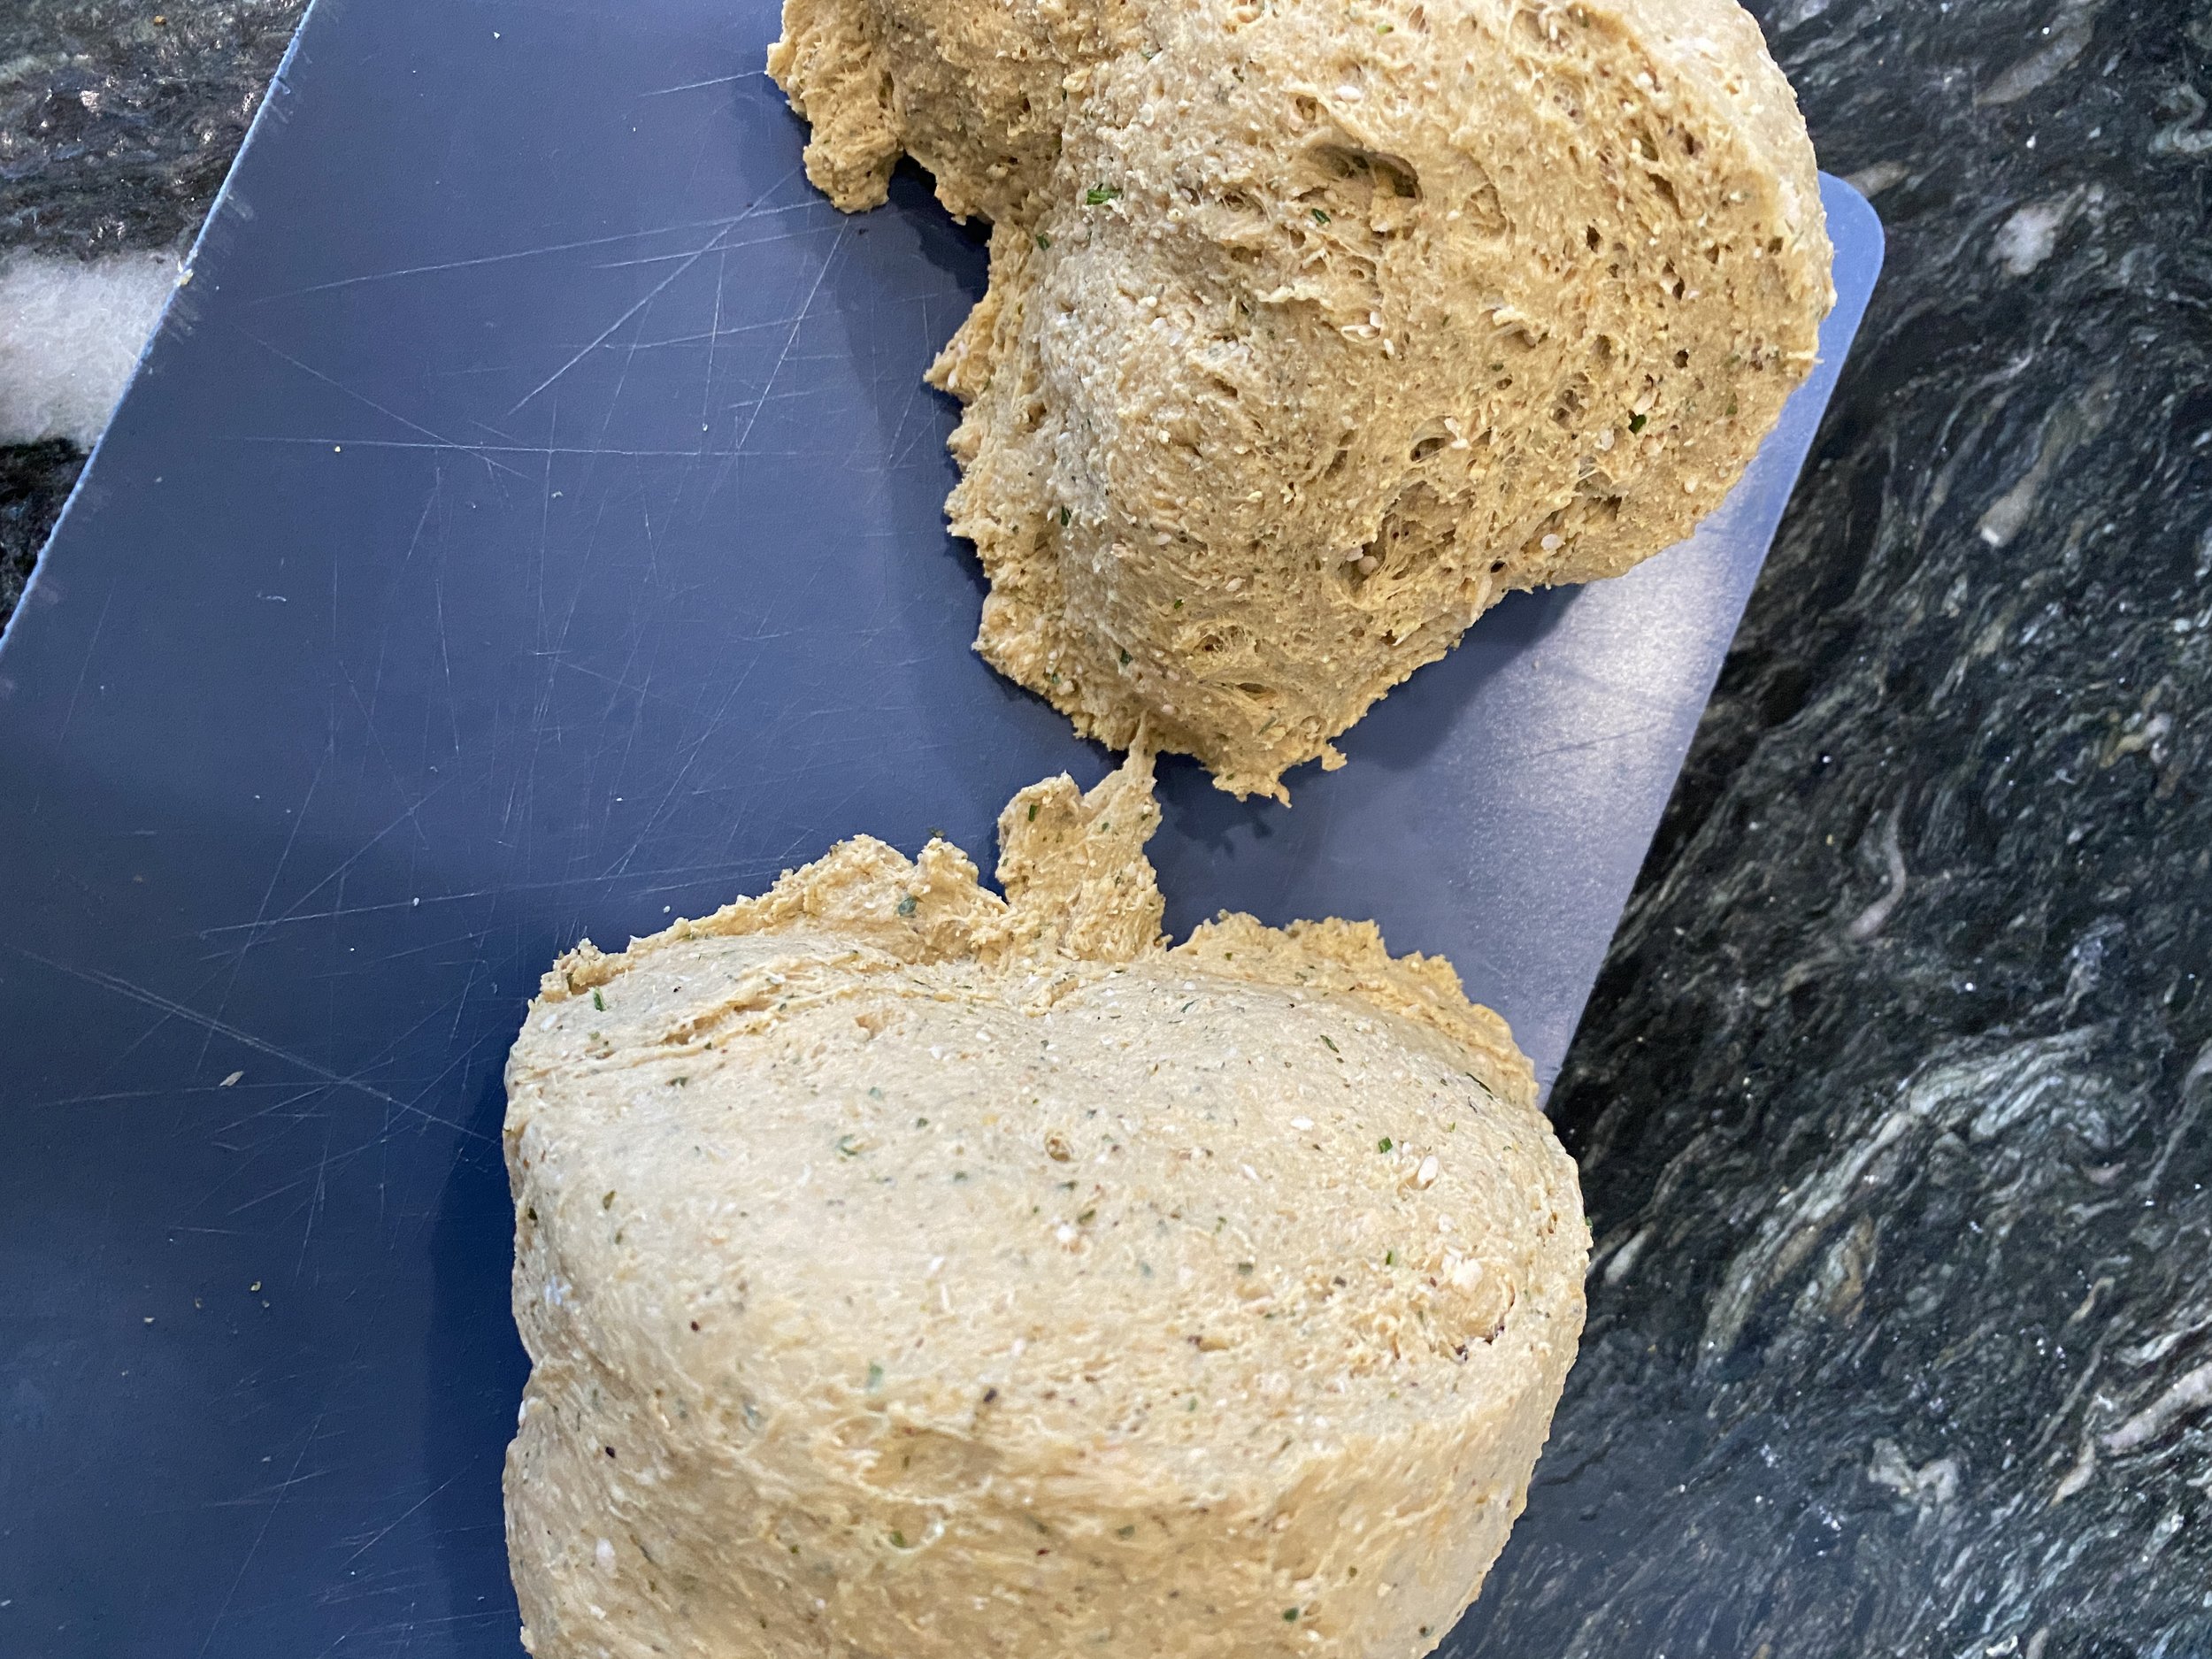
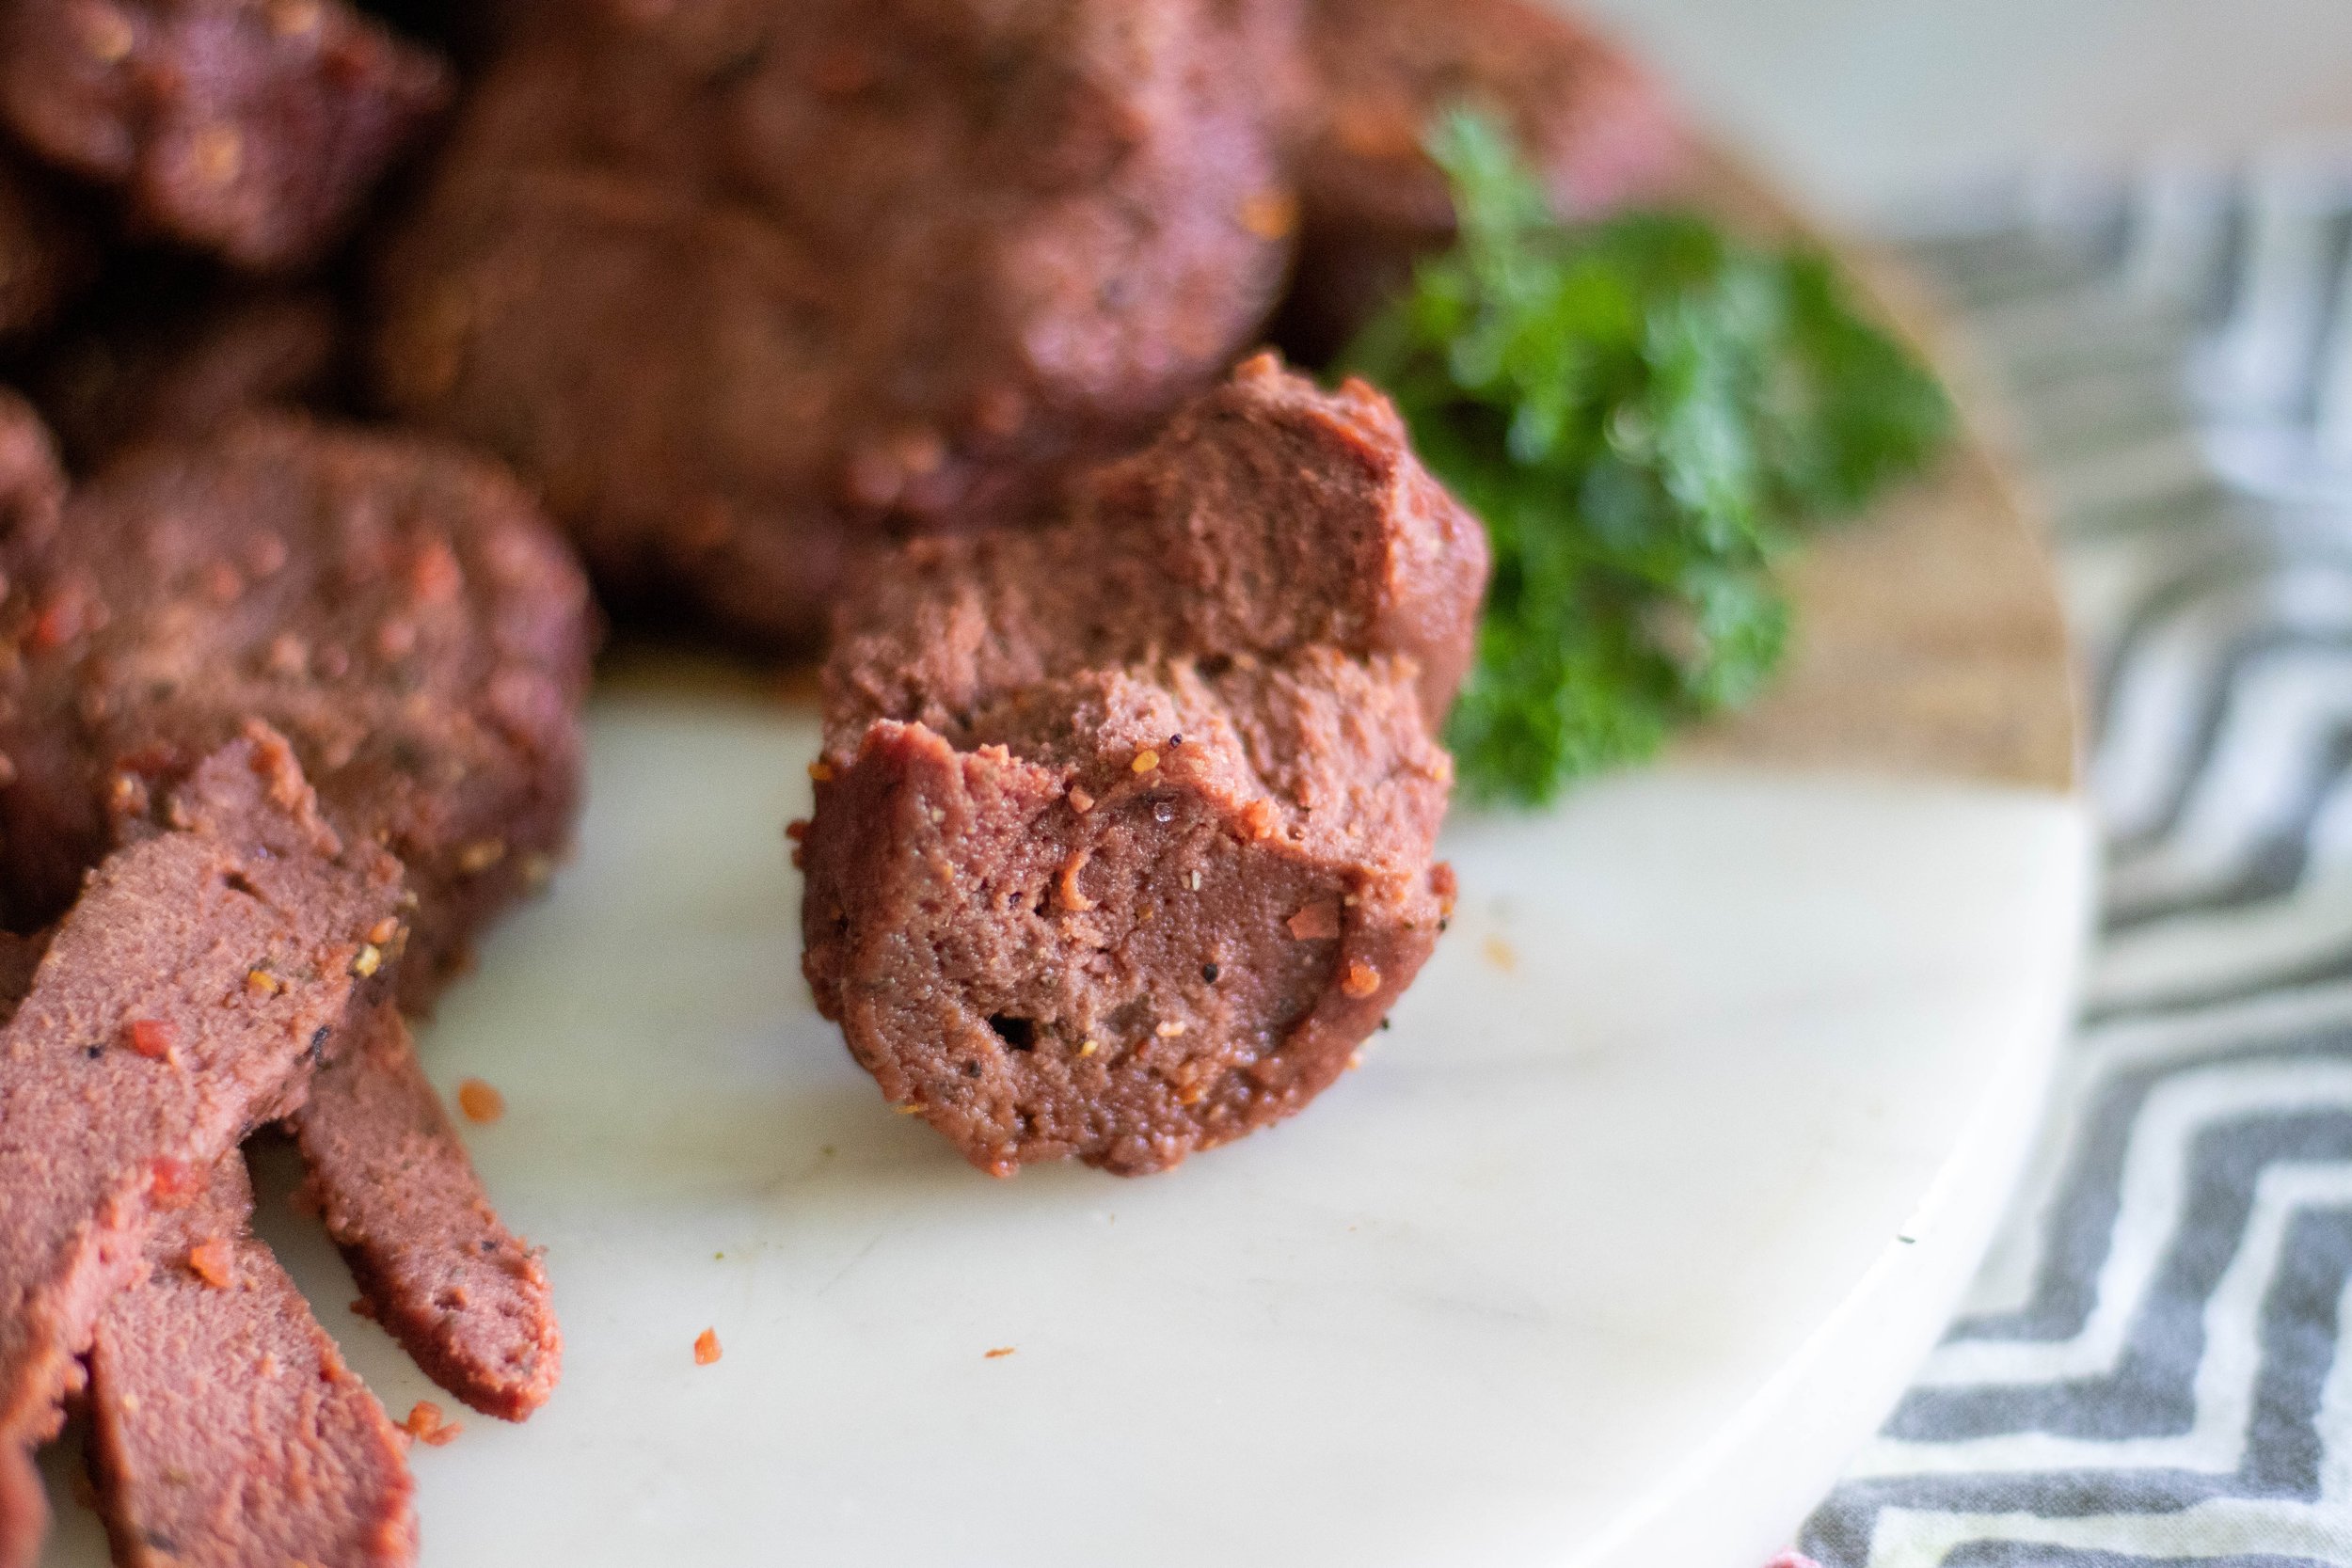
I have watched all kinds of methods over the years for vital wheat gluten seitans and the washed flour methods for getting a “shreddier” meat texture, and decided to try and braid and twist this seitan dough to see if the texture would be more steak like. I think it was. Have I tried making without braiding then twisting to know the difference? No, no I have not. Probably because I actually think it’s fun to braid then twist it….sort of like adult play dough. Feel free to skip that part and let me know your outcome. As for me, I’ll stick with my method because the texture isn’t as smooth as the seitans I don’t do this with, and that was my goal.

Even if you have never made seitan in your life, I truly believe you can make these vegan steak tips. They mix up in like 10 minutes and bake in under 30. These vegan steak tips will keep in the fridge for a week or so, and can be frozen for up to 6 months. You can use these vegan steak tips in so many different recipes. For steak kabobs, fajitas, tacos, soups, stews, on pizza, in casseroles or quiche. Just about any recipe that calls for beef pieces, you could use these vegan steak tips.

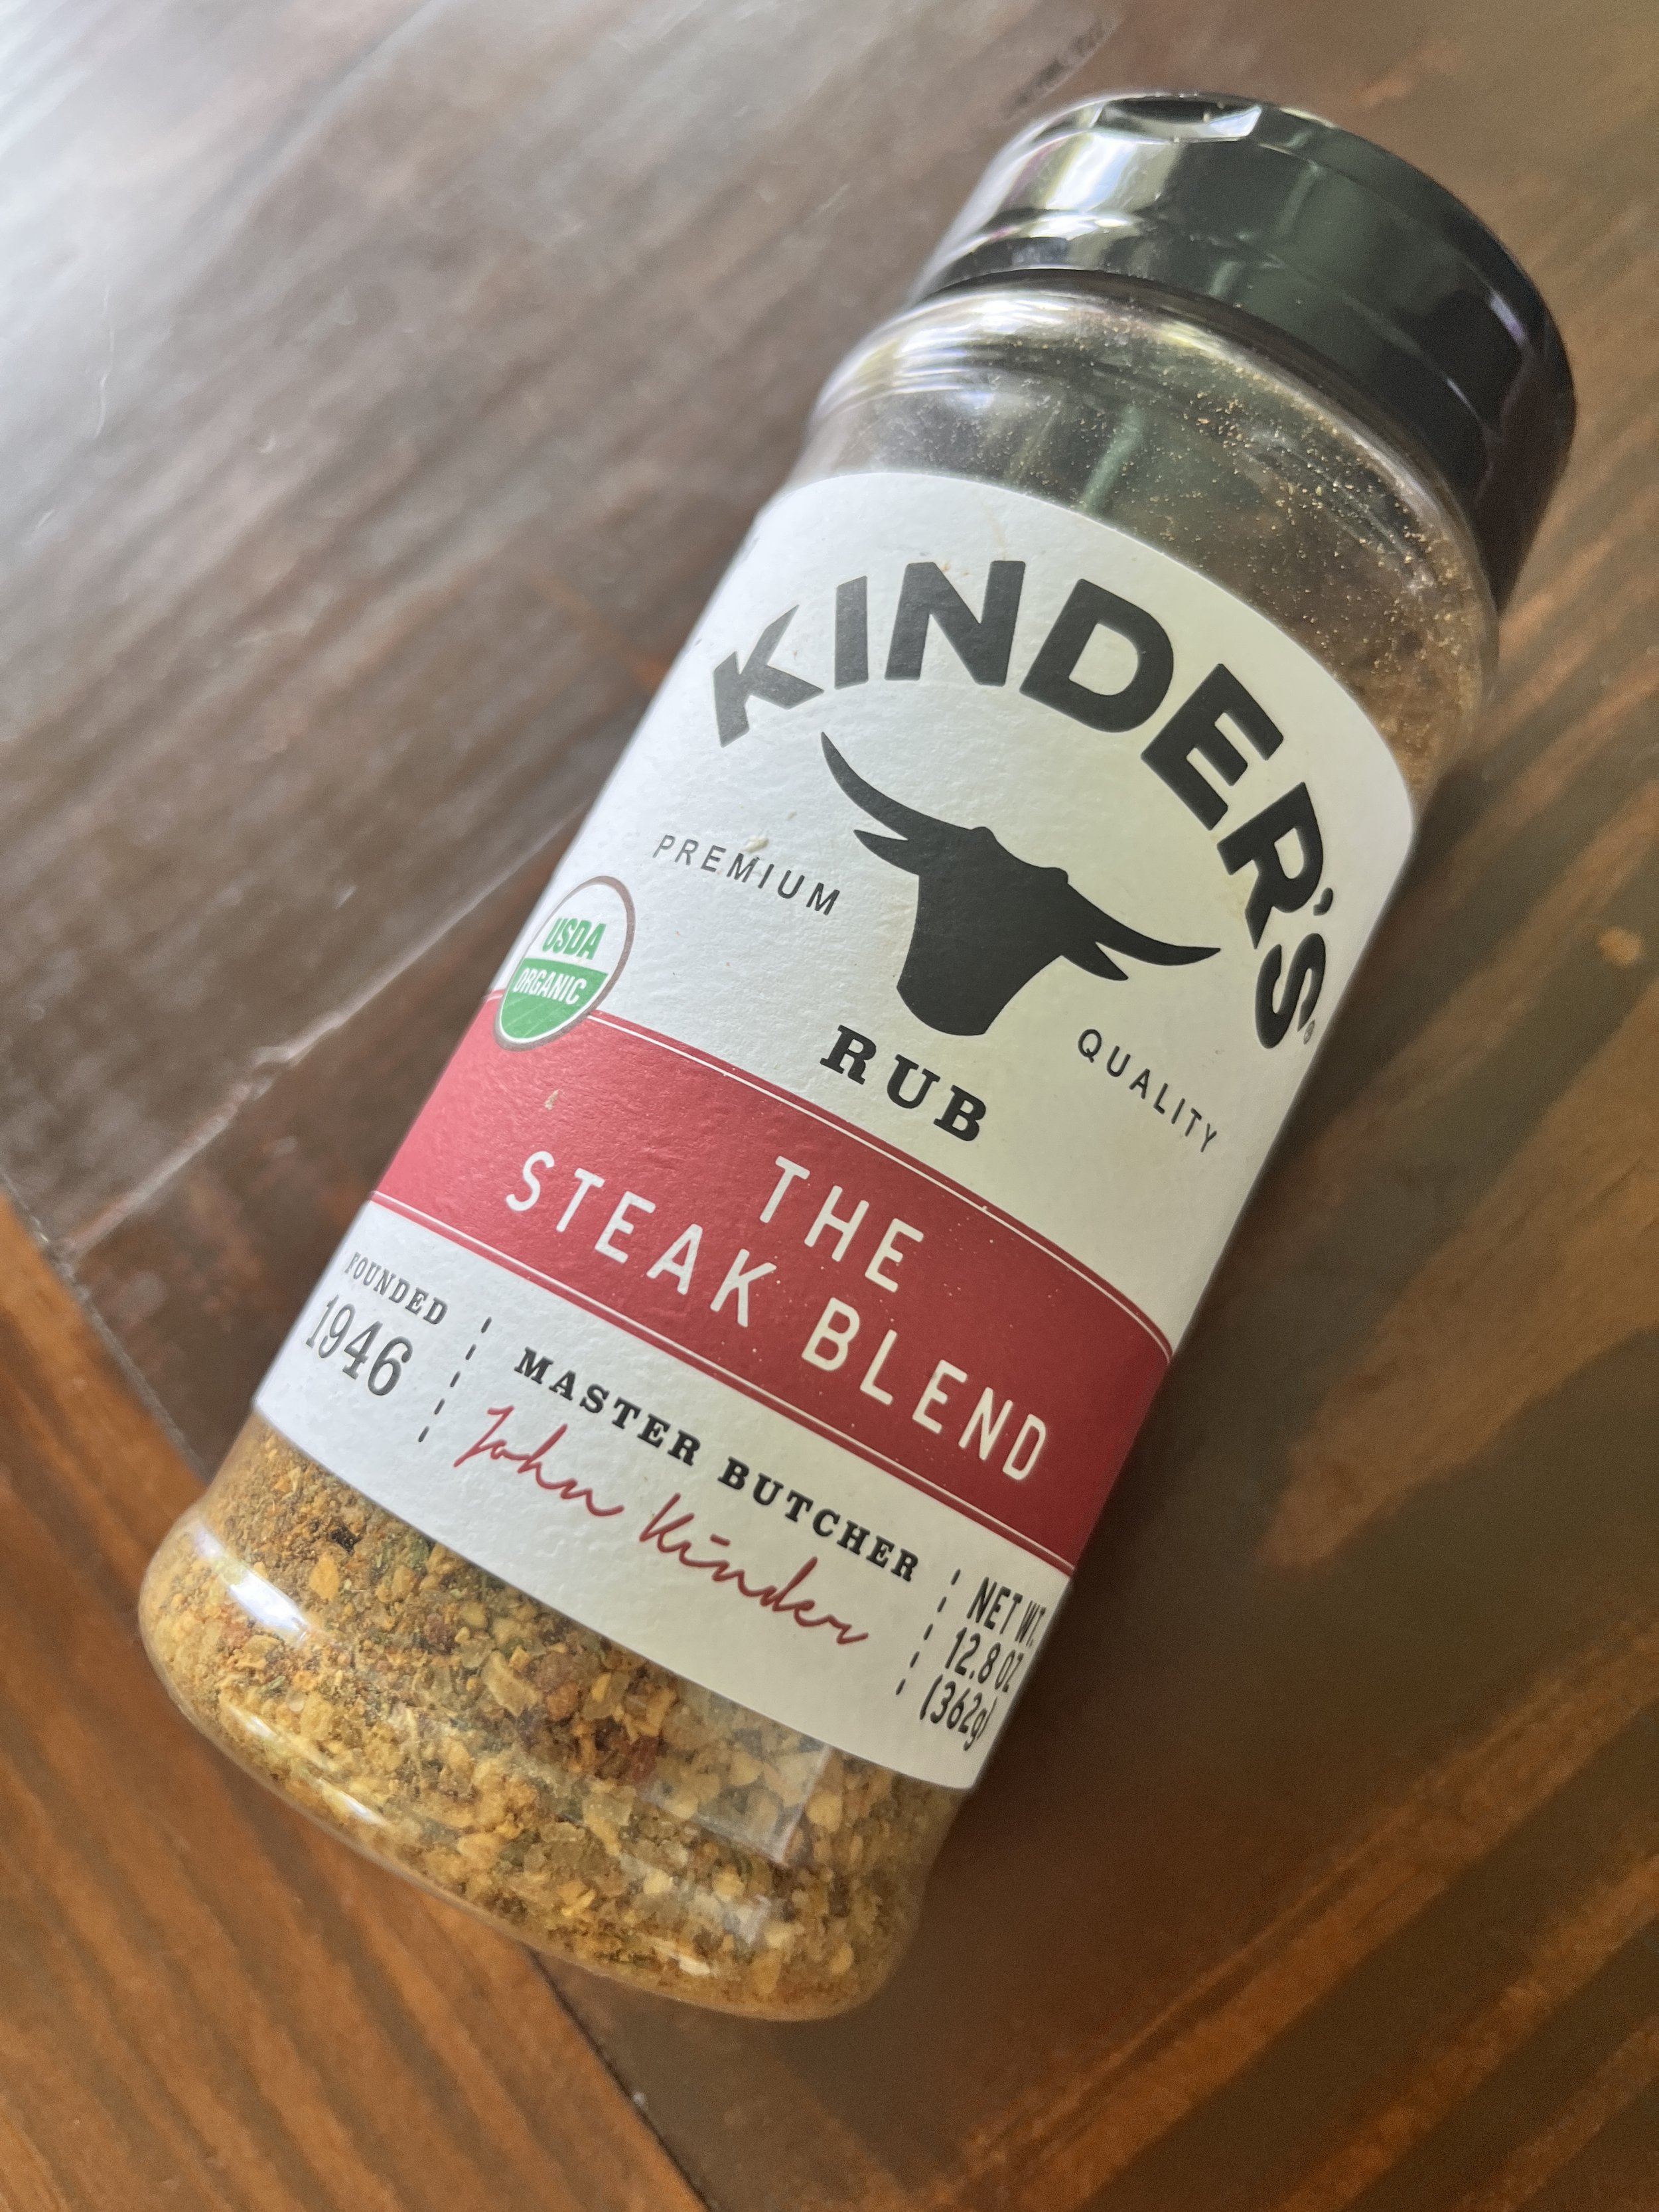
My one suggestion is get a good steak seasoning blend. I have been using Kinder’s steak blend and swear this is one of the reasons these steak tips are so dang good! Any steak seasoning would do but this is the one that I have used for these tips, and now even use in my roast beef. I got mine at Costco but you can order it online as well. This is not an affiliate post, this is just the seasoning I bought and really like and am often asked for a link if I mention a seasoning or product I use. So there you go.

For the record my daughter was a fan of the vegan steak tips, and much to my surprise my 5 year old daughter ate more of them than anyone and asked for a second batch the next day which I gladly obliged in making,

So here is my 86eats steak recipe, a long time coming. If you wanted a full size steak I would follow the braid twist instructions then flatten that out into a disk like in my easy vegan chicken breast recipe. Then I would follow the cut and bake instructions in the chicken recipe, and I think you would get a pretty tasty full sized steak!

Either way, I think you will like this easy vegan steak! I did, even though it was never on my own radar. It will not be a staple recipe in my house!


TROUBLE SHOOTING THIS REICPE:

*I used high protein tofu in a vacuum sealed package and this what I strongly advise using. It is much firmer than regular firm tofu and has less moisture and a more chewy texture. If you opt to use regular firm tofu you will need to press it first and remove as much liquid as possible. You may need to adjust the amount of water in the recipet as well. Add the water last, adding just enough to accomplish a firm dough.

  • *If you find your steak has A LOT OF LITTLE HOLES, and a more BREAD LIKE TEXTURE this can be caused from under kneading the dough, BUT more likely cooking the seitan at too high of a temperature, or for too long. Check your ovens temperature with an oven thermometer. Your oven may just be cooking hotter than it registers. Also gas and electric ovens tend to cook differently. If you do not have an oven thermometer you can reduce the heat in your oven by 25 degrees, and keep the seitan covered for the whole bake.


INGREDIENTS:

  • 16 oz package of super firm tofu (the kind that is vacuum sealed not in a tray of water)

  • 1 cup vital wheat gluten

  • 3 tablespoons tapioca starch

  • 2 tablespoons beet powder

  • 1-2 tablespoons No Beef or Vegetable Better than bouillon
    (I add 2 because I like the nice beefy flavor it gives but if you feel that is too much salt you can add 1 or less if you like)

  • 2 tablespoons soy sauce ( I use low sodium or you can use coconut aminos)

  • 1/4 cup BBQ sauce

  • 2 teaspoons each of garlic powder, black pepper, and onion powder

  • 2-3 teaspoons of any steak seasoning bled you like ( plus more for coating before you bake)

  • 2 teaspoons neutral flavored oil or water


INSTRUCTIONS:

Preheat oven to 350 degrees

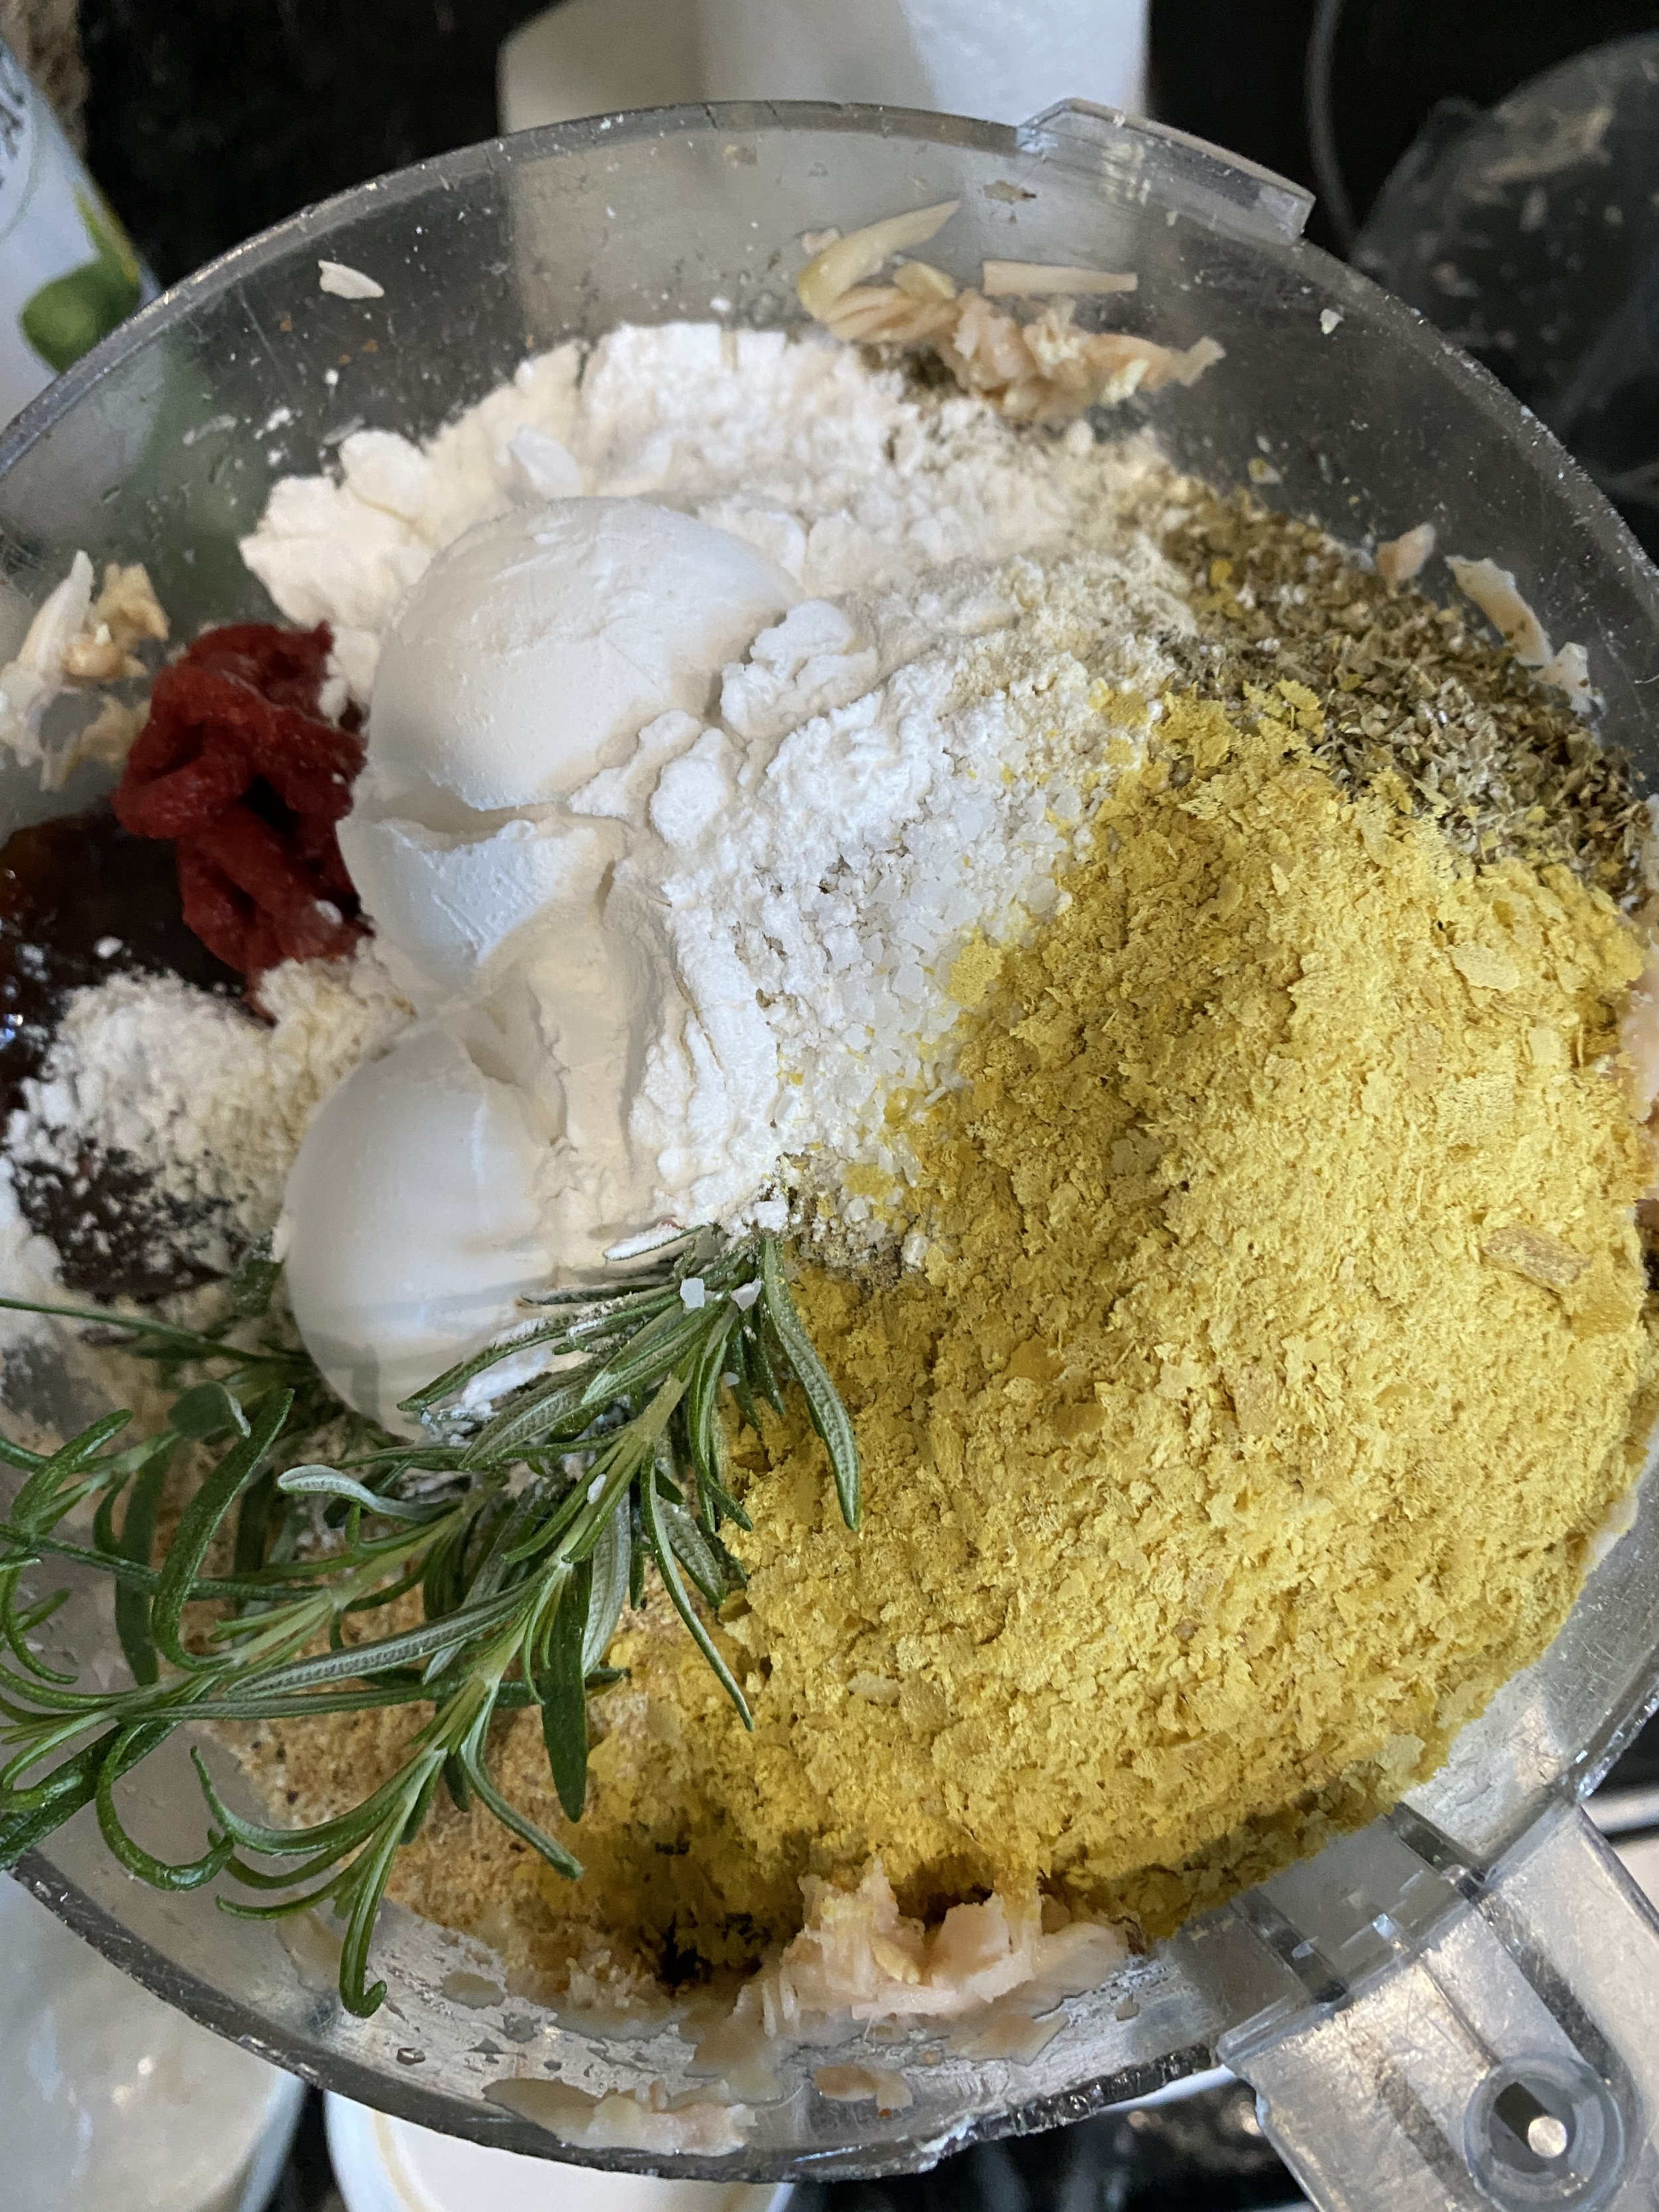
1. Break up the tofu and place it into a food processor. Run the processor for around a minute until the tofu is broken down.

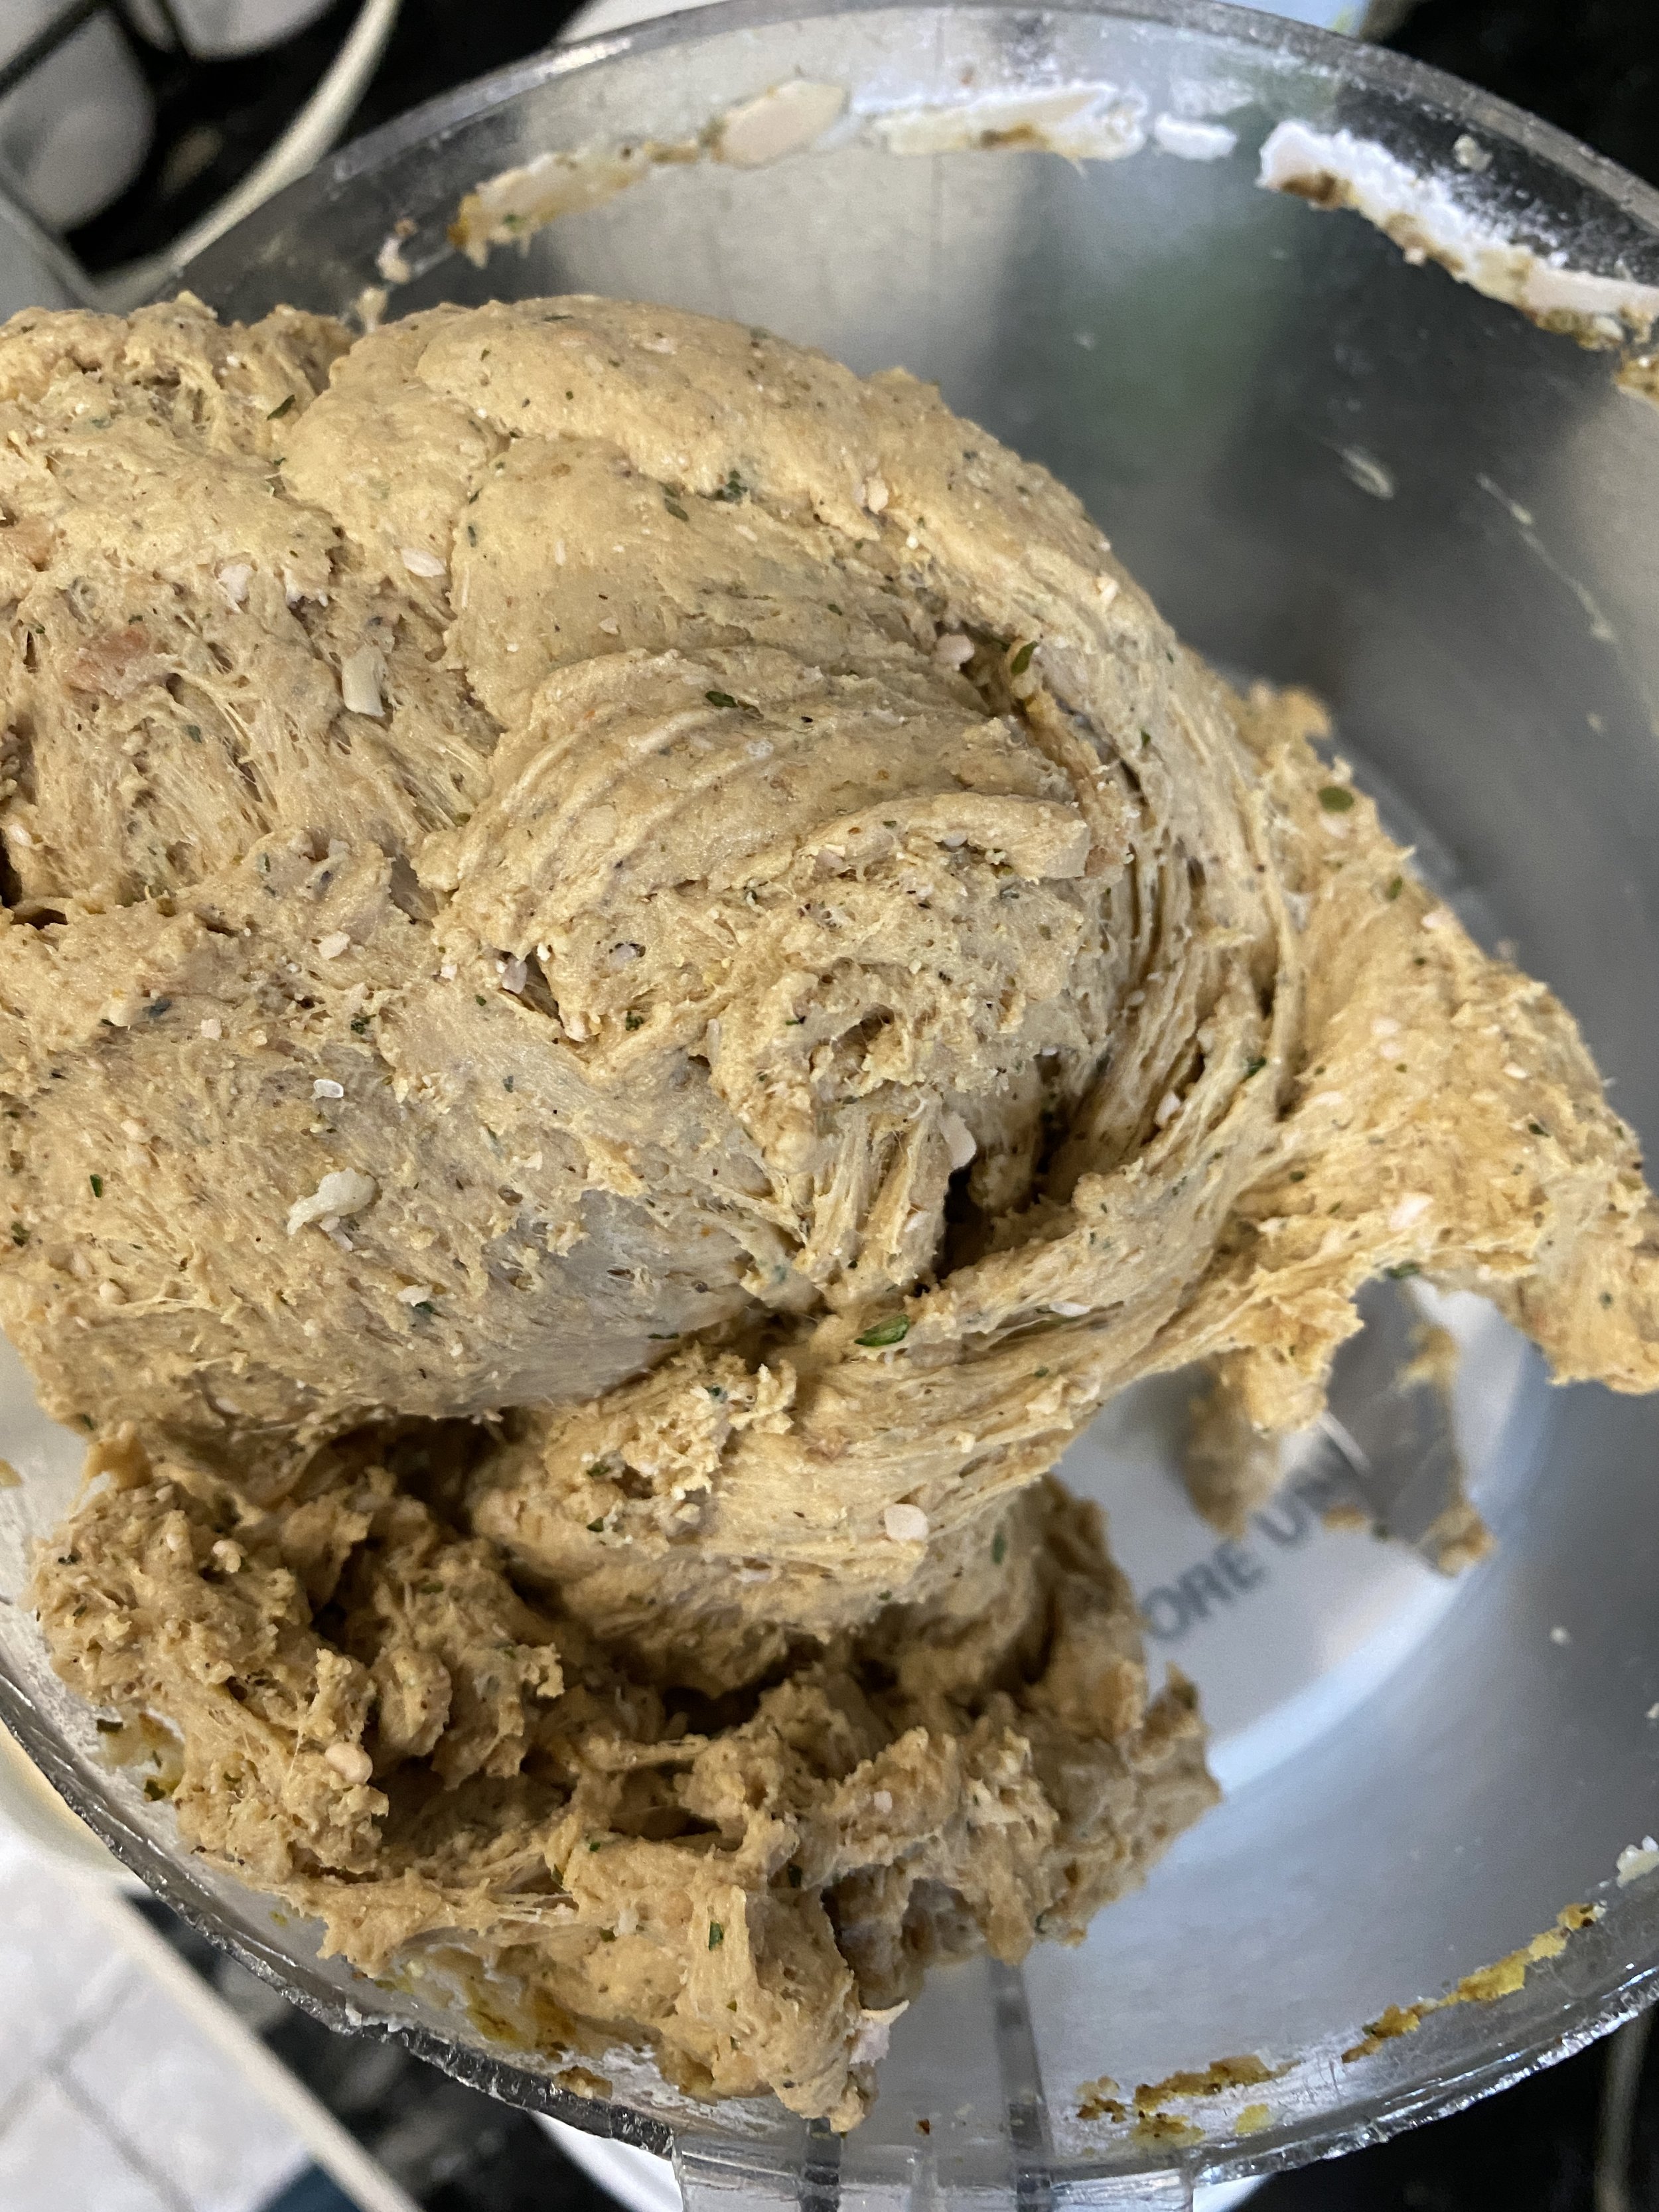
2. Add all of the remaining ingredients and let the food processor run for a couple of minutes. You want the mixture to form a dough. Letting the processor run will help knead the dough. We want this seitan to be firm so we need it to knead for a bit.

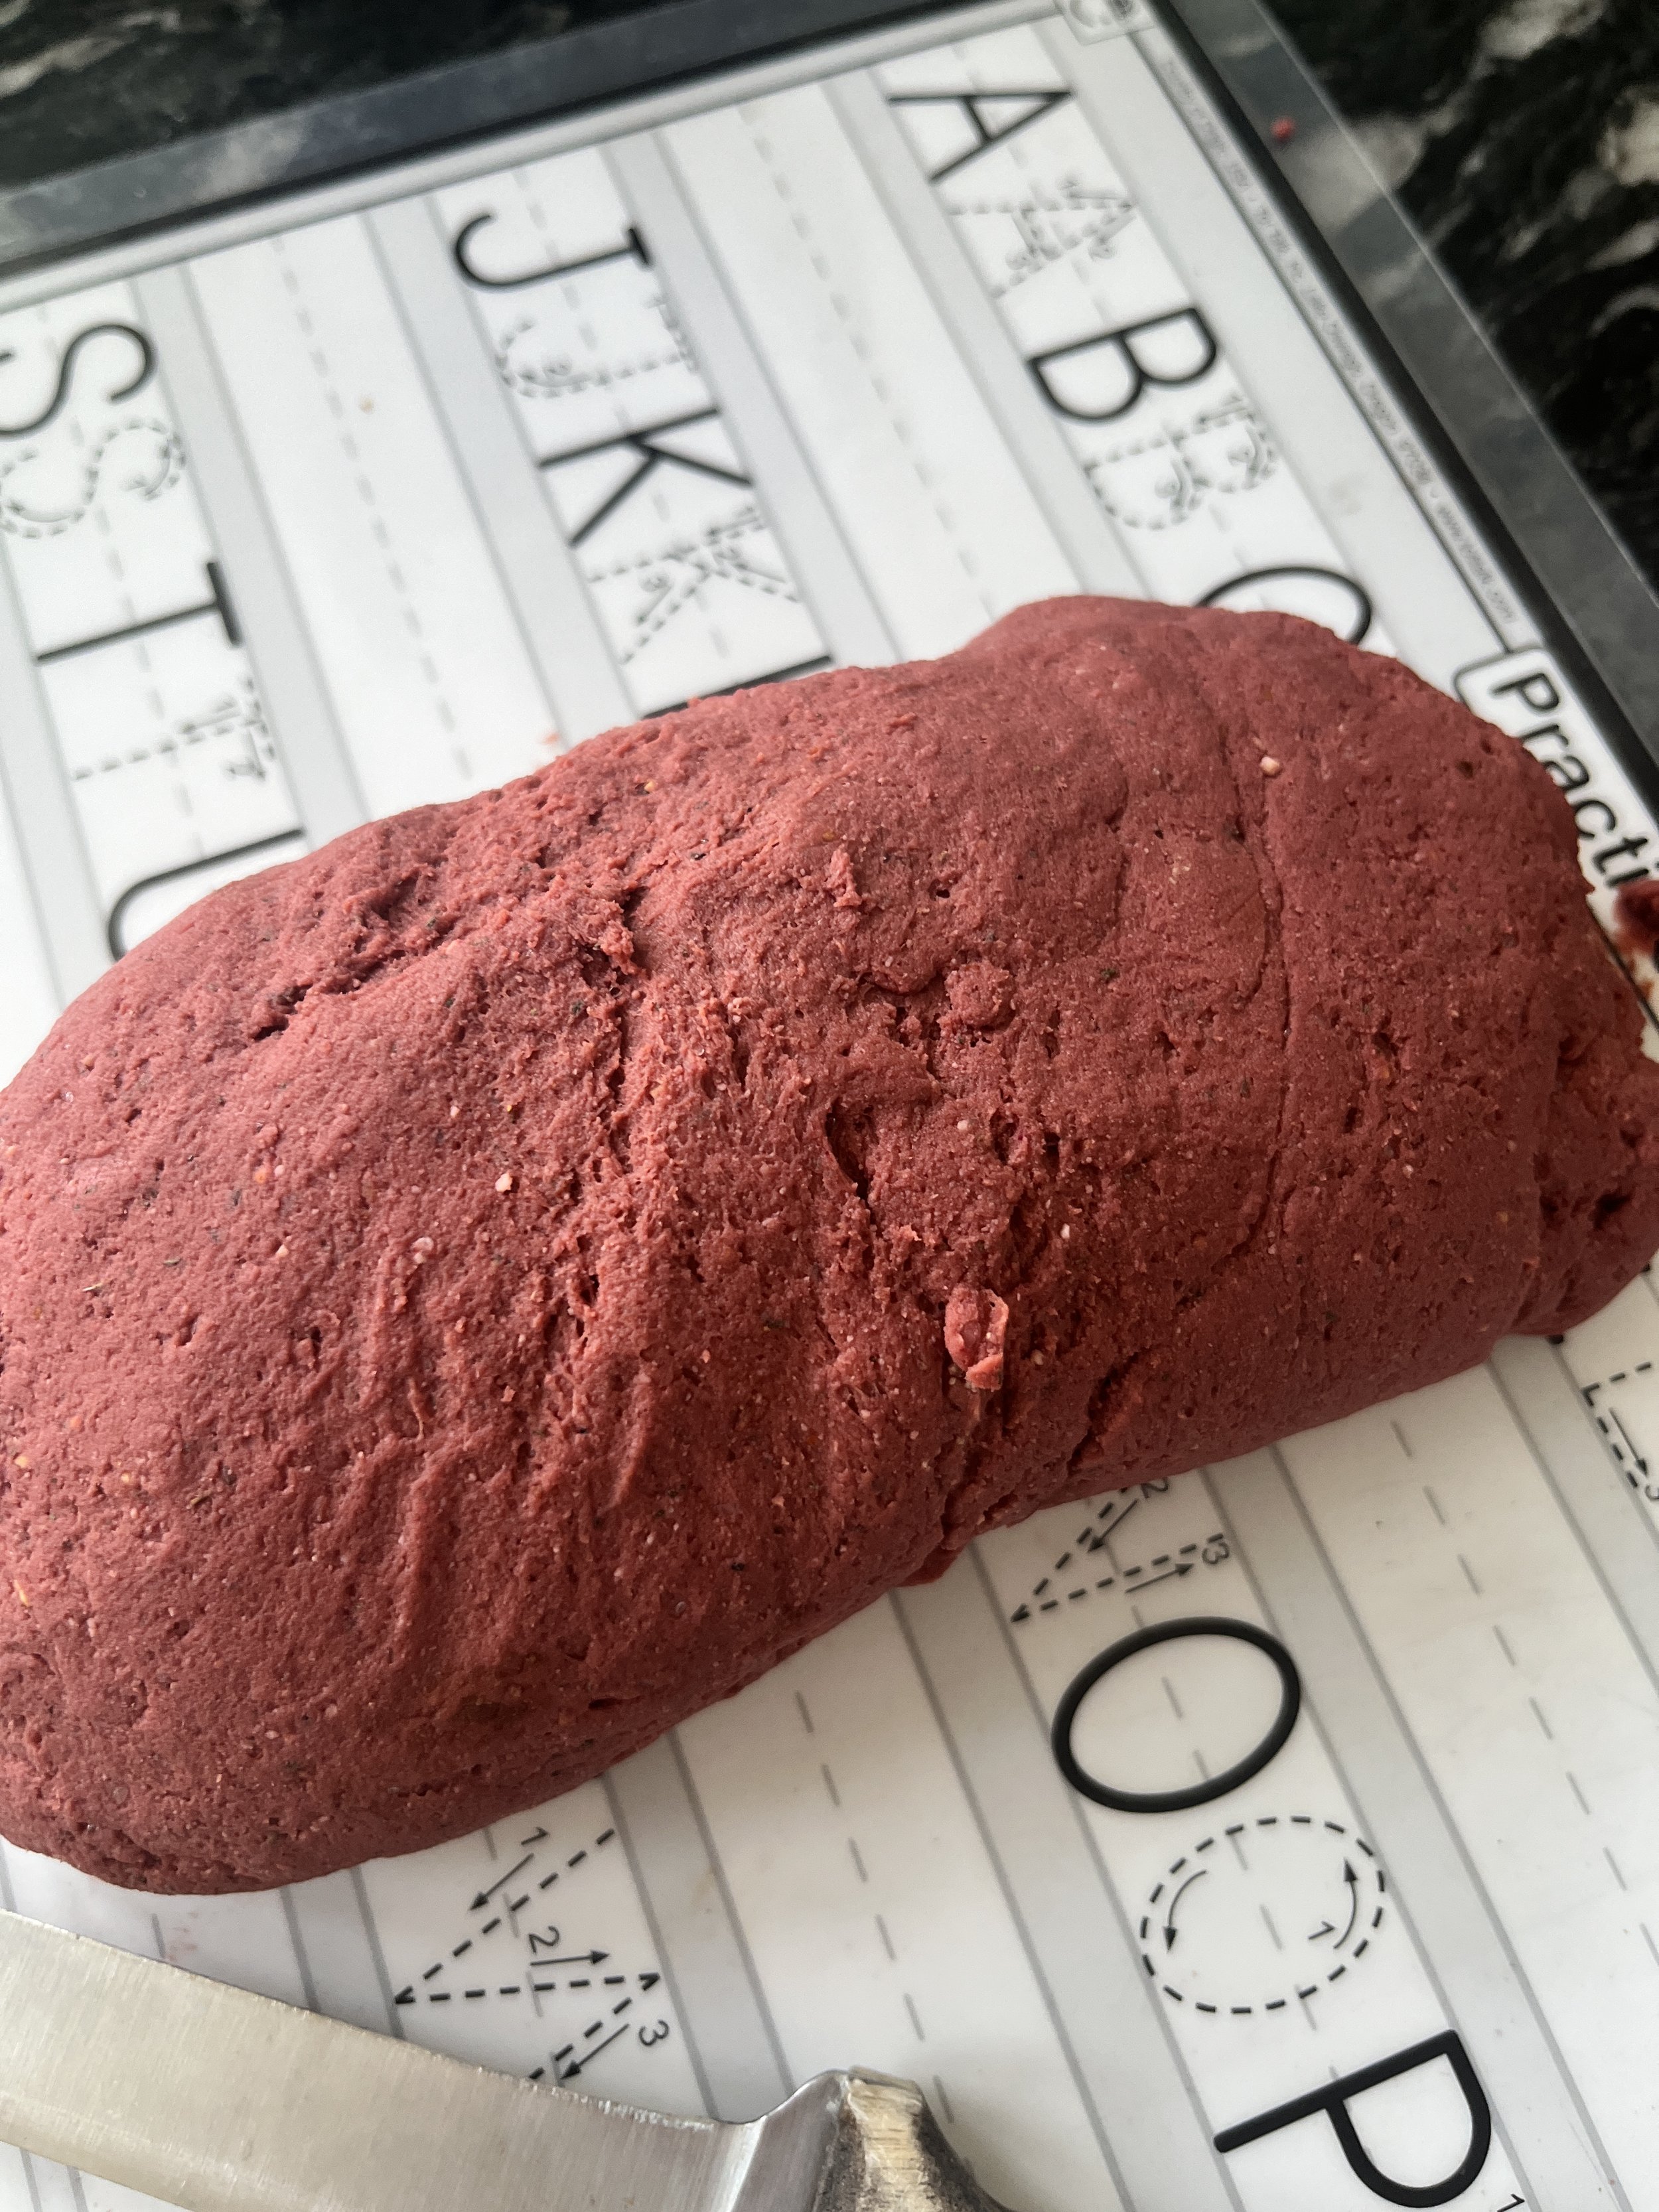
3. Once you have a smooth but firm dough, remove it from the food processor and place on a clean counter. Knead the dough with your hands for about a minute, forming a kind of loaf with the dough.

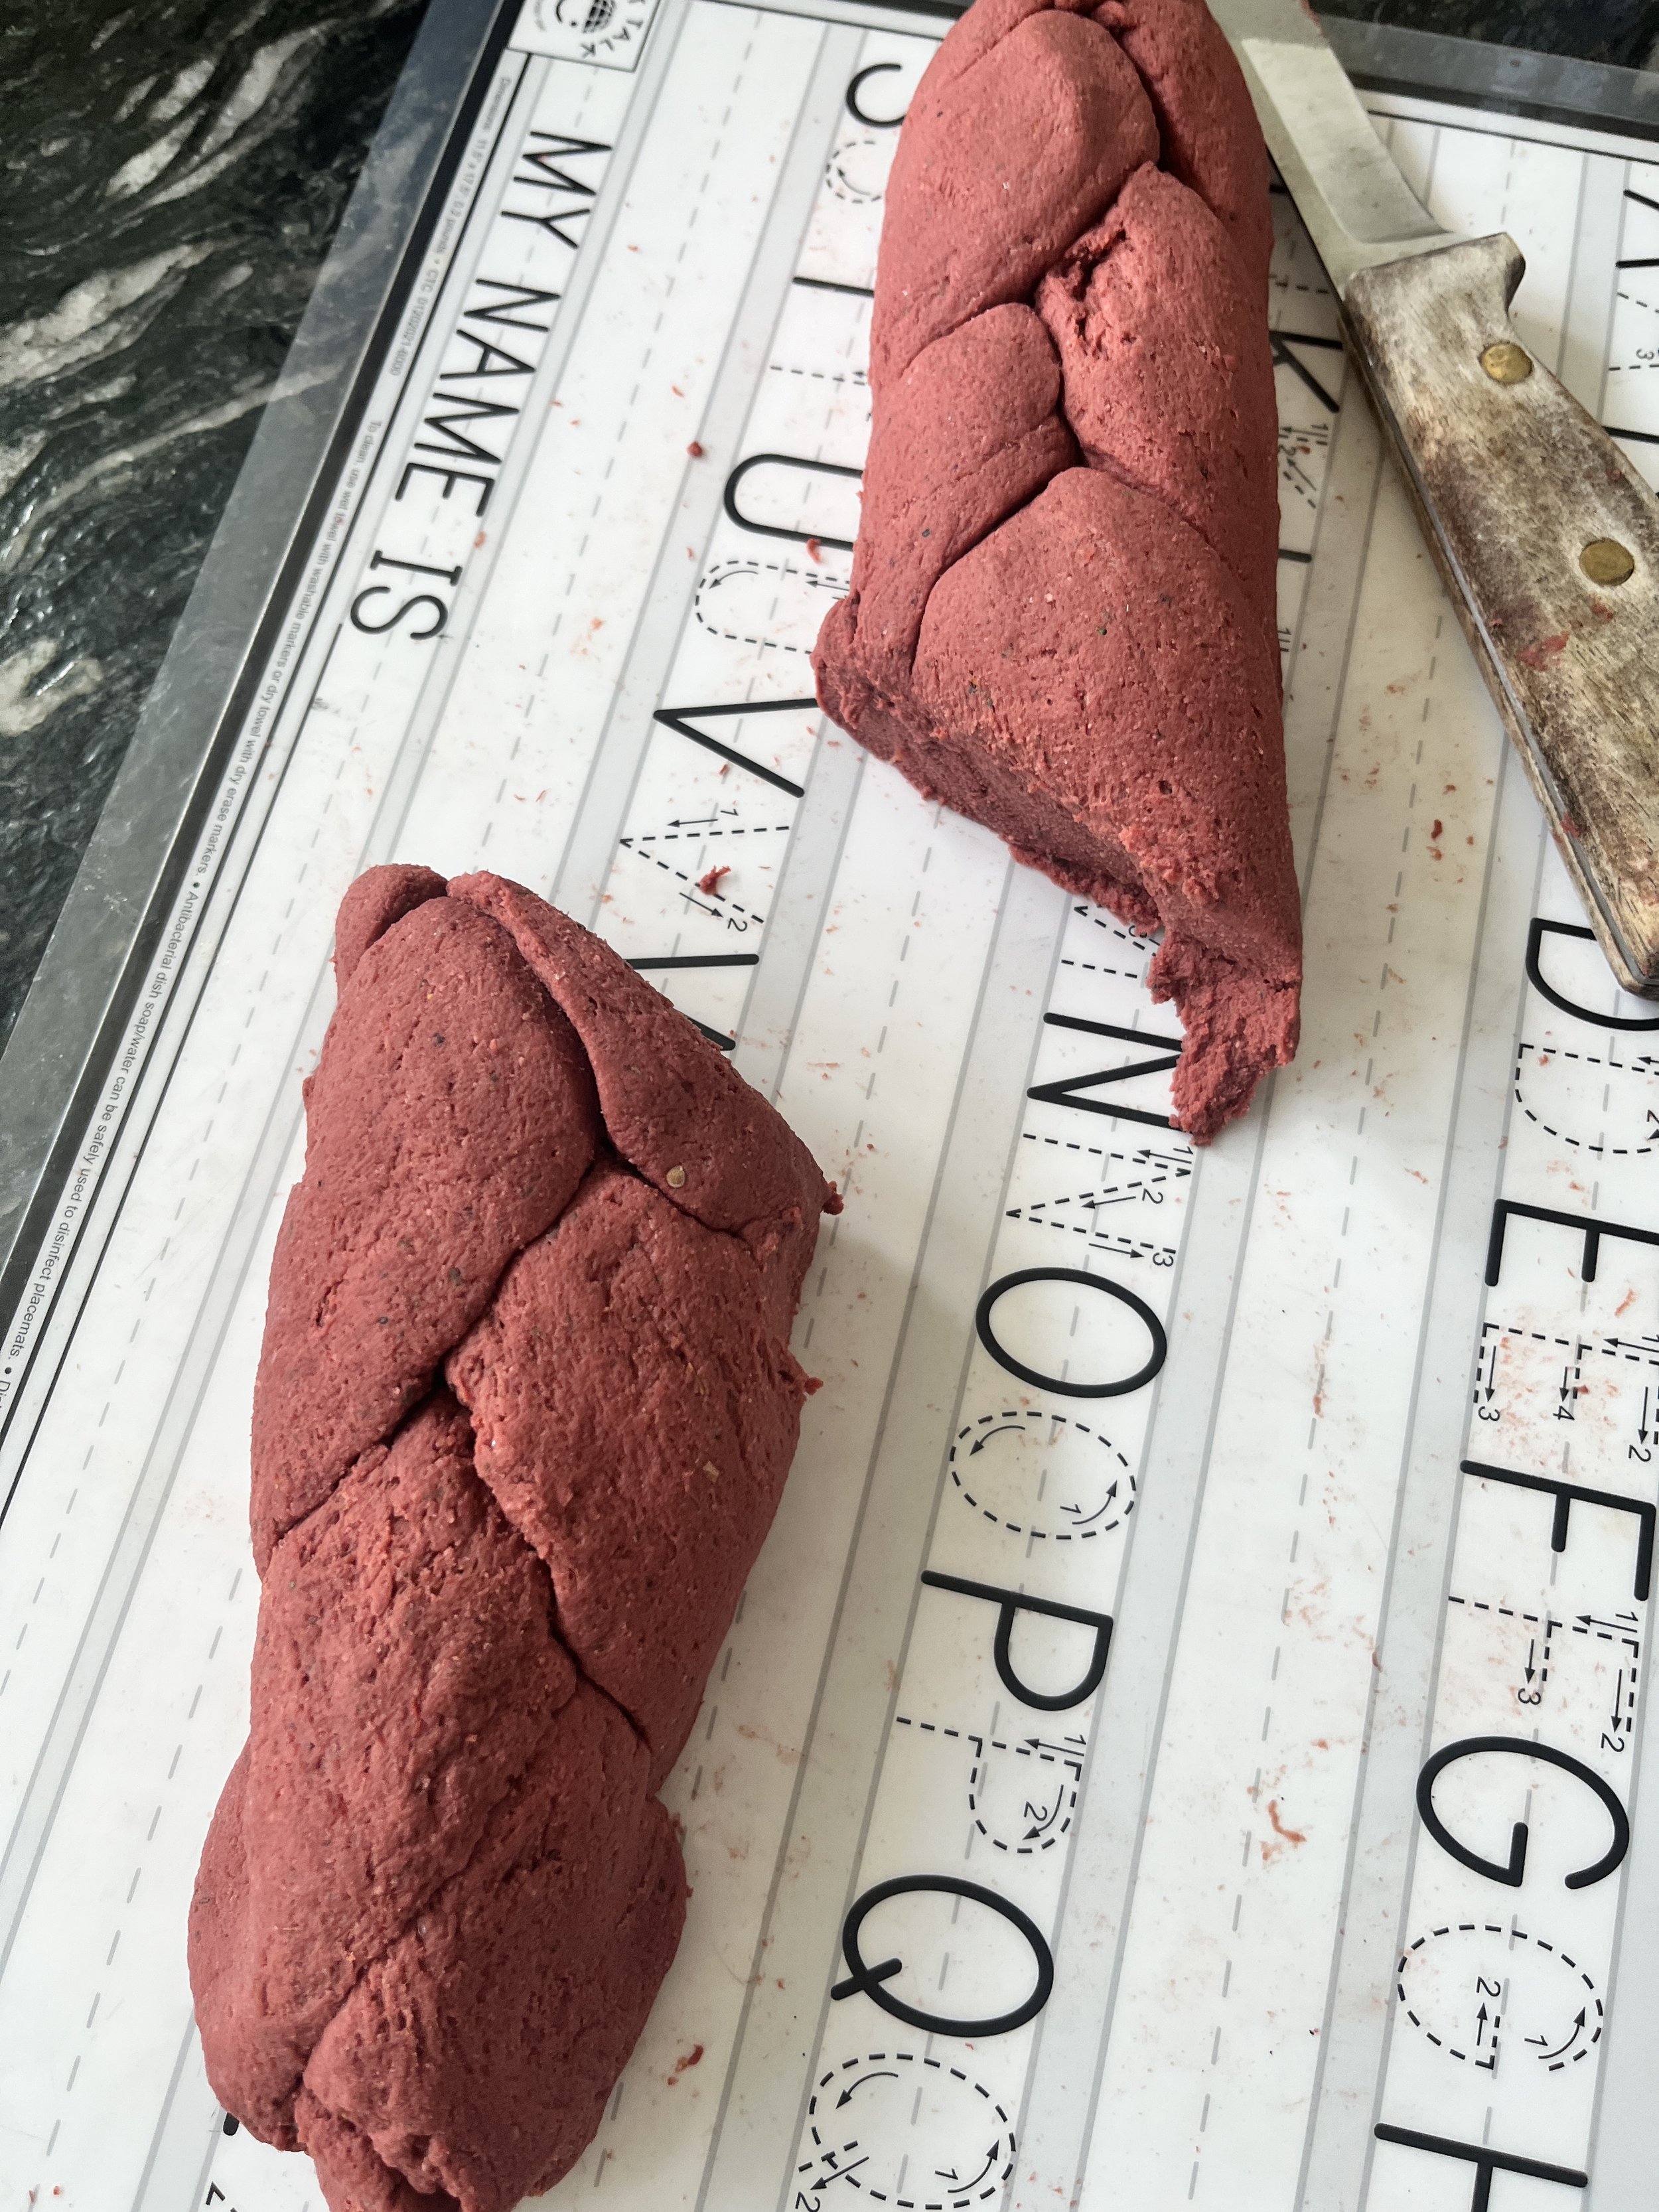
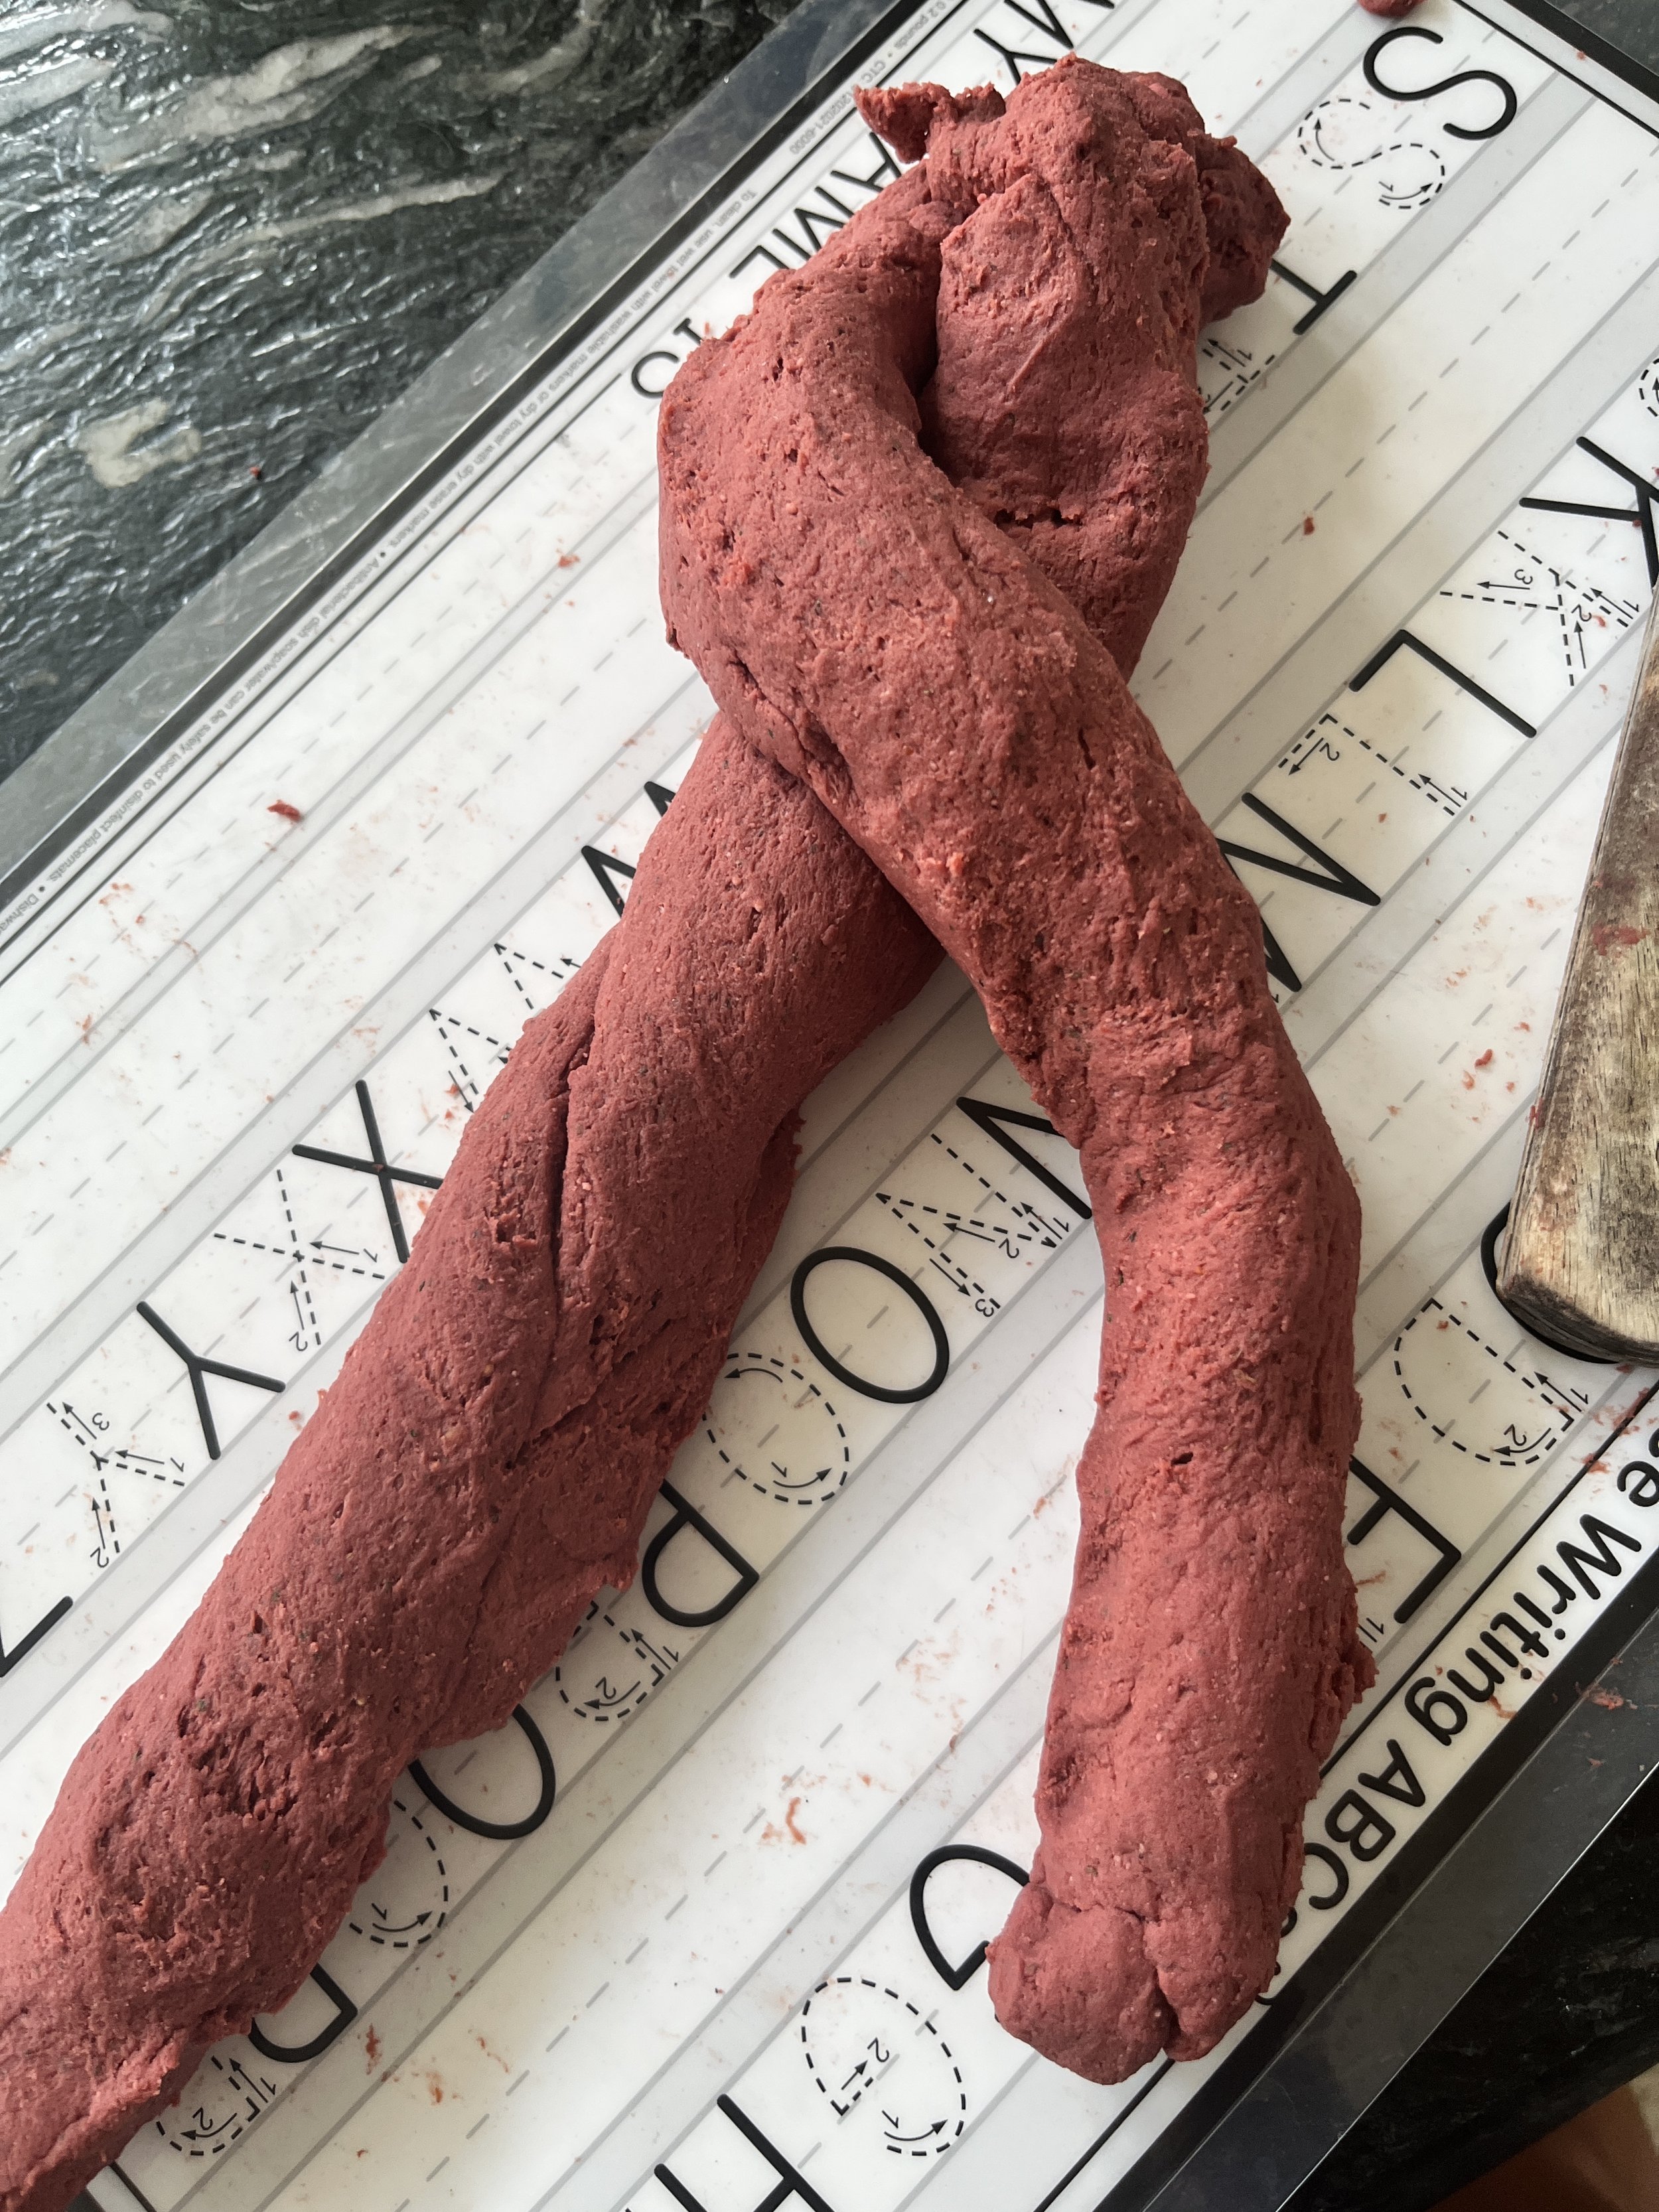
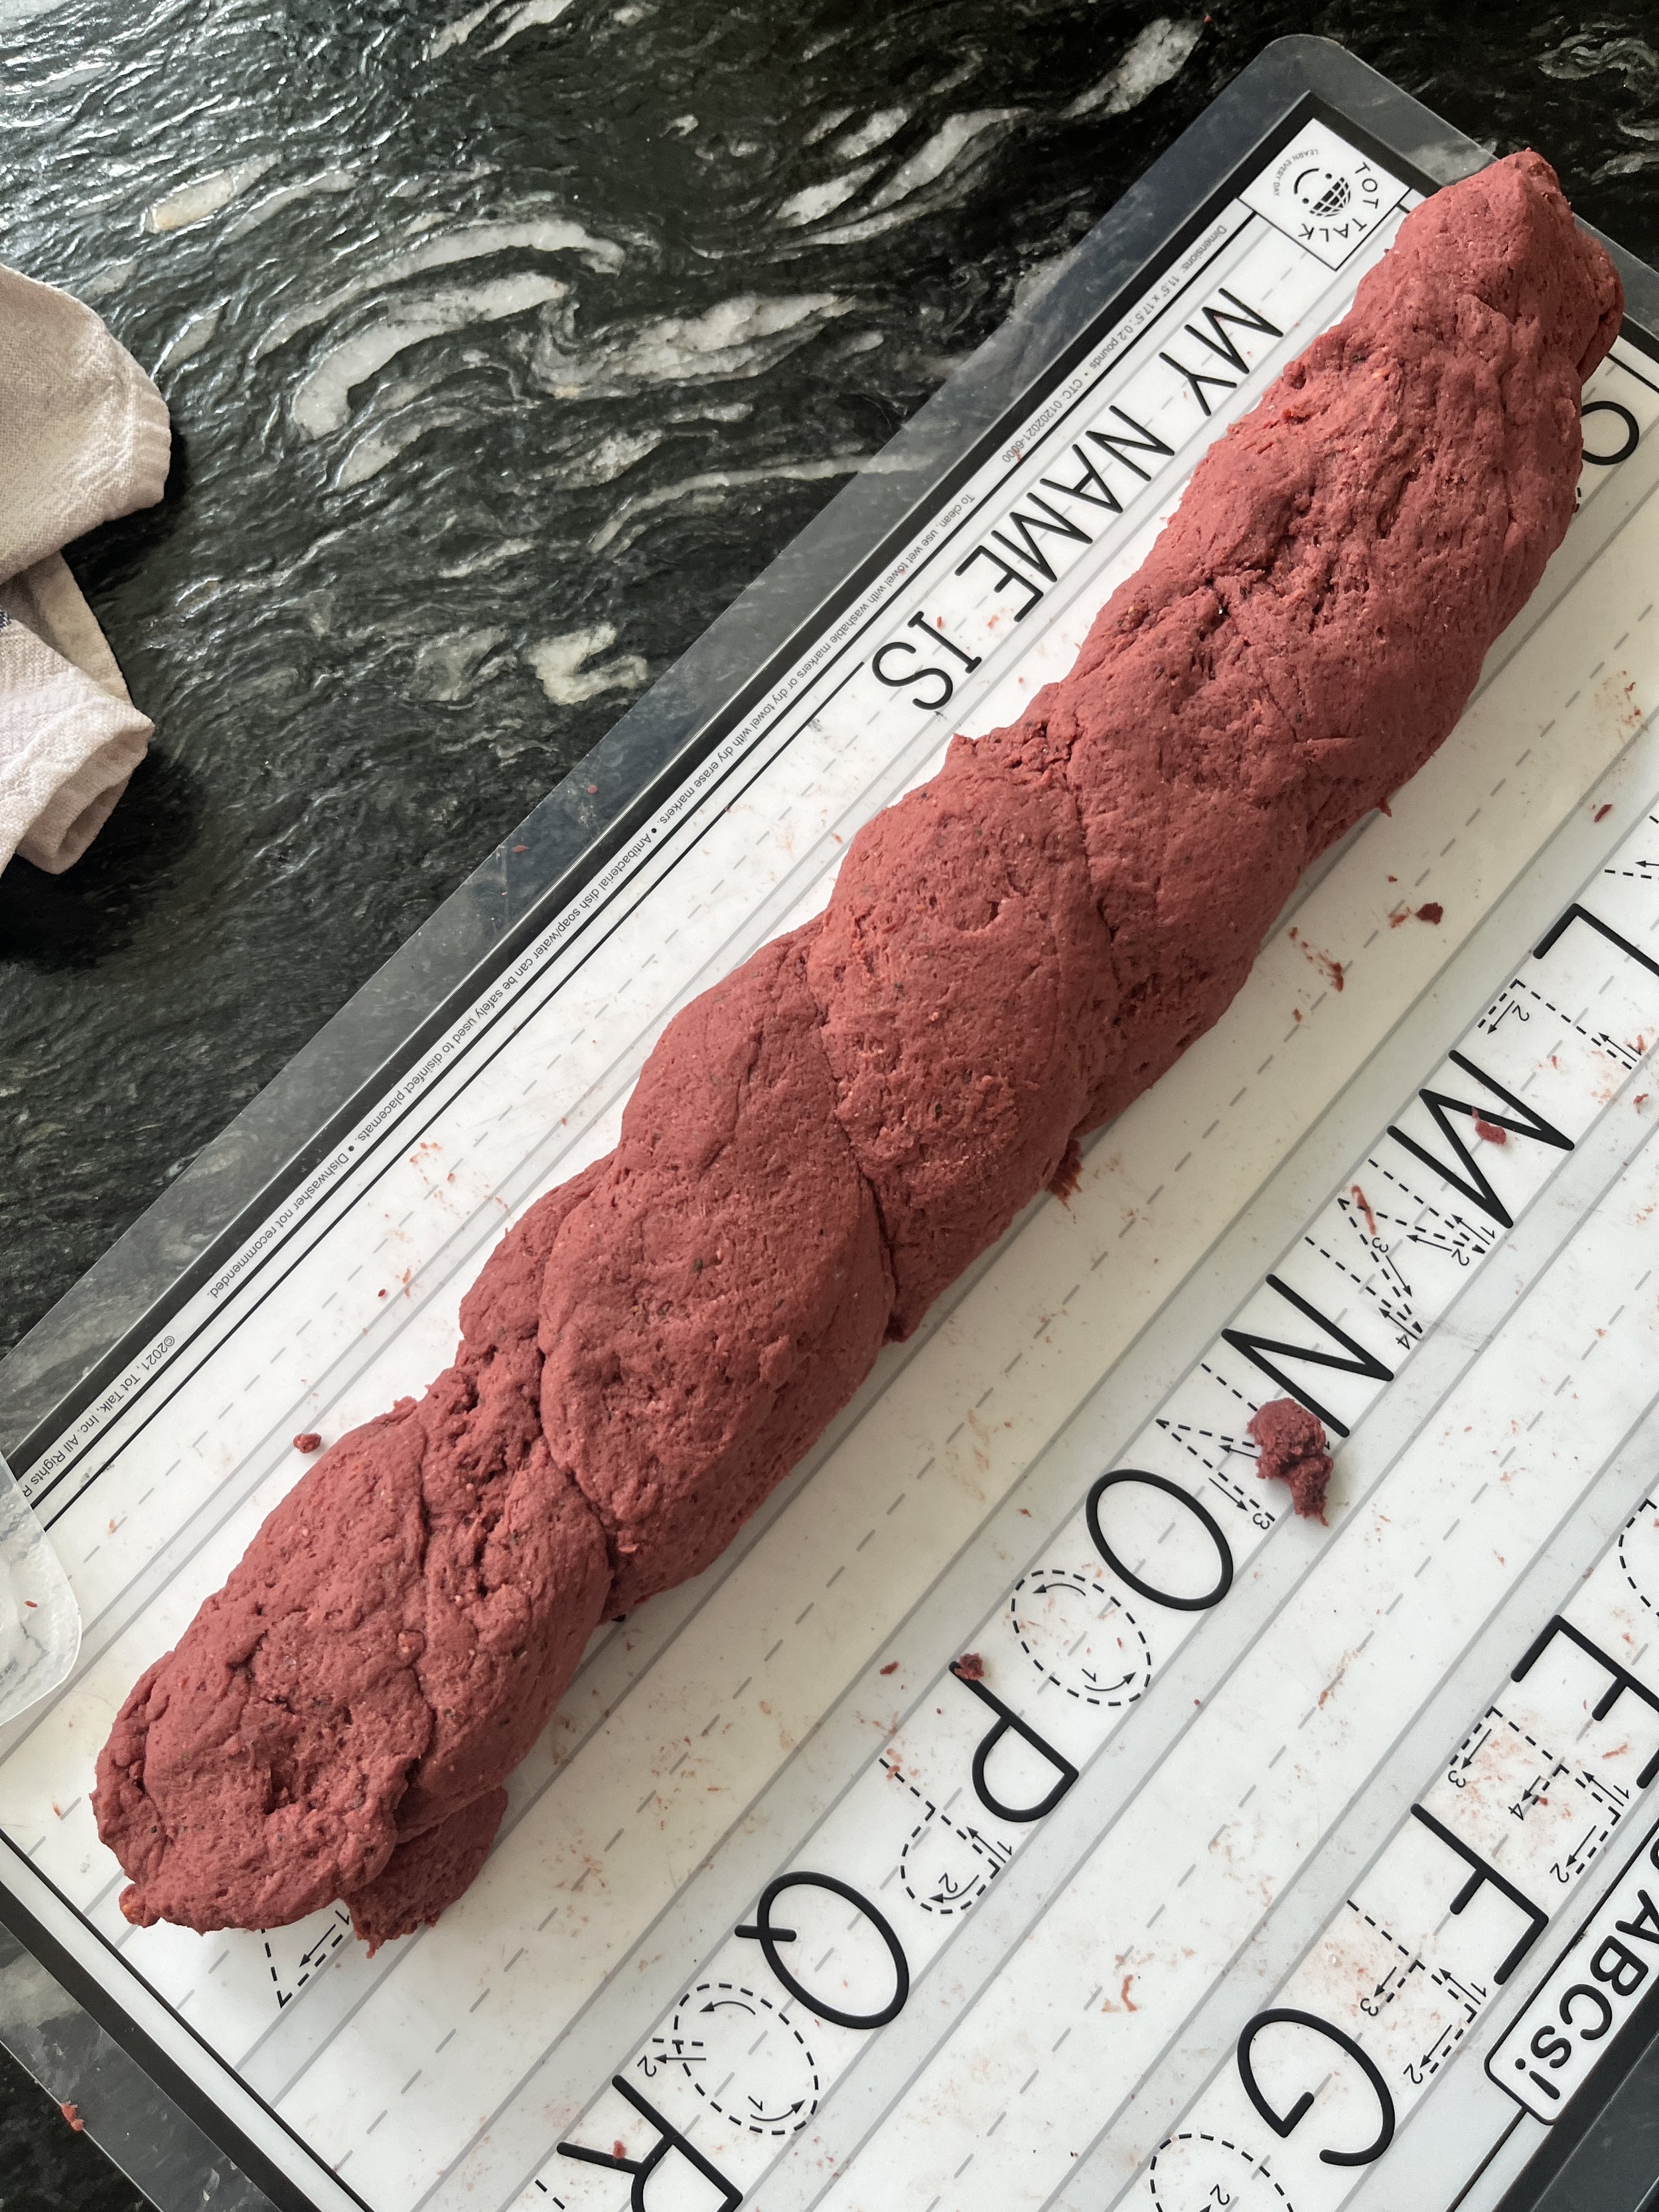
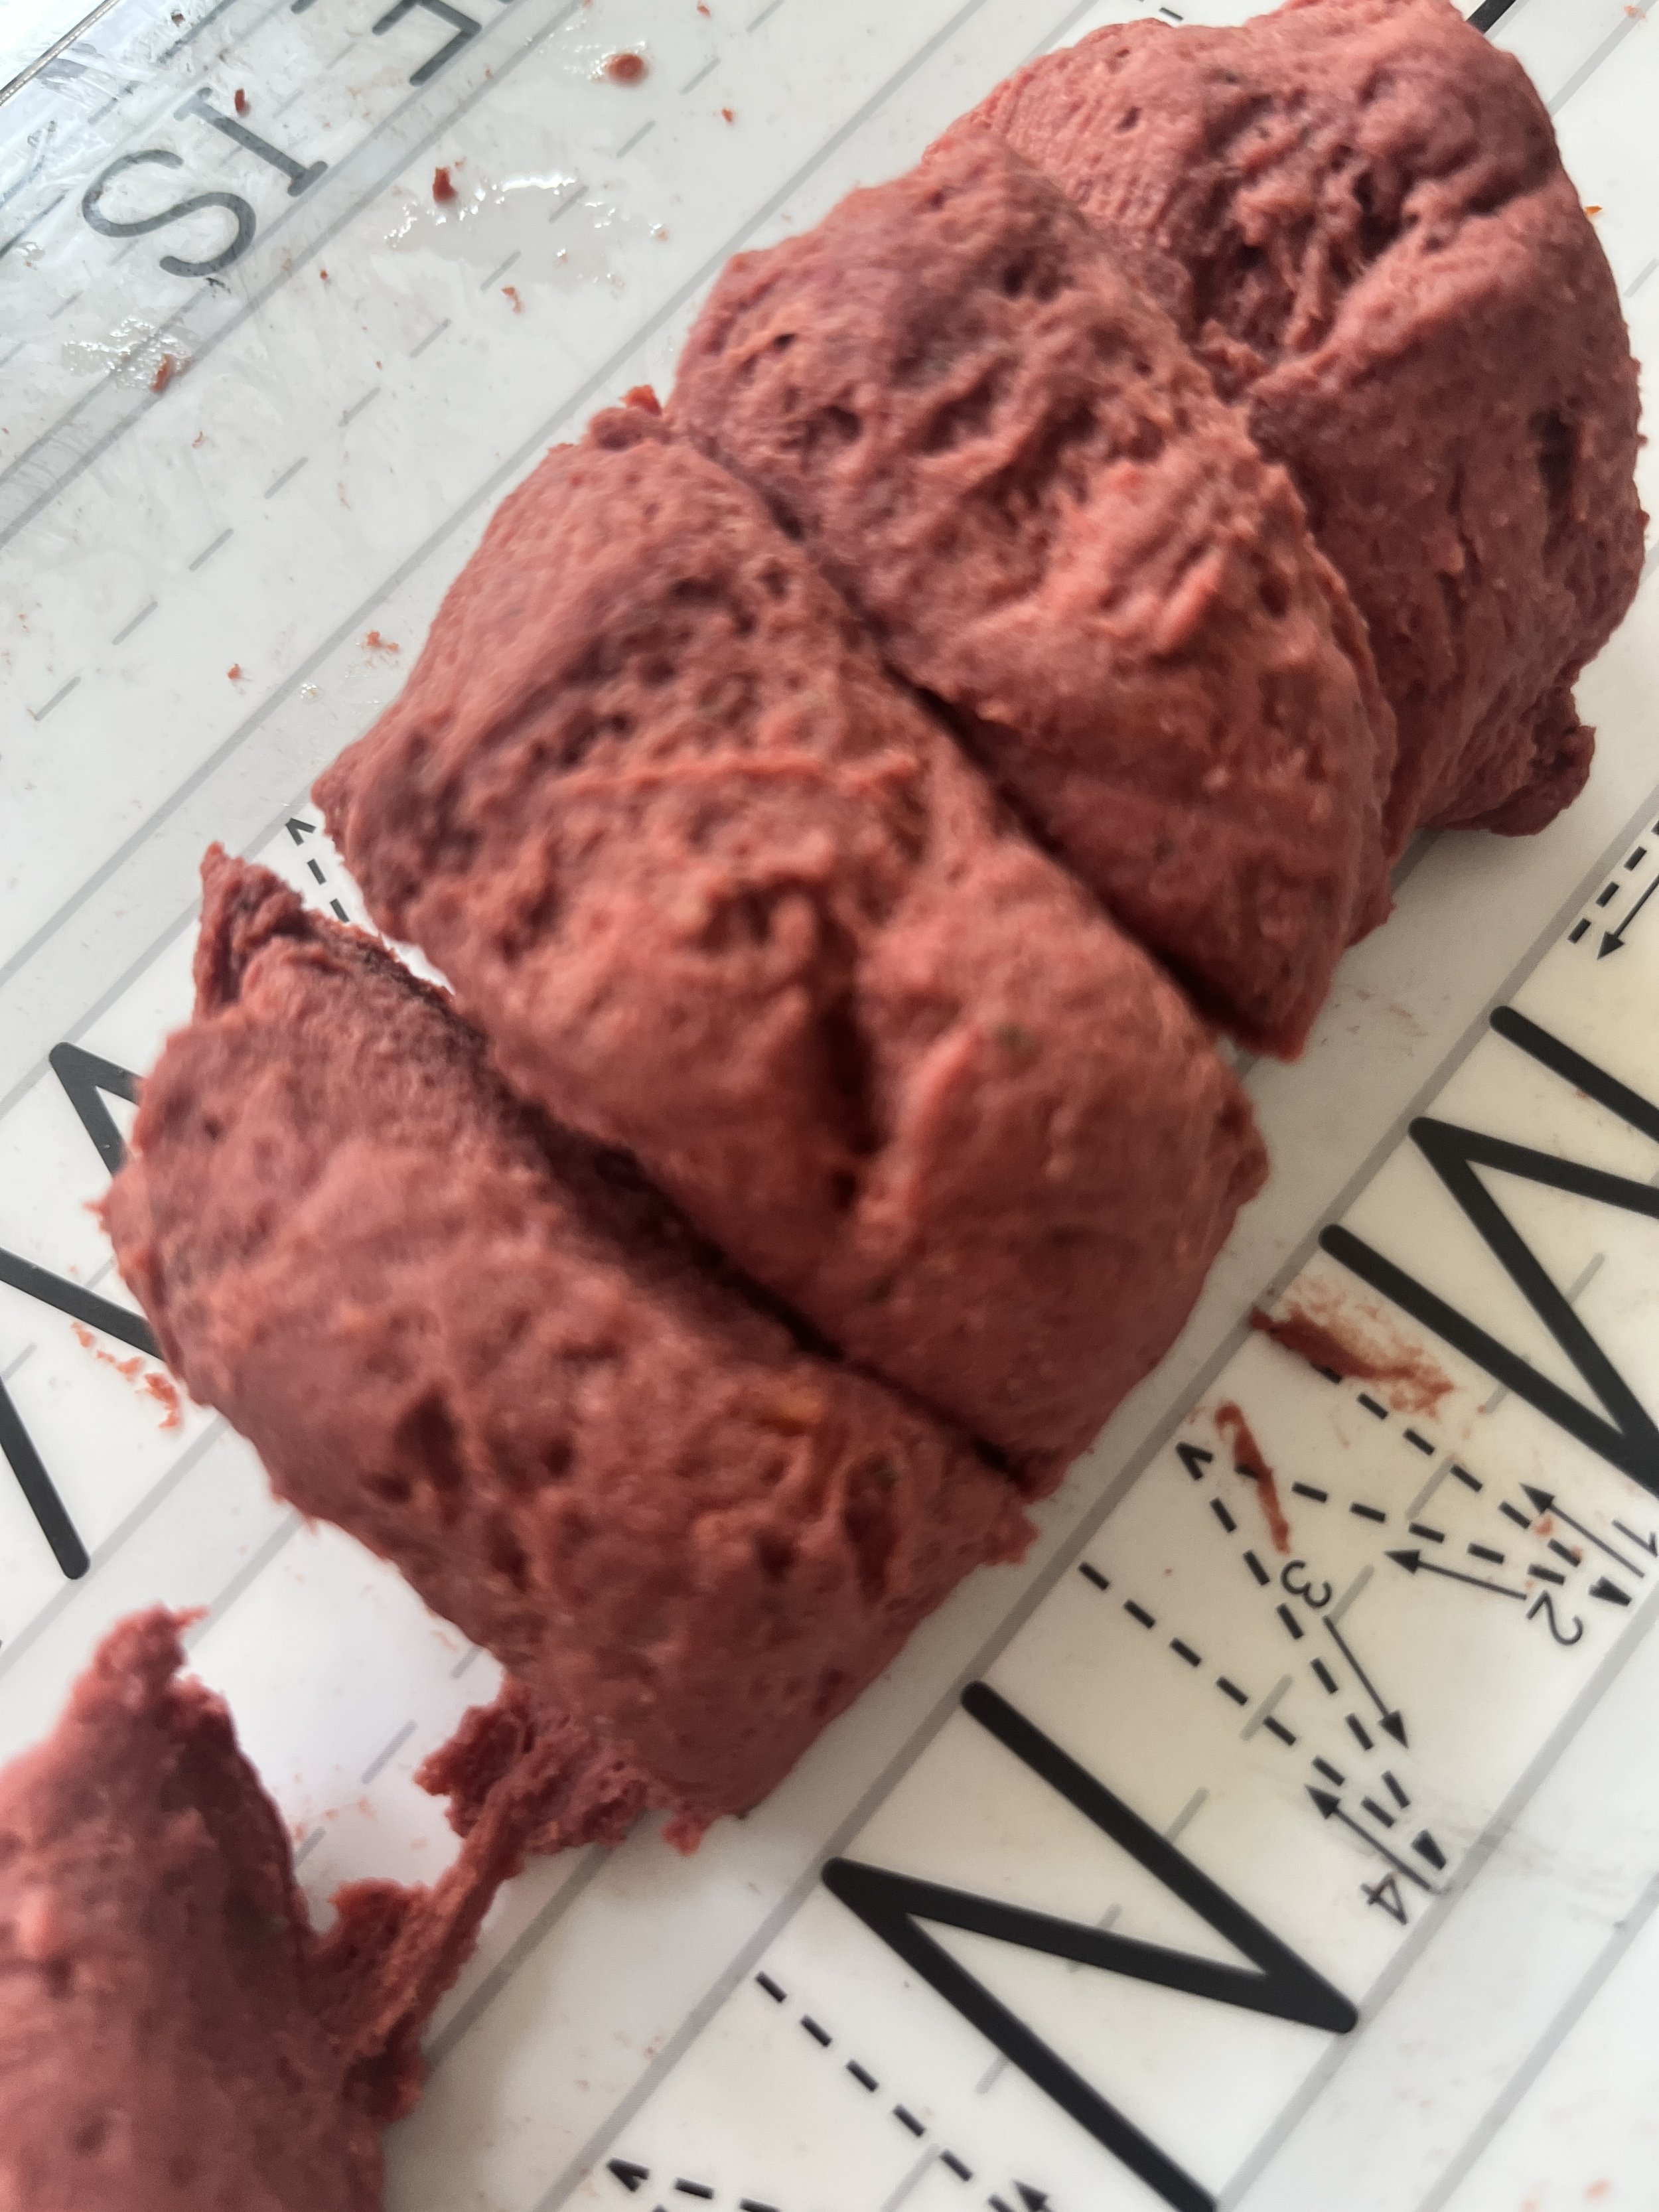
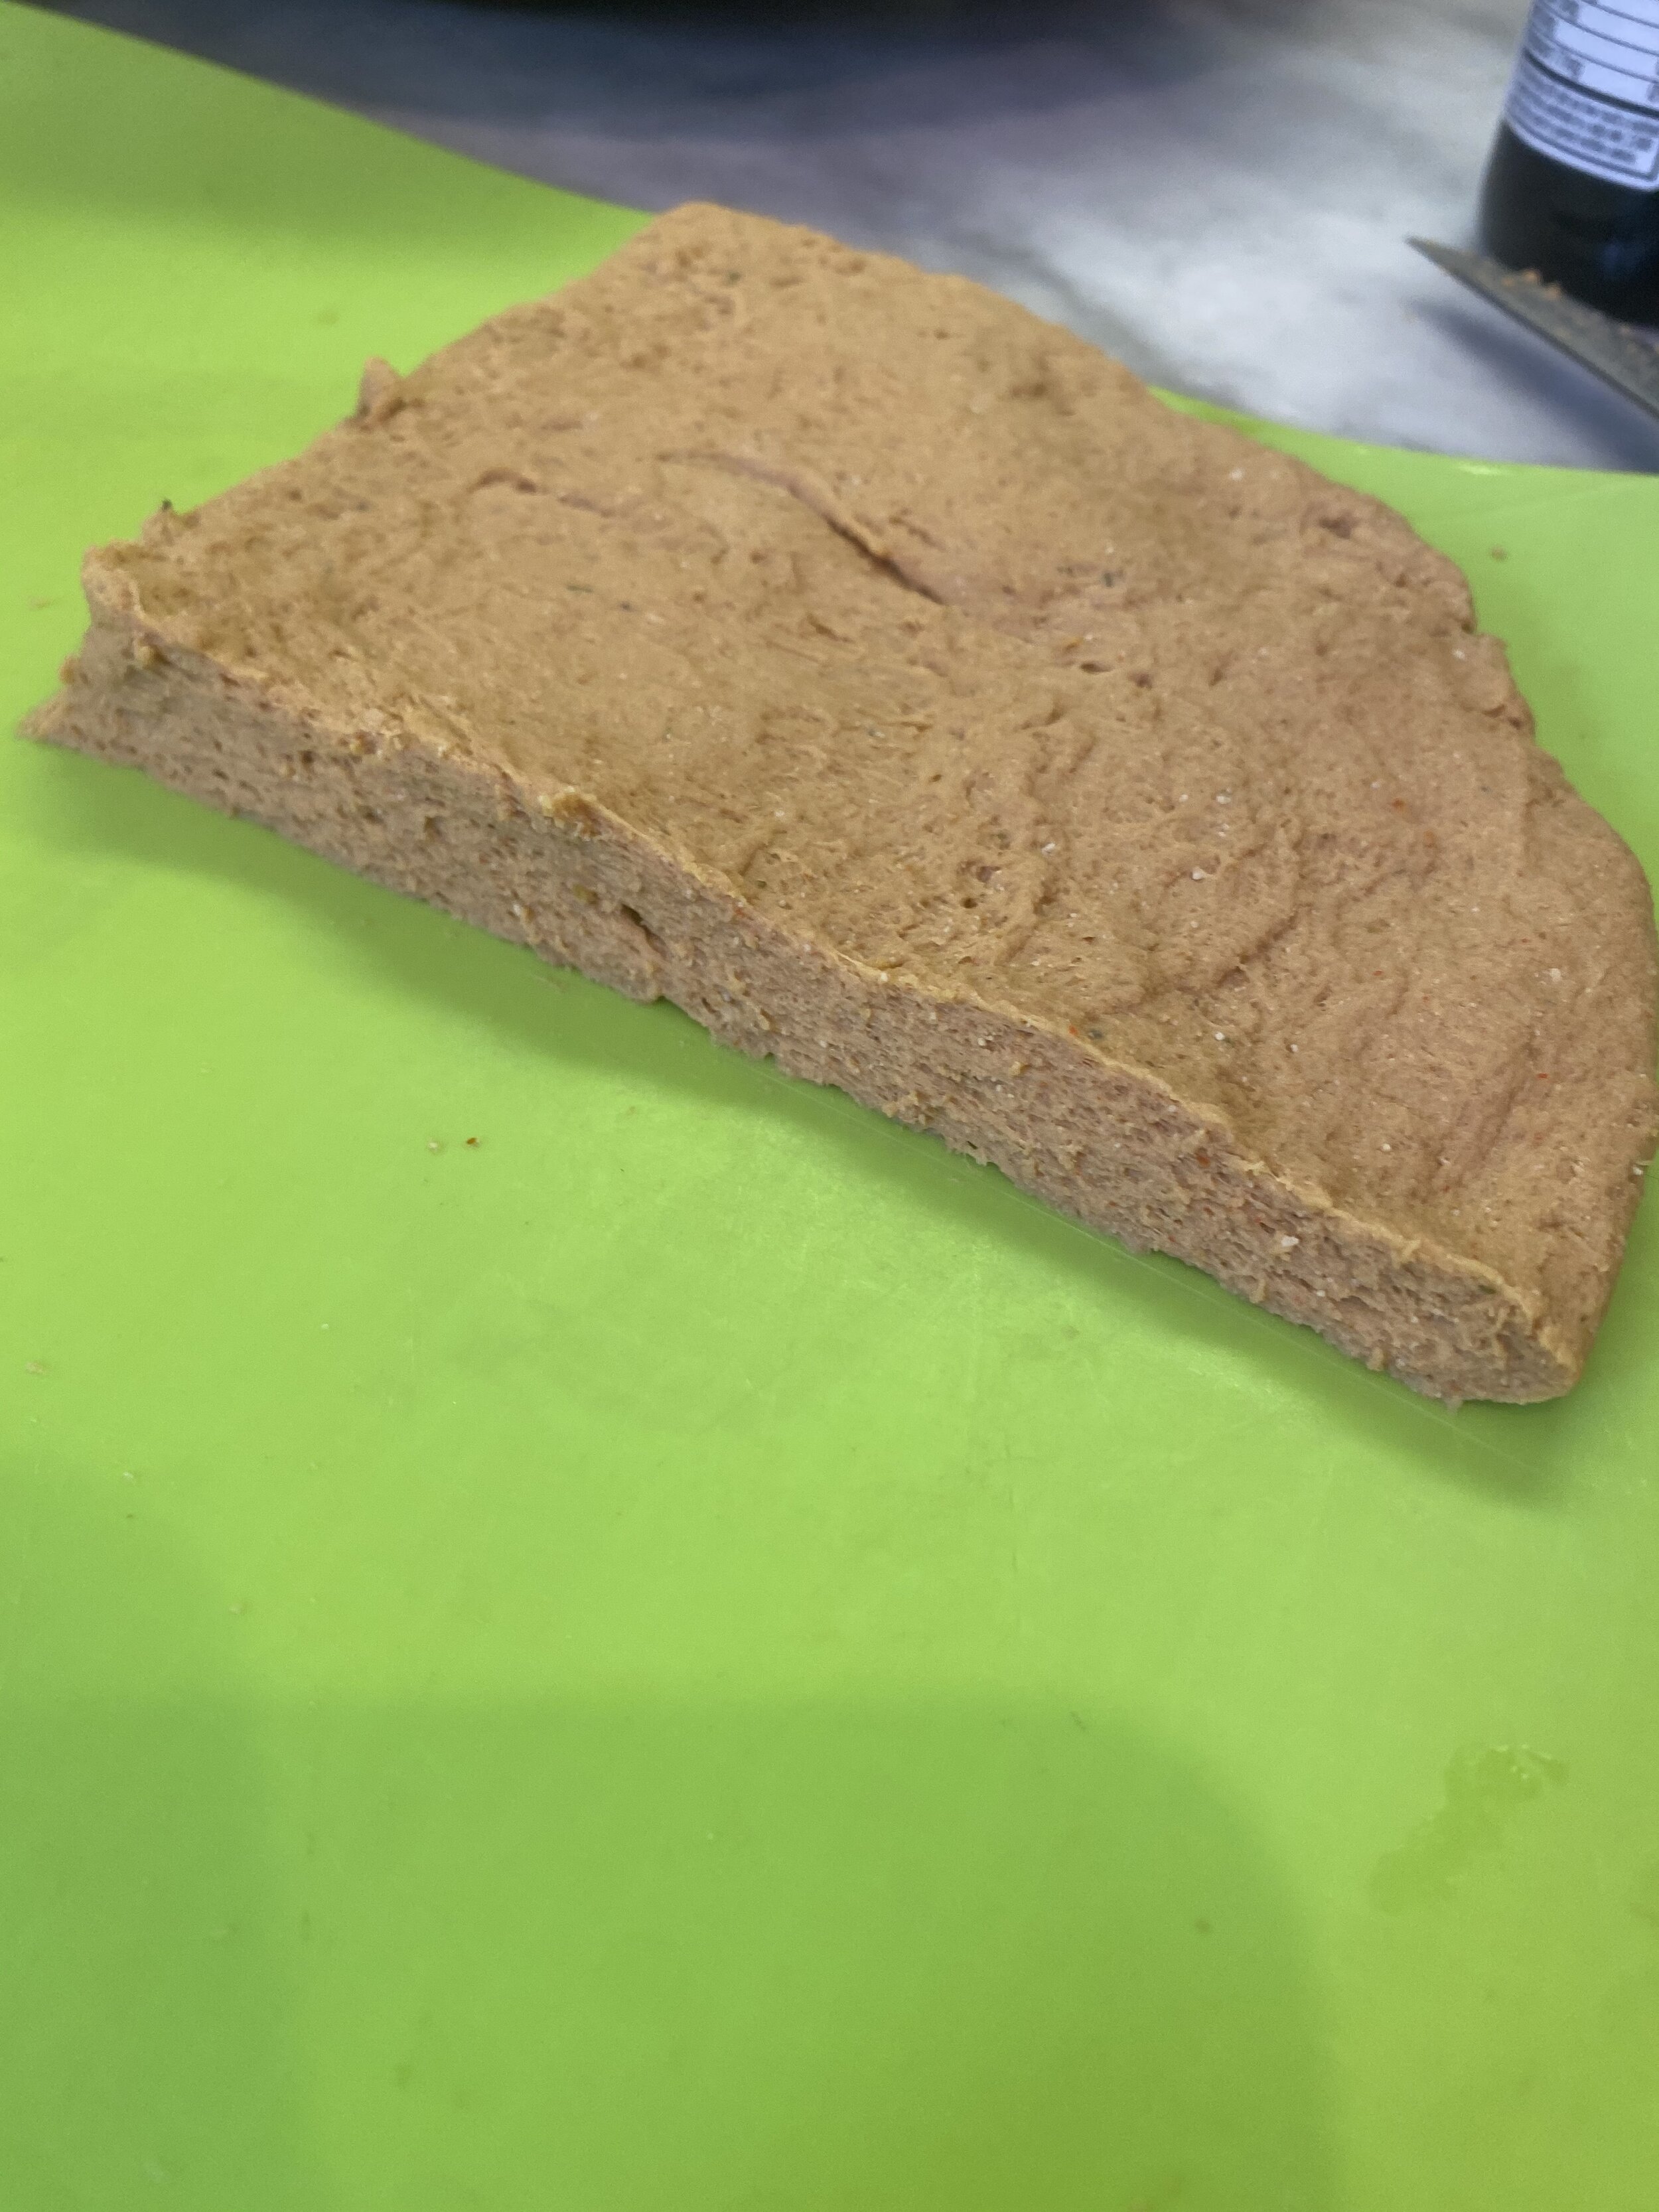
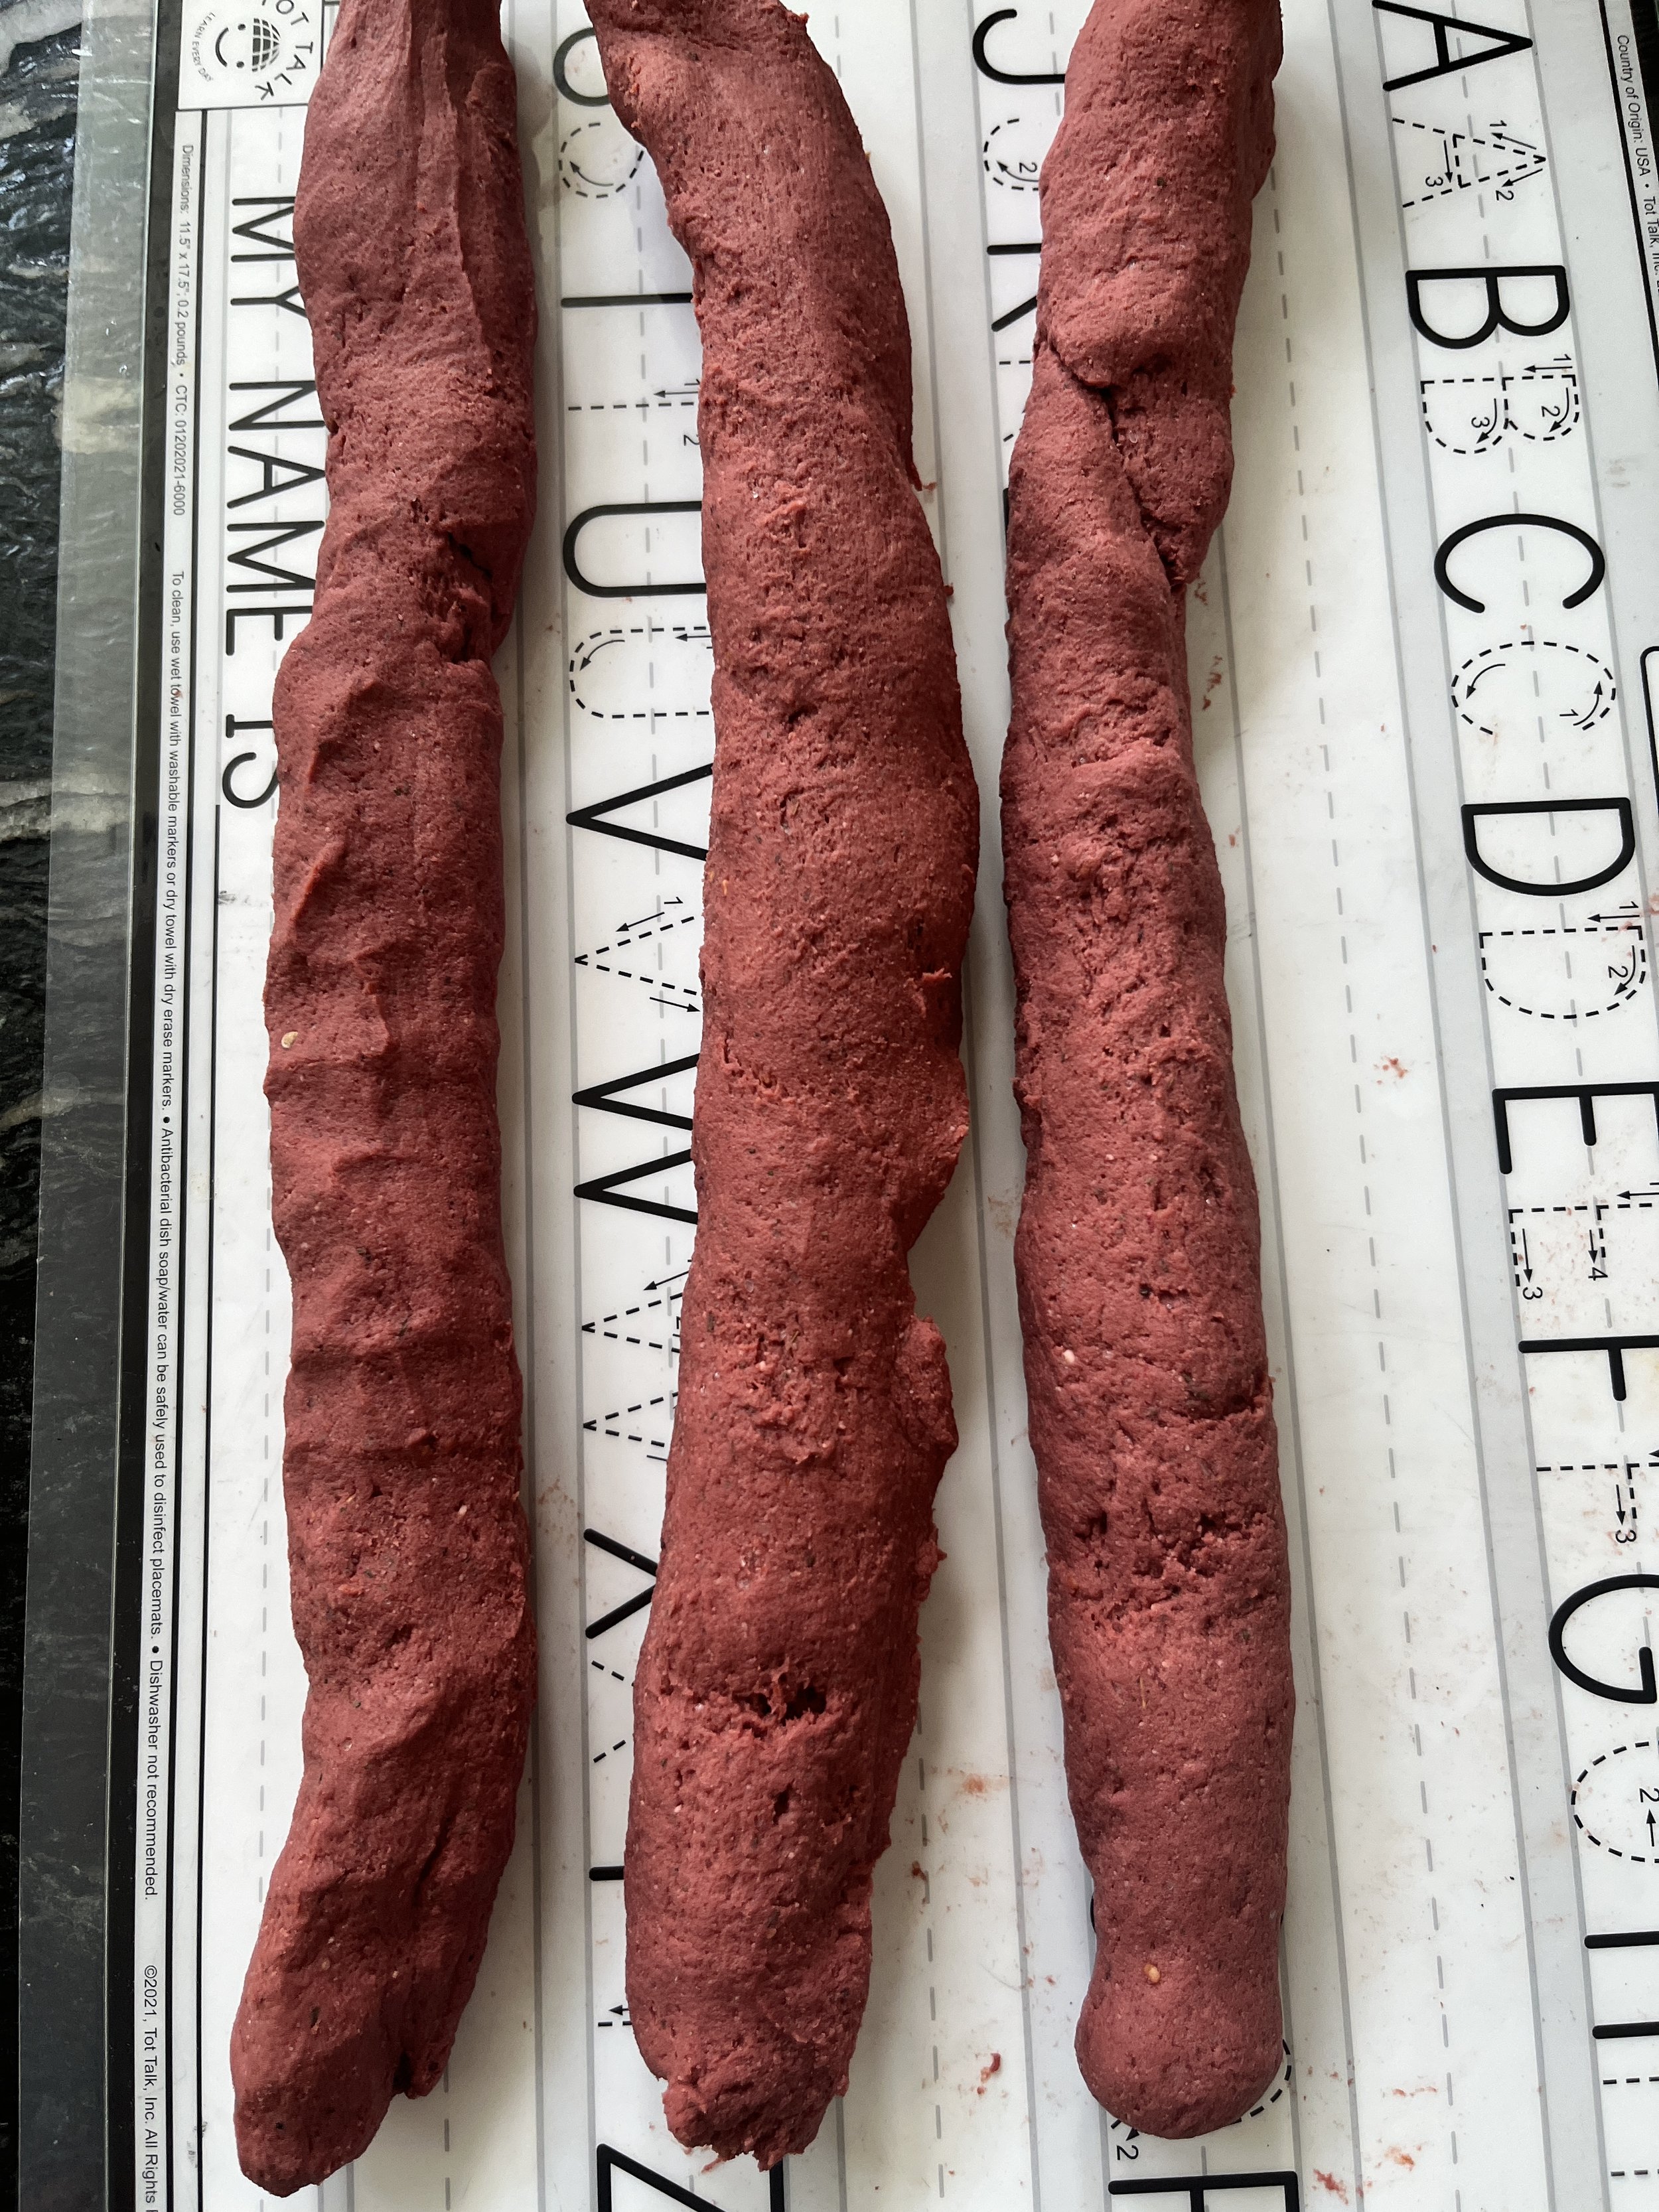
4. Evenly divide the dough into three pieces. ( see above for pictures of these following steps) Take one piece at a time a using your hands roll the dough into a rope around 12 inches long. Repeat with remaining two pieces. Lay the pieces on clean surface (cutting board, a borrowed ABC place mate from your 5 year old, clean counter top, whatever you got) side by side, pinch the top ends together. Braid the pieces as tightly as you can. Now cut the braid in half an roll each half into ropes about 16-18 inches. Pinch the ropes together at the top and twist them together as tightly as you can.

5. Now that you have one twisted rope, roll it back and forth on a smooth surface to sort of press it together. Cut the rope into 1 to 1 and 1/2 inch chunks. Press the chunks in the middle using your thumb kind of flattening them a bit. Braiding then twisting the dough give these beef tips a more beef life texture than just rolling out a smooth dough and cutting it. However you CAN just take the dough and roll it out into one long smooth 16 inch or so inch rope and cut it into chunks without the braid and twist. I just believe this is giving the shreddy texture. I have not tried without the braid and twist and if you try and find the texture beefy, by all means let me know and I will stand corrected!!

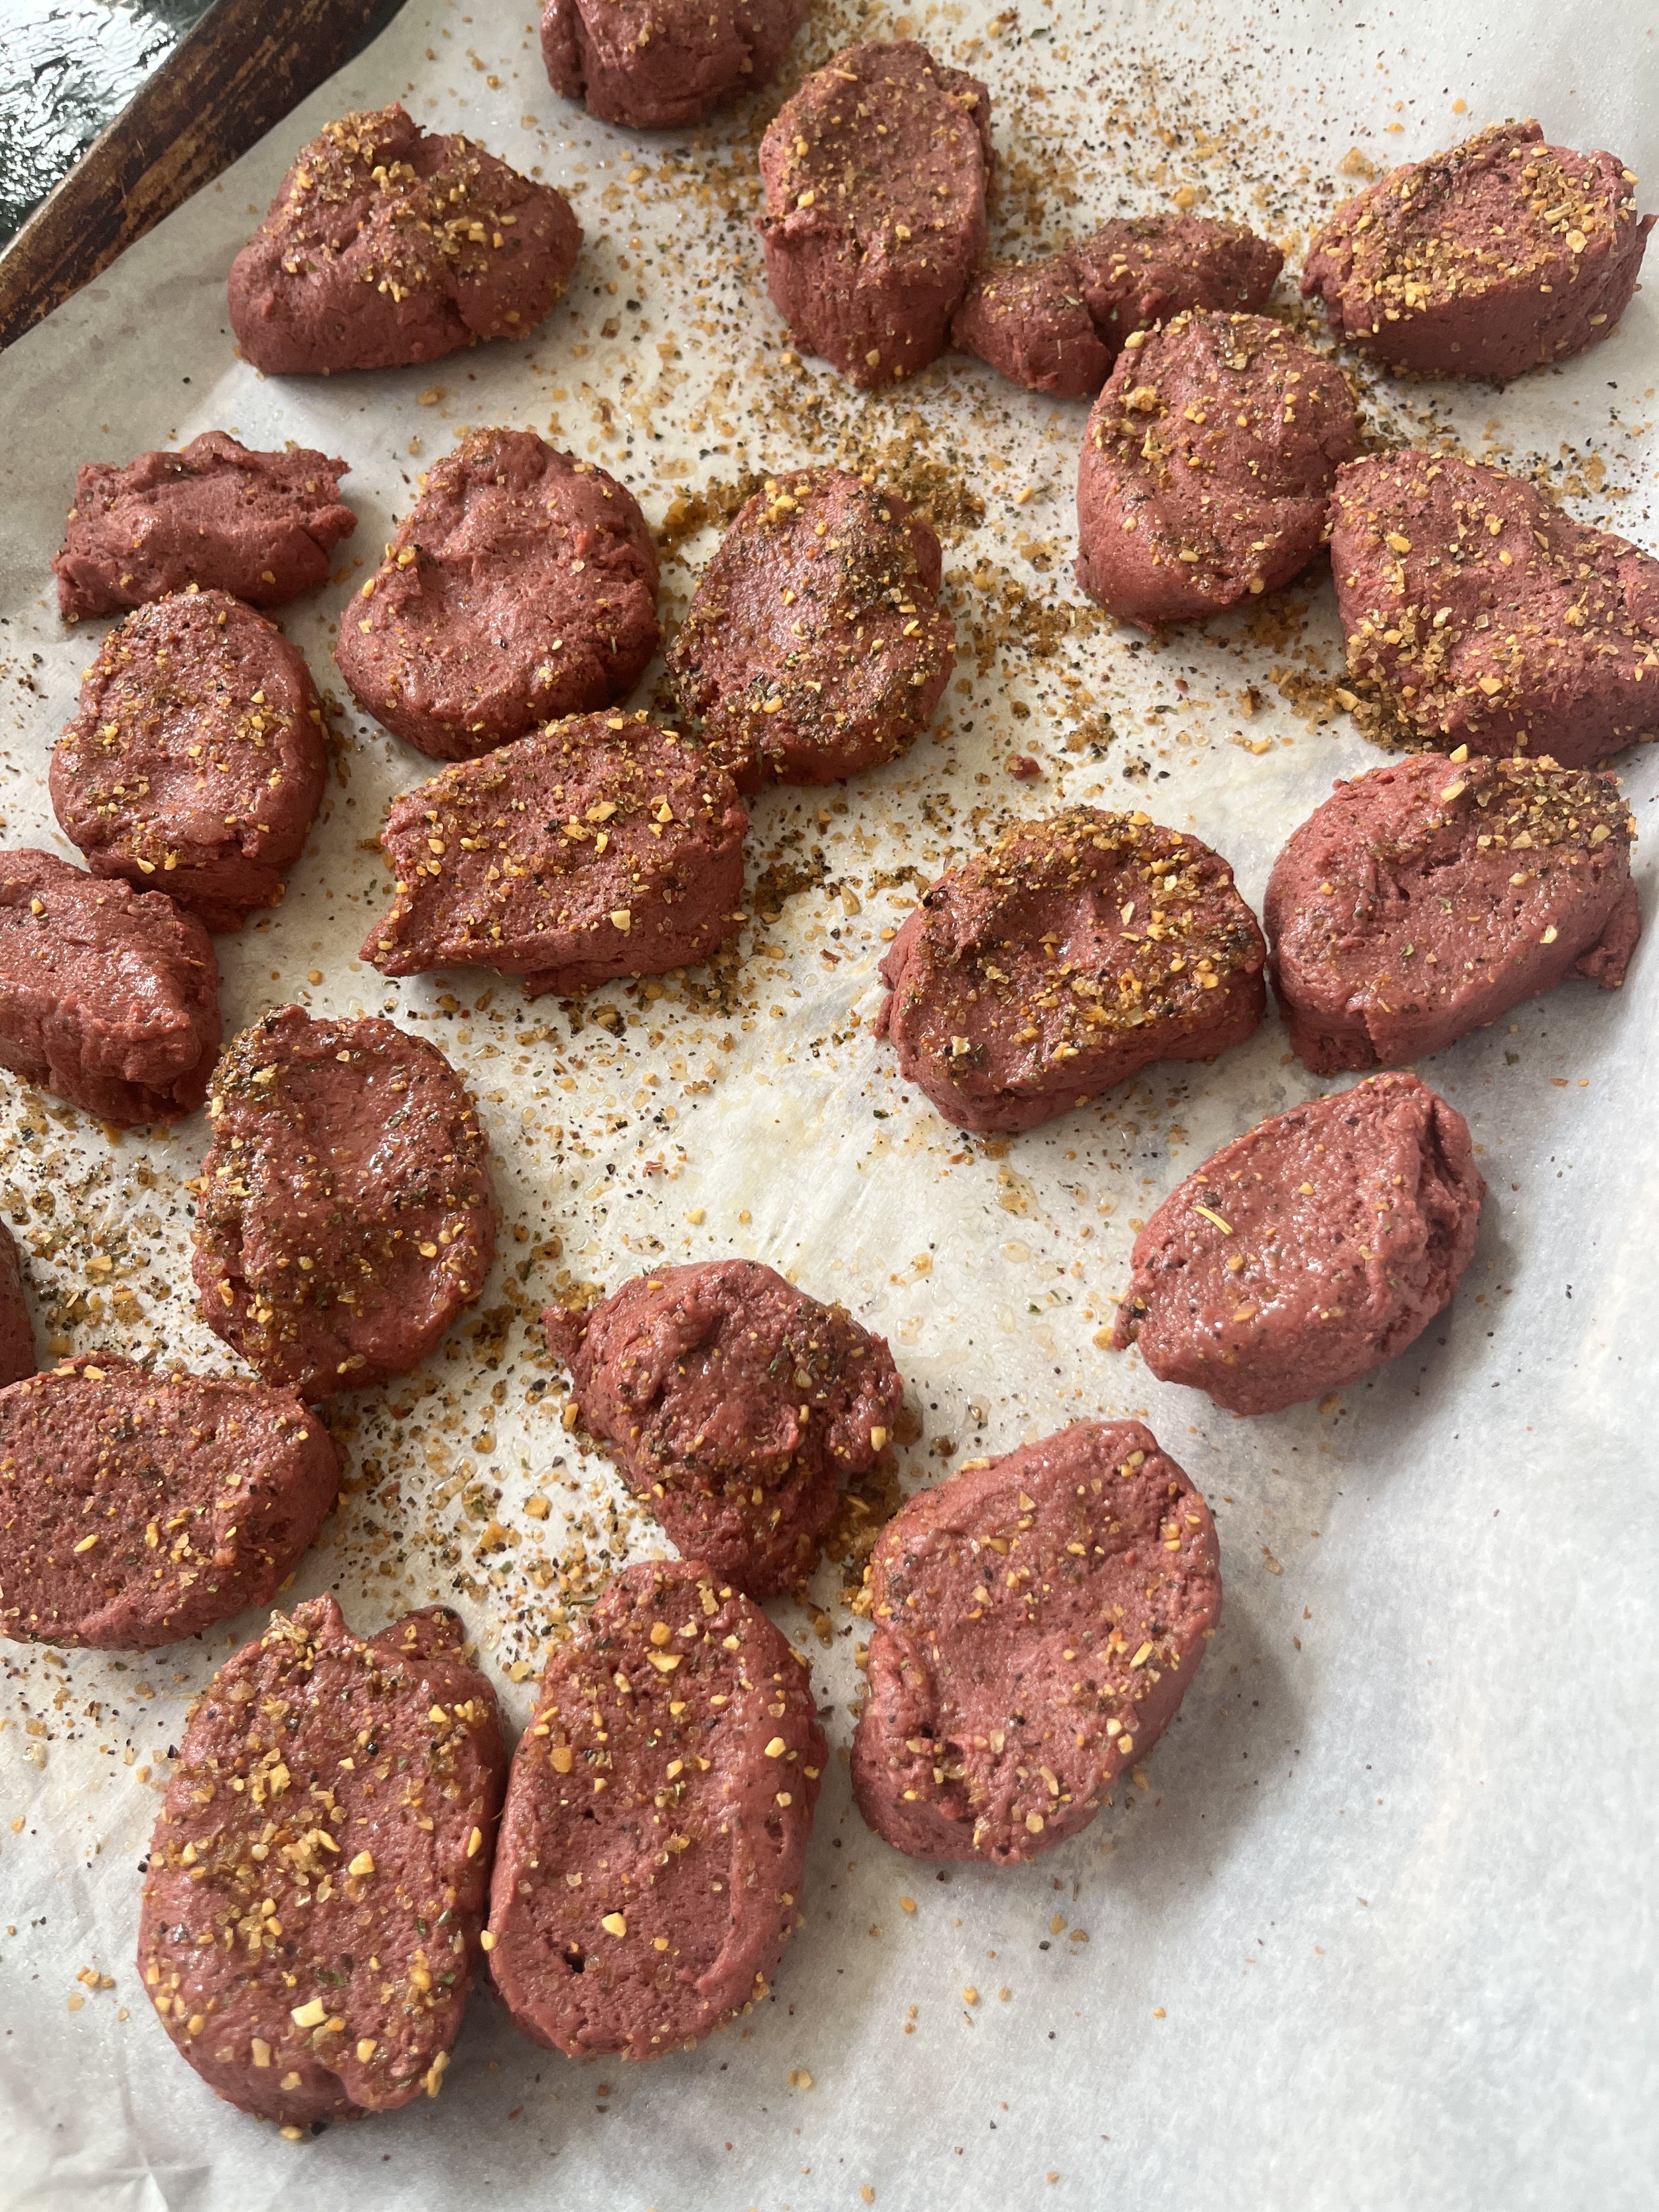
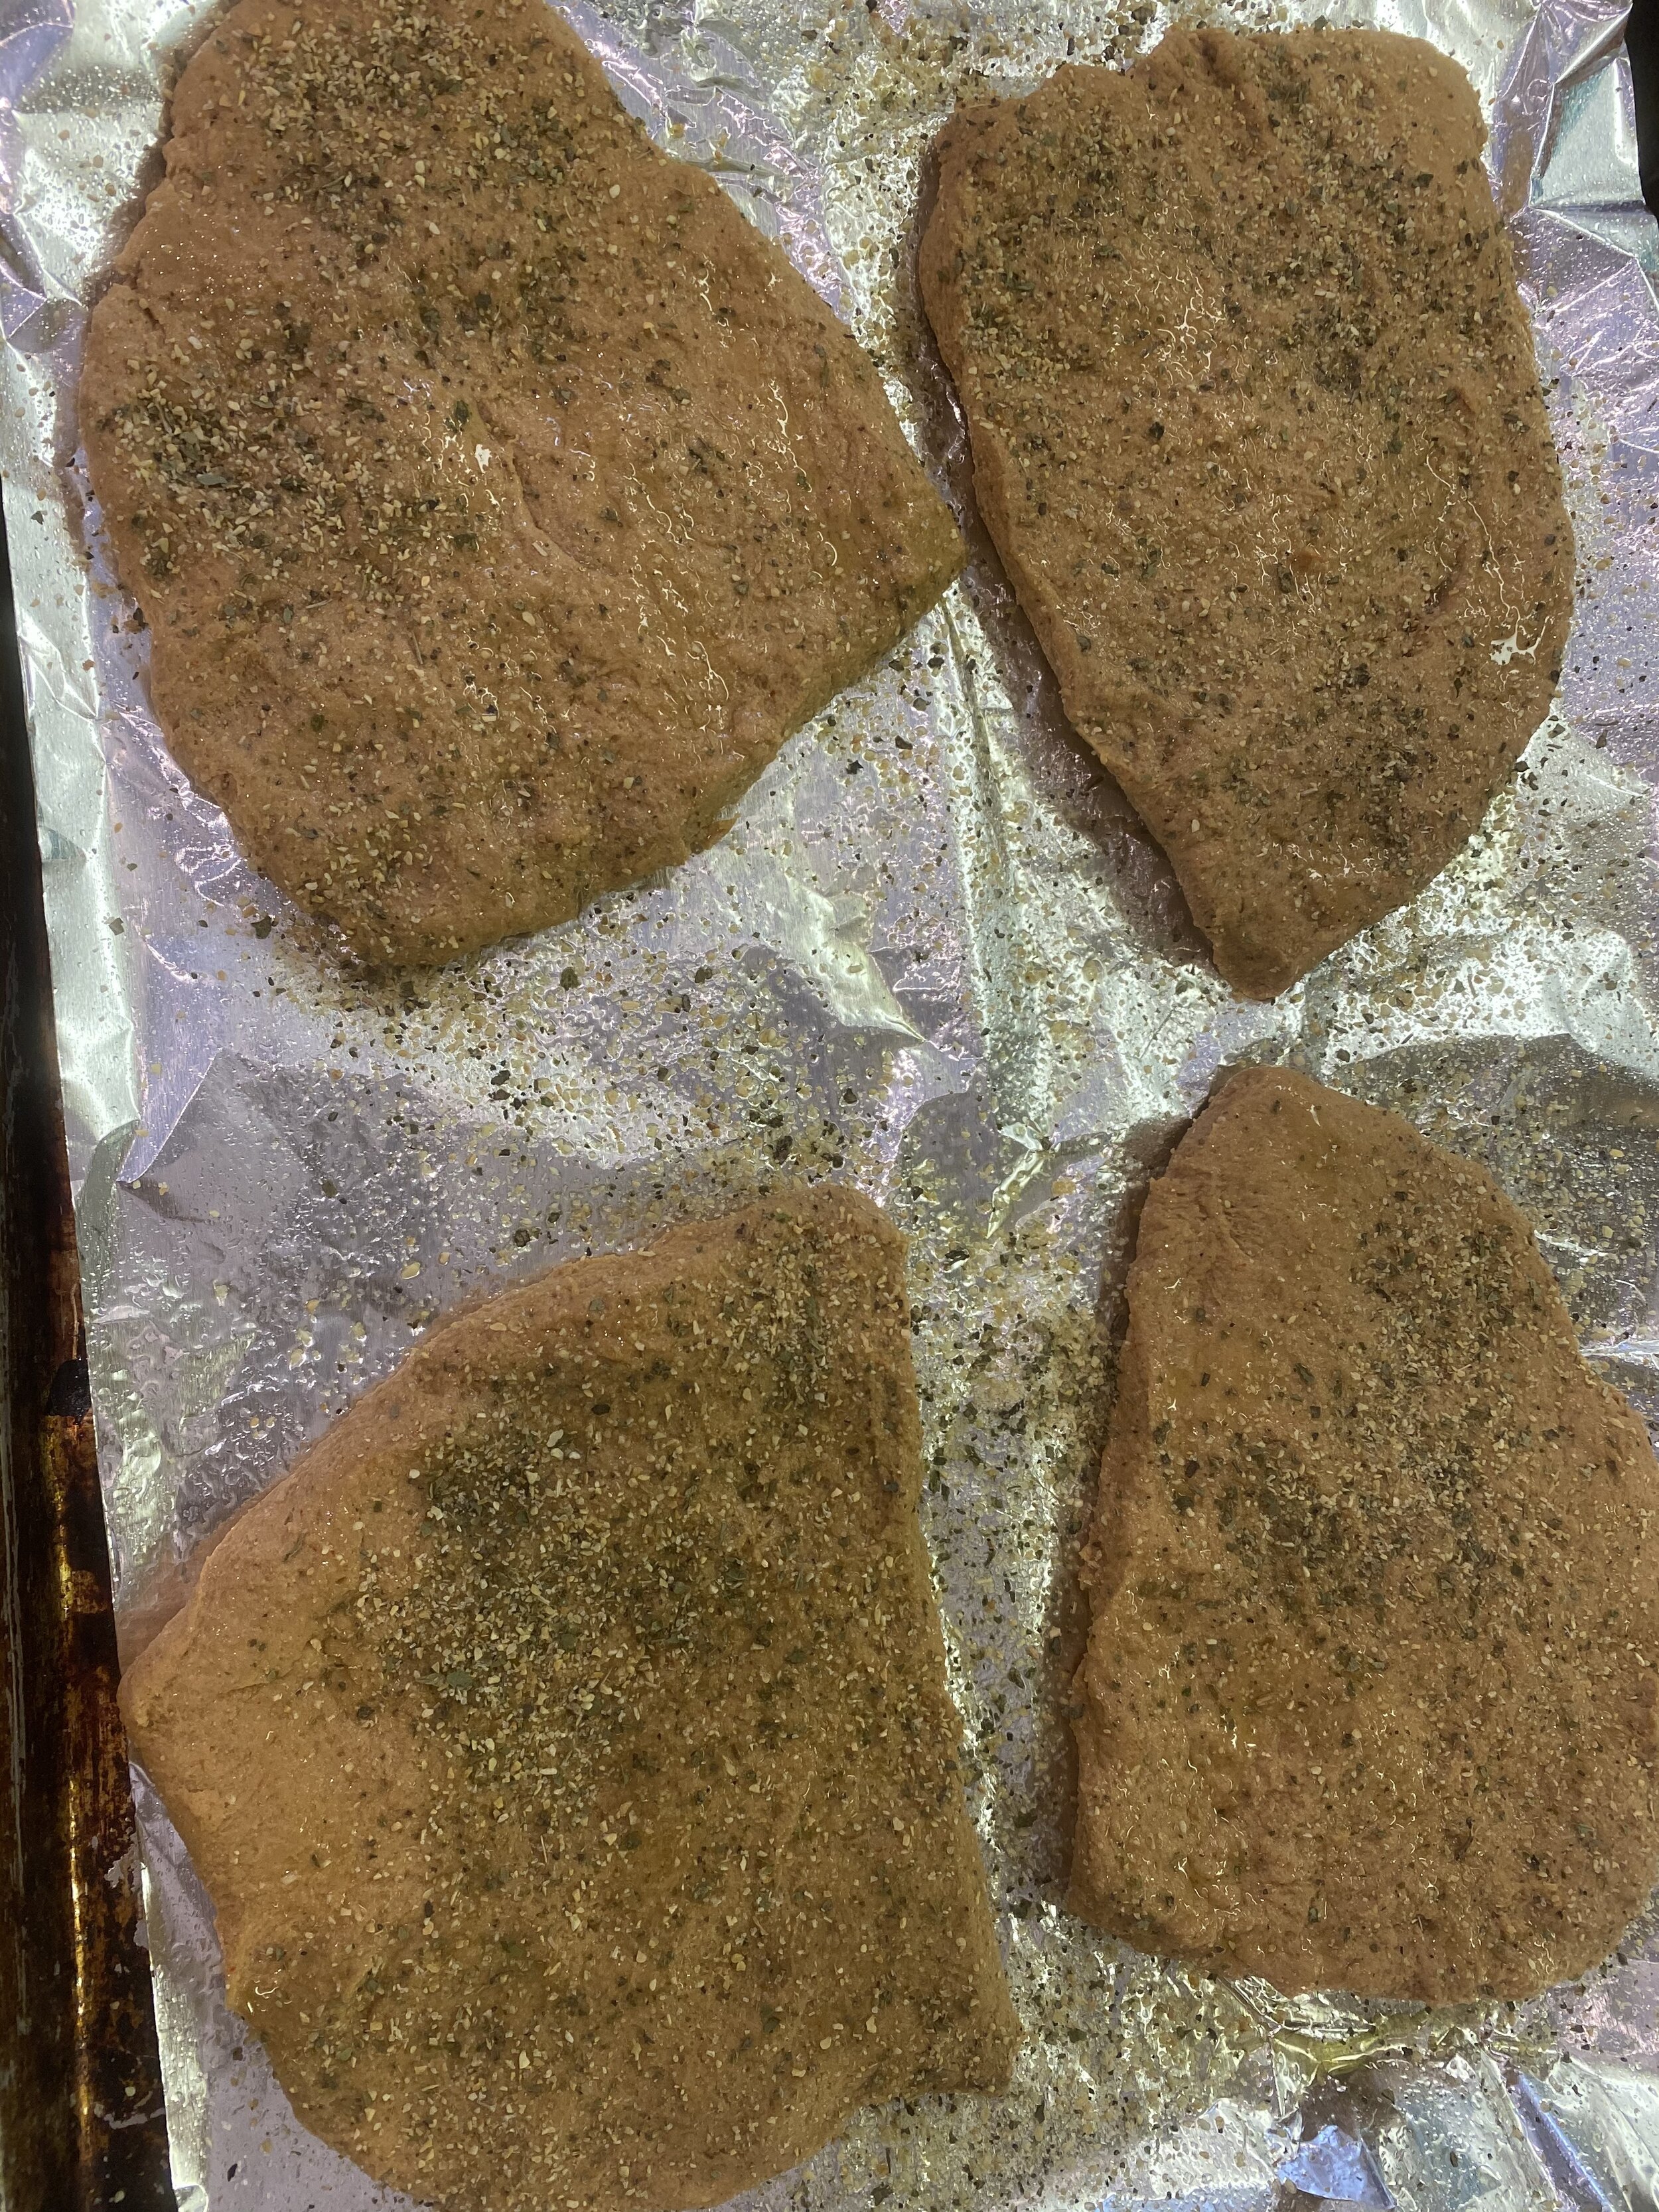
6. Lay a piece of parchment paper on top of a cookie sheet. Sprinkle the parchment in a steak blend seasoning. Lay the steak tips on the tray, give them a spray or brush with a little oil then roll them around in the seasoning. Take one or two large pieces of foil and cover the pan tightly with the foil.

7. Place the baking tray on the middle oven rack. Bake the beef tips for 15 minutes covered. Carefully remove the pan and from the oven and flip the steak tips using tongs. Replace the foil and bake for another 15 or so minutes depending on your oven and how hot it cooks. (read trouble shooting tips above about oven temp and oven thermometers)

8 .Remove the vegan steak tips from the oven and allow to cool at room temp. Once they have cooled place the baking sheet in there fridge or you can transfer the vegan steak tips to a storage container. Allow the vegan steak tips to cool for AT LEAST 5 HOURS. Seitan MUST rest for the texture to develop. It will seem soft or spongy before you let it rest. I prefer a full day rest but because these pieces are fairly small, a 6-8 hour rest will work. You can freeze the vegan steak tips for up to 6 months in an airtight container or freezer bag once I has cooled.

9. Use vegan steak tips in any recipe calling for steak or beef tips. Fajitas, tacos, kabobs, sandwiches , beef stroganoff, soups or stews, pizza topping , whatever!

If you like this recipe, then try these:

Vegan Gyro Meat

Have you ever seen the Luke Bryan and Jimmy Fallon song about how to pronounce Gyro? Well I am linking it because its hilarious! Go watch it and giggle.

I grew up in Georgia and live in Florida now, and let me tell you, southerners seem to really struggle hard with how to pronounce gyro, and I have to assume that issue goes beyond the south.

Regardless of how you have been pronouncing gyro, or mispronouncing gyro all these years, we maybe can agree, if you ever had a gryo pre vegan, they were delicious!


One of our favorite local restaurants is a place in Jacksonville Florida called Wafaa and Mikes. It is a Mediterranean restaurant attached to their family auto shop. And that alone probably tells you the food is amazing. Wafaa used to run the the restaurant and Mike ran the shop. Over the years other family members have taken the reigns, and now Wafaa’s son- in- law, Alabed, runs Wafaa’s. I could go on for days about this man’s genius. His food is delicious and so creative. And most importantly for us, he offers PLENTY of vegan options on the regular menu, and normally even creates a vegan special similar to the regular special they are offering. If you are ever in Jax you must go try this place. Seriously!!

I say all of this because I want the world to know about Wafaa and Mike’s, but also it is because of them that I ever made vegan gyro meat to begin with.

Several years ago we were chatting, and Alabed asked if I could create a meat for a vegan Mediterranean taco special he was going to be running. Side note, Mediterranean taco special is hands down my favorite special he does. So I said of course, and attempted to make a vegan gyro meat. This was early on when I had really only made some basic seitans and my vegan brisket was one of the few seitan recipes on my site.

Over all for an early seitan creation, the gyro meat was good, and then I never made another.

Why?!?! I don’t know really. I loved gyros before going vegan, but I also love a good falafel, or vegan grape leaves, or a hummus wrap, so when I do eat Mediterranean I am not usually pining for a gyro….until recently when out of nowhere I was?1?!?! Who knows why or what spurred it, but I suddenly really really needed a giant vegan gyro with EXTRA tzatziki. So I decided to give gyro meat another go.

This time I did things a bit differently. I didn’t want to just use my go to tofu vital wheat gluten base. This meat needs more texture since traditional gyro meat is beef and lamb combined. So I decided to also toss in some jackfruit for hopefully more texture. Beyond that I kept it pretty basic with traditional gyro spices, did my regular foil wrap bake, but this time added a simmer before the bake to get some extra flavor in there…..and once again you have a pretty beginner level, easy peasy, delicious seitan recipe.

This gryo meat will keep in the fridge in an air tight container for 10 days or can be frozen for up to 6 months. I often slice up my seitans and freeze half for later. Toss the seitan on the counter to thaw, and weeknight dinner just got that much easier.

Also I love to encourage anyone who has never tried their hand at setian to just TRY IT. Most of my seitan recipes and so simple and pretty forgiving. Be sure to read my troubleshooting notes below the ingredients list to see easily solvable, common issue with any seitan. It will save you some heartache down the road.

So, there you go, a simple way to make vegan gyro meat, and a song to help you pronounce it correctly. All in one blog post. Thats what I am here for y’all. And don’t forget to go see Alabed at Wafaa and Mike’s in Jax if you are ever in town. Best hummus, falafel, chickpea tacos, and unsweet tea you will ever have. EVER!


INGREDIENTS:

  • 2 cups vital wheat gluten

  • 20 oz can jackfruit in brine ( not in syrup)

  • 8 oz (half block) super firm/high protein tofu (the kind in the vacuum sealed package with little liquid)

  • 1/4 cup corn or tapioca starch

  • 1/4 cup nutritional yeast

  • 1-2 tablespoons no beef or vegetable Better than Bouillon, or similar bouillon paste or powder

  • 1 tablespoon tomato paste

  • 2 teaspoons vegan Worcestershire sauce

  • 1 tablespoon neutral flavored oil, like canola or grapeseed ( can use water if oil free)

  • 1 teaspoon apple cider vinegar

  • 1 tablespoon dried parsley

  • 2 tablespoons dried marjoram

  • 1-2 tablespoons dried or fresh rosemary

  • 2 teaspoons onion powder

  • 2-3 teaspoons garlic powder

  • 3 teaspoons celery salt

  • 2 teaspoons black pepper

SIMMERING LIQUID:

  • 4 cups water

  • 1 tablespoon Better than Bouillon

  • 2 teaspoons garlic powder

  • 2 teaspoons onion powder

  • 2 teaspoons dried parsley

  • 2 tablespoons soy sauce

  • 2 tablespoons corn or tapioca starch whisked in a 1/4 cup of water.

DRY RUB:

  • 1-2 teaspoons marjoram

  • 2 teaspoons onion salt

  • 1-2 teaspoons rosemary

  • 1 teaspoon each black pepper and salt

  • a few teaspoons of oil or spray oil


TROUBLE SHOOTING THIS RECIPE:

*I used high protein tofu in a vacuum sealed package and this what I strongly advise using. It is much firmer than regular firm tofu and has less moisture and a more chewy texture. If you opt to use regular firm tofu you will need to press it first and remove as much liquid as possible. You may need to adjust the amount of water in the recipet as well. Add the water last, adding just enough to accomplish a firm dough.

*If you do not like foil, you can wrap this seitan in parchment then foil. The foil then won’t touch the food and you can reuse it several times, limiting foil waste. It does need a tight wrap and to steam in the oven inside the foil.

*I do NOT hava a GLUTEN FREE suggestion for this recipe. It is a vital wheat gluten based recipe and I do not have a suitable replacement for the VWG.

*If you find your turkey has A LOT OF LITTLE HOLES, and a more BREAD LIKE TEXTURE this can be caused from under kneading the dough, BUT more likely cooking the seitan at too high of a temperature, or for too long. Check your oven’s temperature with an oven thermometer. Your oven may just be cooking hotter than it registers. Also gas and electric ovens tend to cook differently. If you do not have an oven thermometer you can reduce the heat in your oven by 25 degrees, and keep the seitan covered for 60 minutes and open for 10-15.


INSTRUCTIONS:

  1. Begin by adding the drained jackfruit to a food processor with the regular blade and blend until minced up a bit. (This is all the bits of jackfruit! Everything in the can besides the liquid!)

  2. Break up the tofu and place it into a food processor. Run the processor for around a minute until the tofu is broken down.

  3. Add all of the remaining ingredients and let the food processor run for a couple of minutes. You want the mixture to form a dough. Letting the processor run will help knead the dough. You just need to mix until the dough has come together. Just a minute or so.

  4. Once you have a smooth but firm dough, remove it from the food processor and place on a clean counter. Knead the dough with your hands for about a minute. Cut dough in half, forming TWO kind of oval shaped loaves with the dough. It is hard to get one giant loaf to cook through with the recipe. Trust me, I tried.

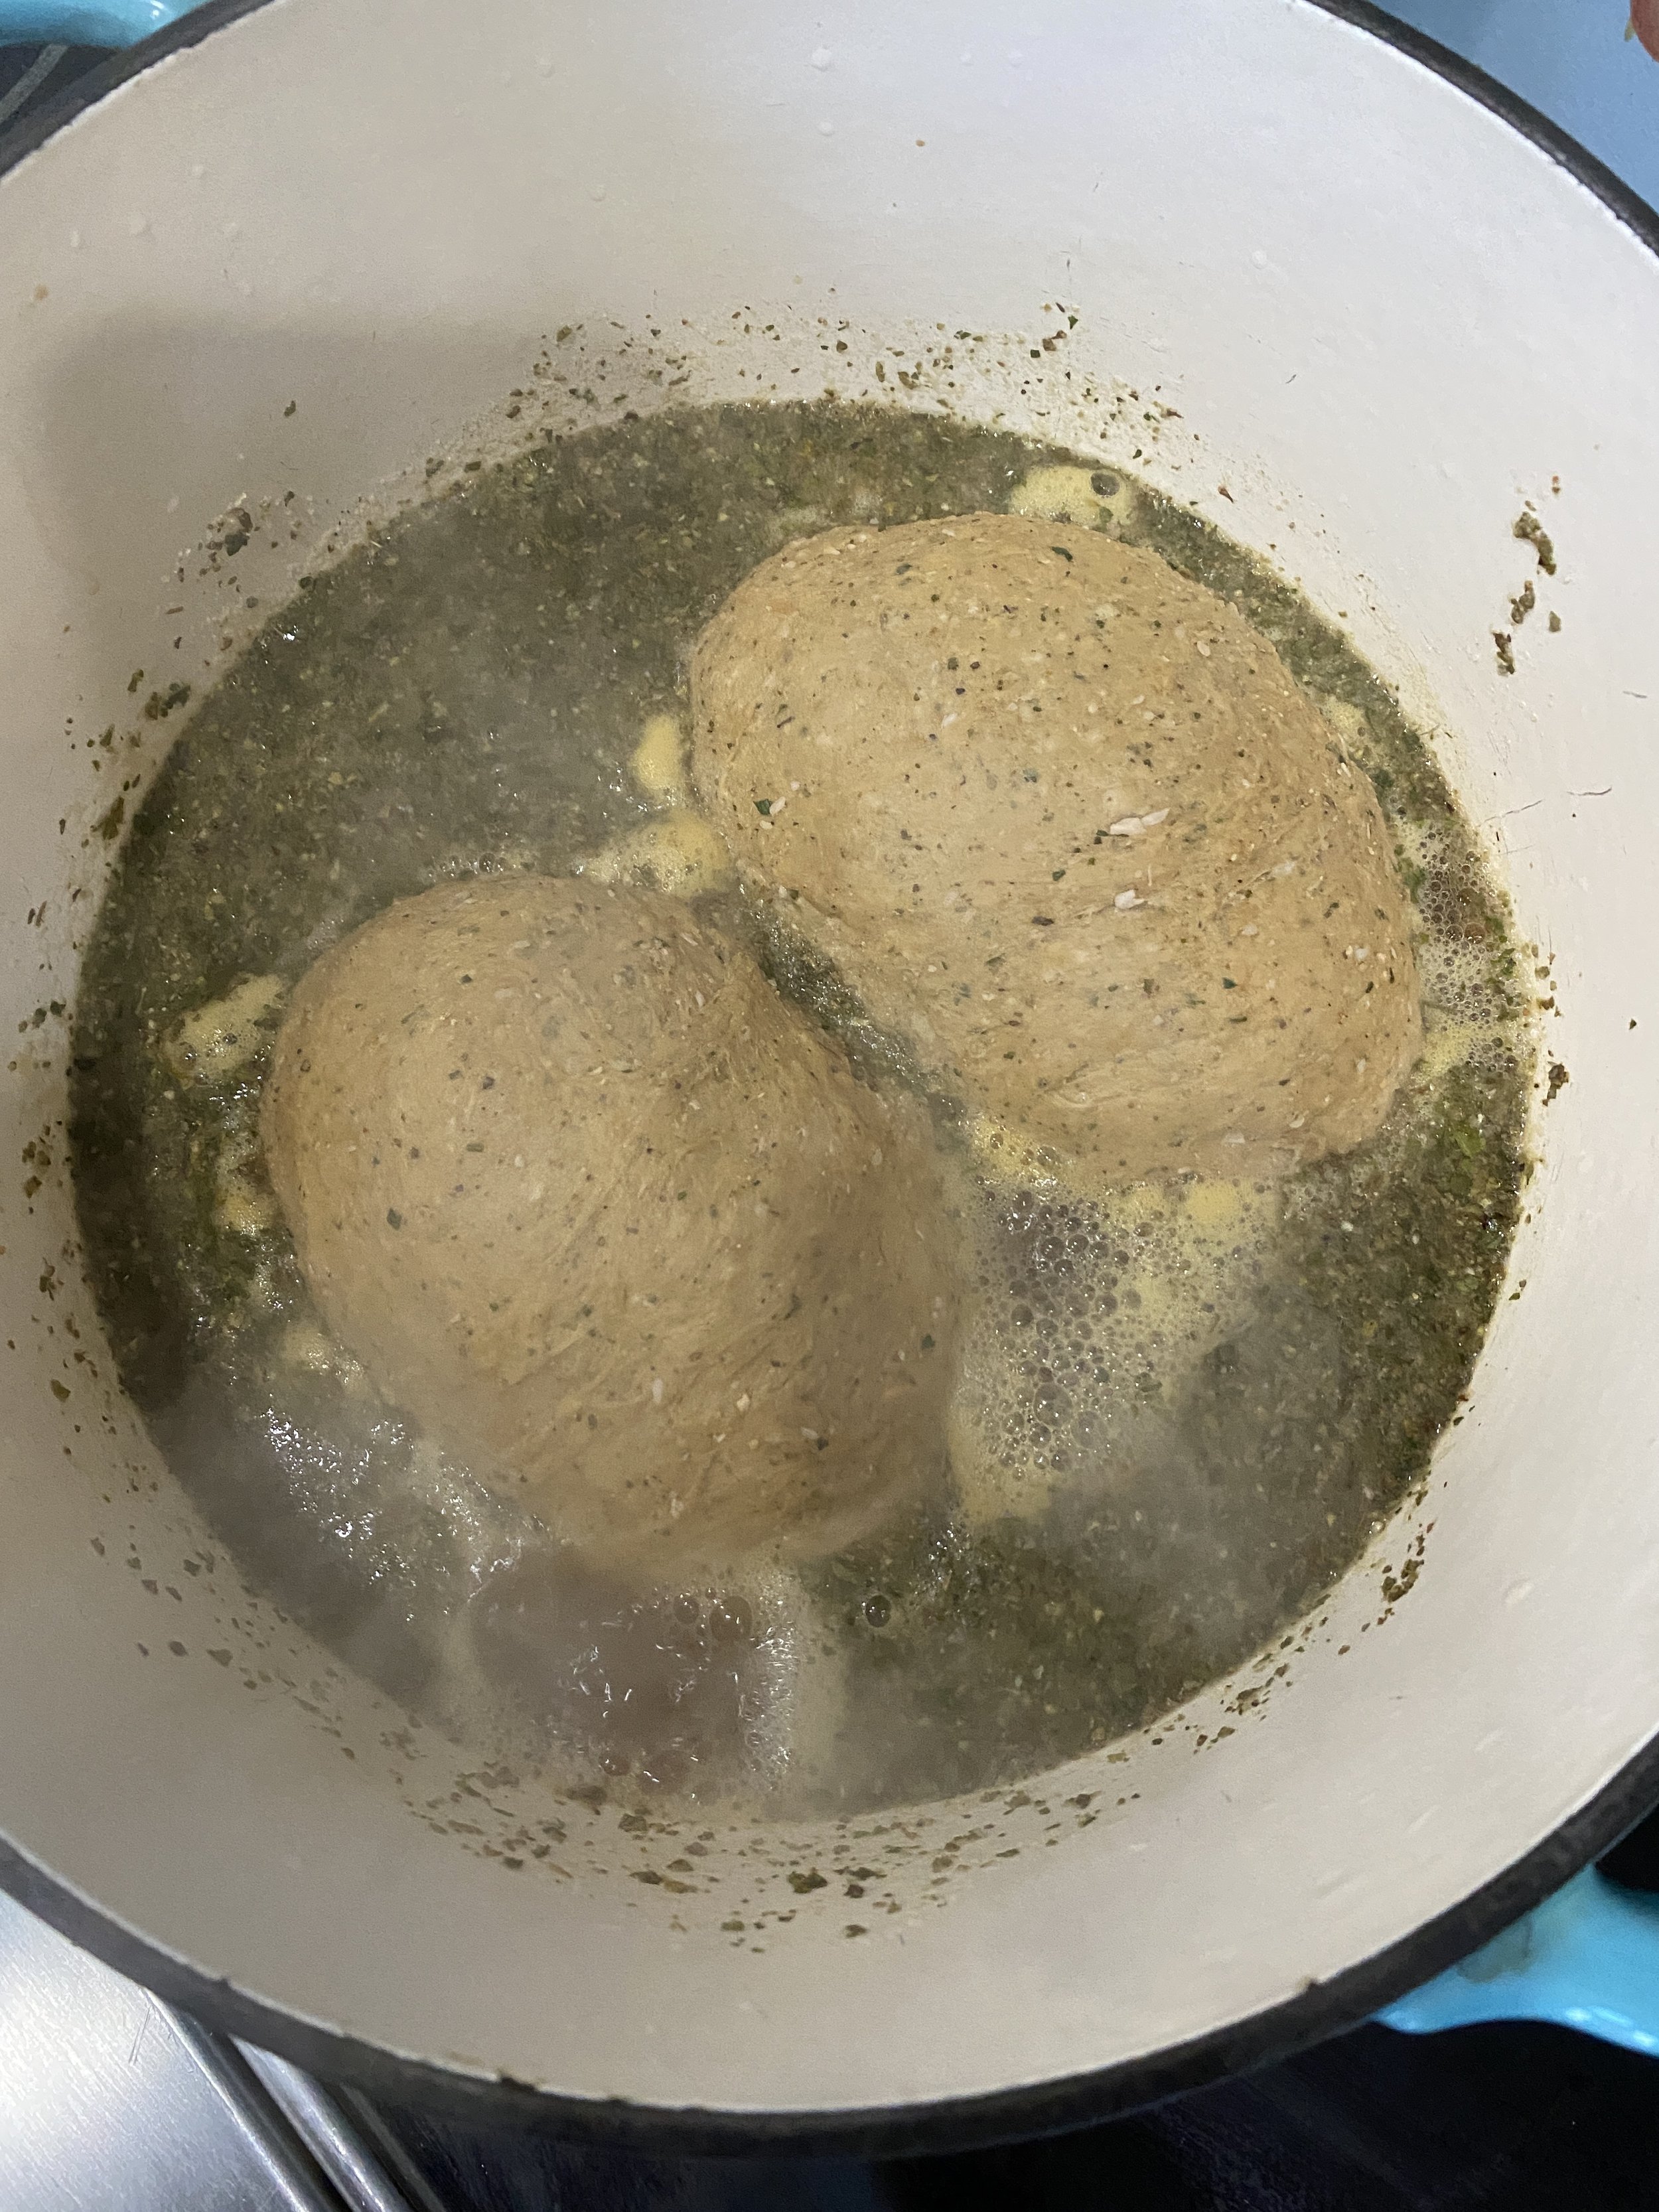
  5. Fill a large pot or dutch oven with 4 cups of water and all of the simmering spices BUT NOT THE STARCH. Bring the liquid to a boil and lower the heat to a simmer. Add the 2 seitan loaves to the liquid. Allow the seitan to simmer 15 minutes then flip. NOW ADD THE STARCH slurry and allow the loaves to simmer another 20 minutes. Thickening the liquid forms a kind of gravy that will coat the seitan in the seasoning before baking. Preheat oven to 350 degrees while the seitan simmers.

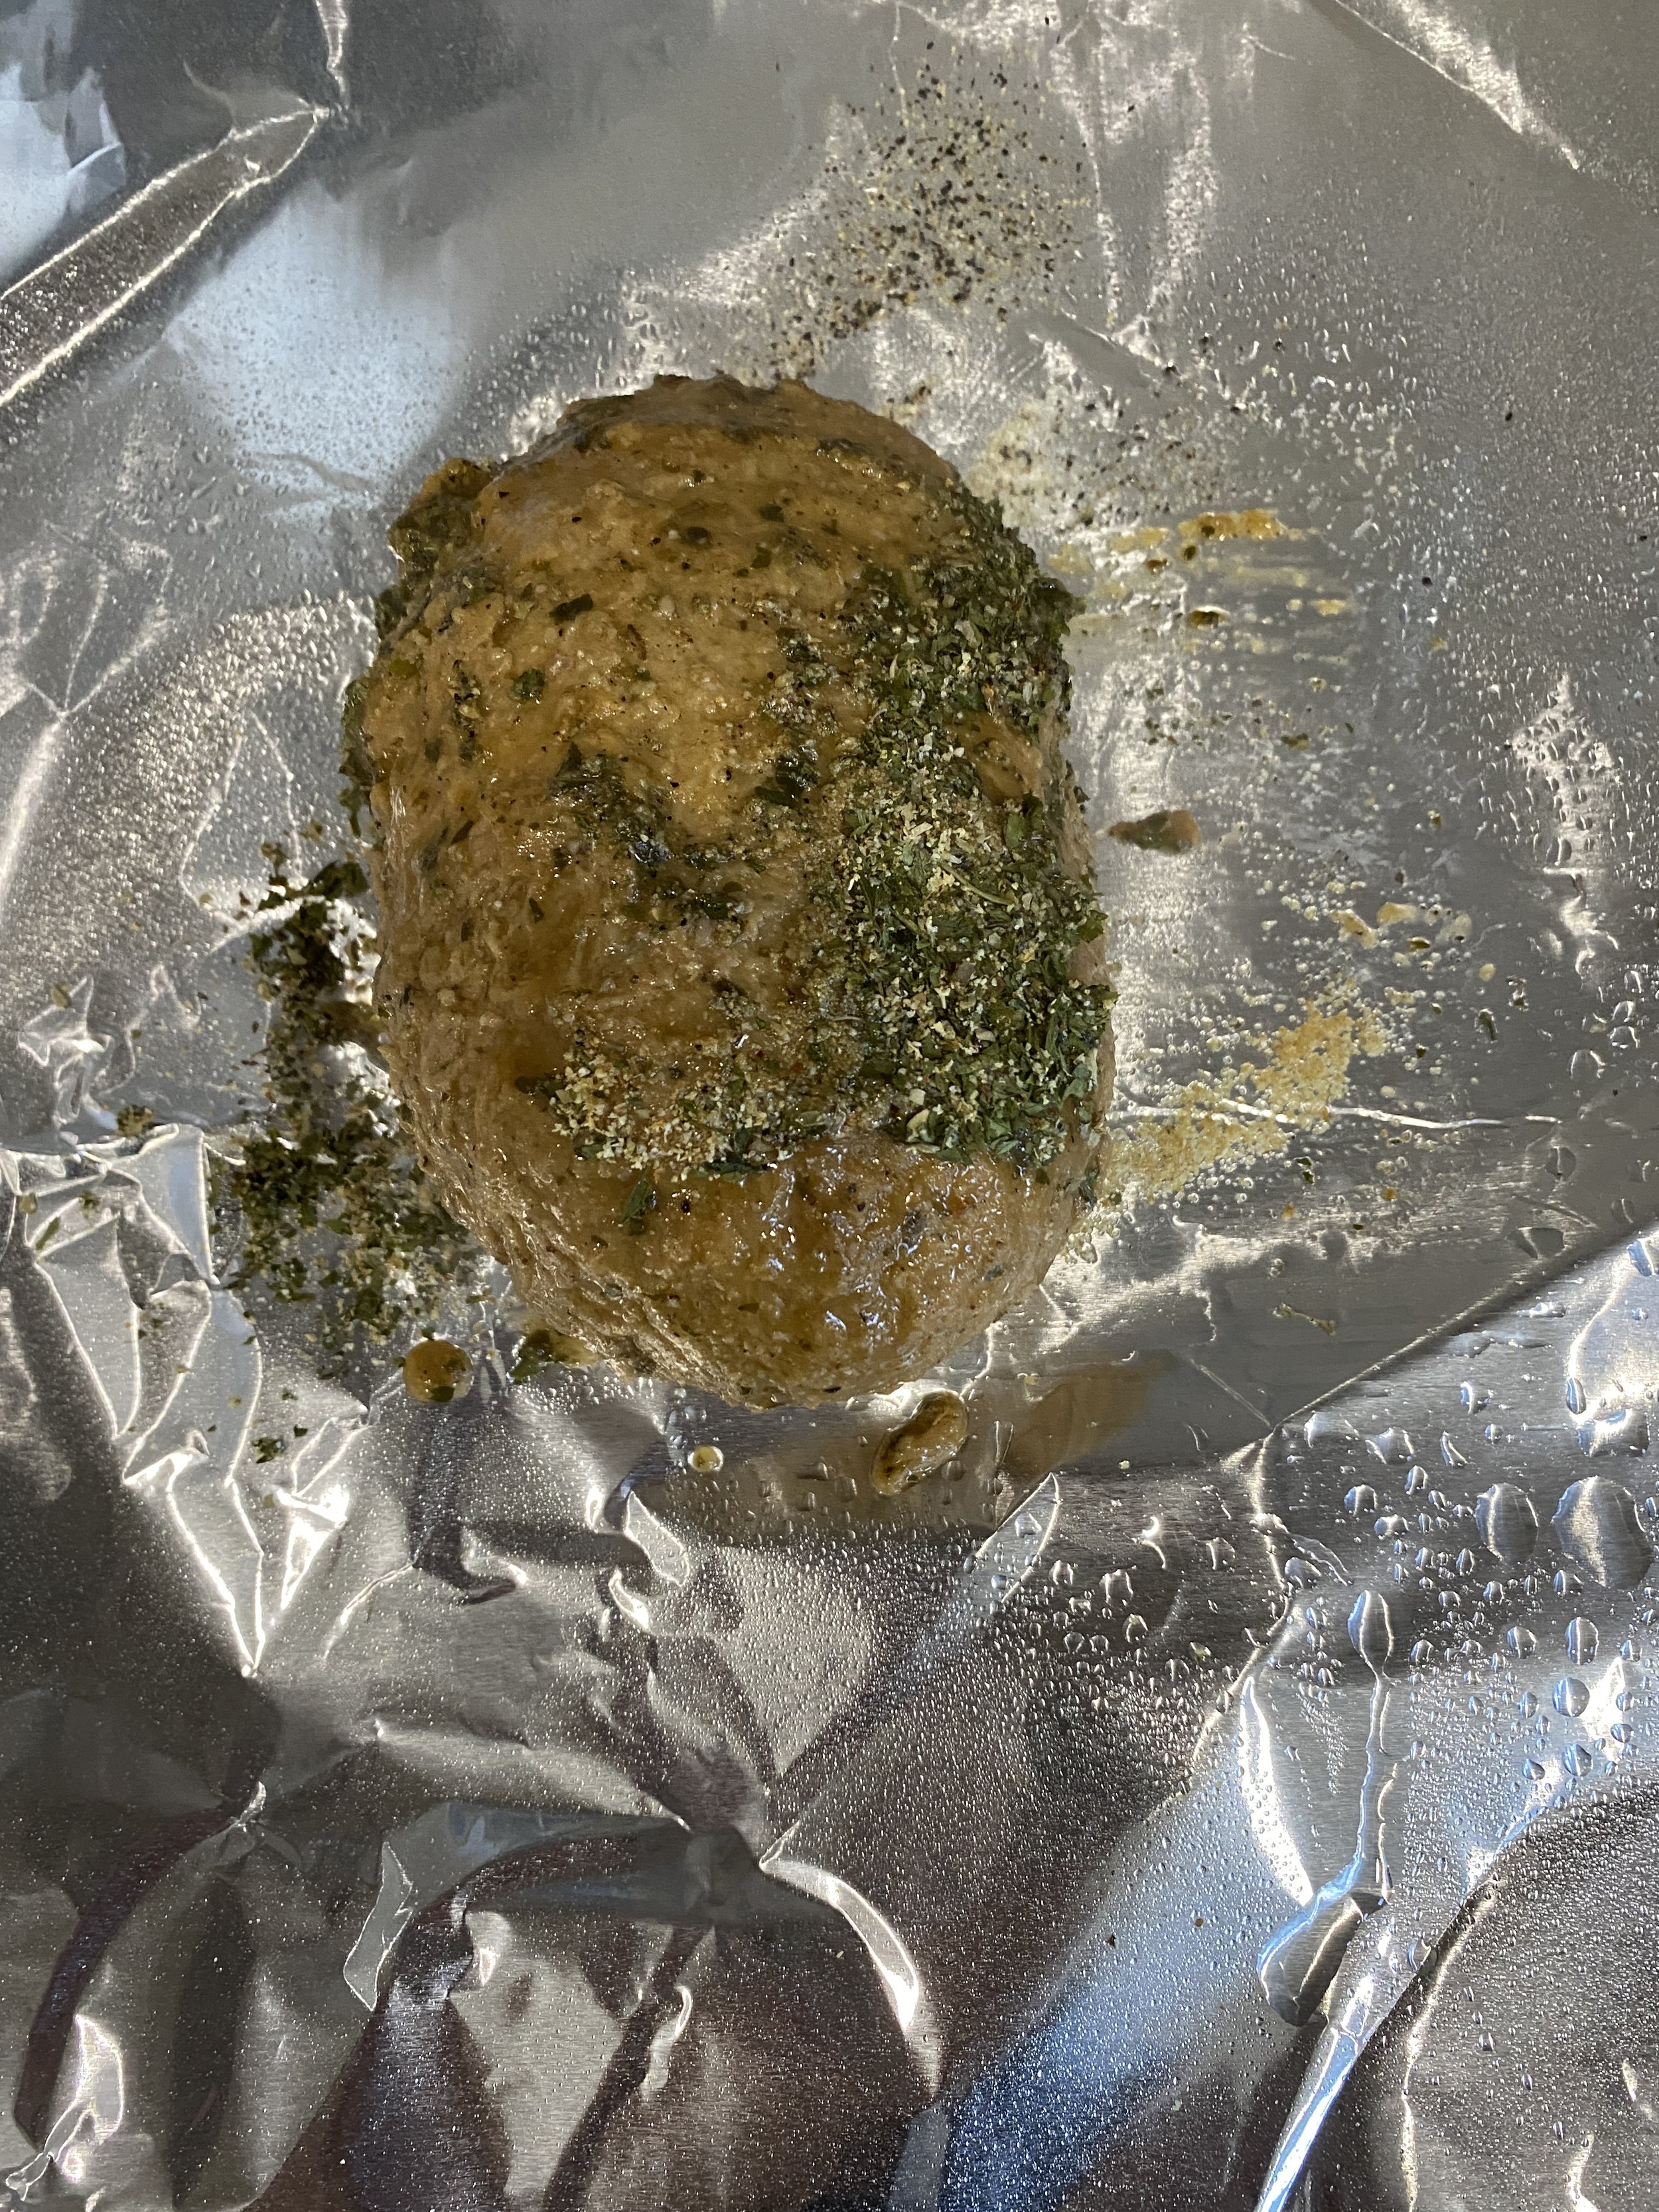
  6. Take 2 pieces of aluminum for about 3x bigger than the loaf of dough, and lay them out flat. Coat the foil in spray oil or wipe it down with any oil you have. Sprinkle half of coating seasoning in the center of one piece of foil. Place the loaf on the seasoning and roll it around using some tongs. Repeat with the other loaf. The goal is to fully coat the loaf in the seasoning!

  7. Place the loaves back in the center of the pieces of foil and fold up the sides, pinching at the top to seal them up, then twist the ends to fully seal the foil.

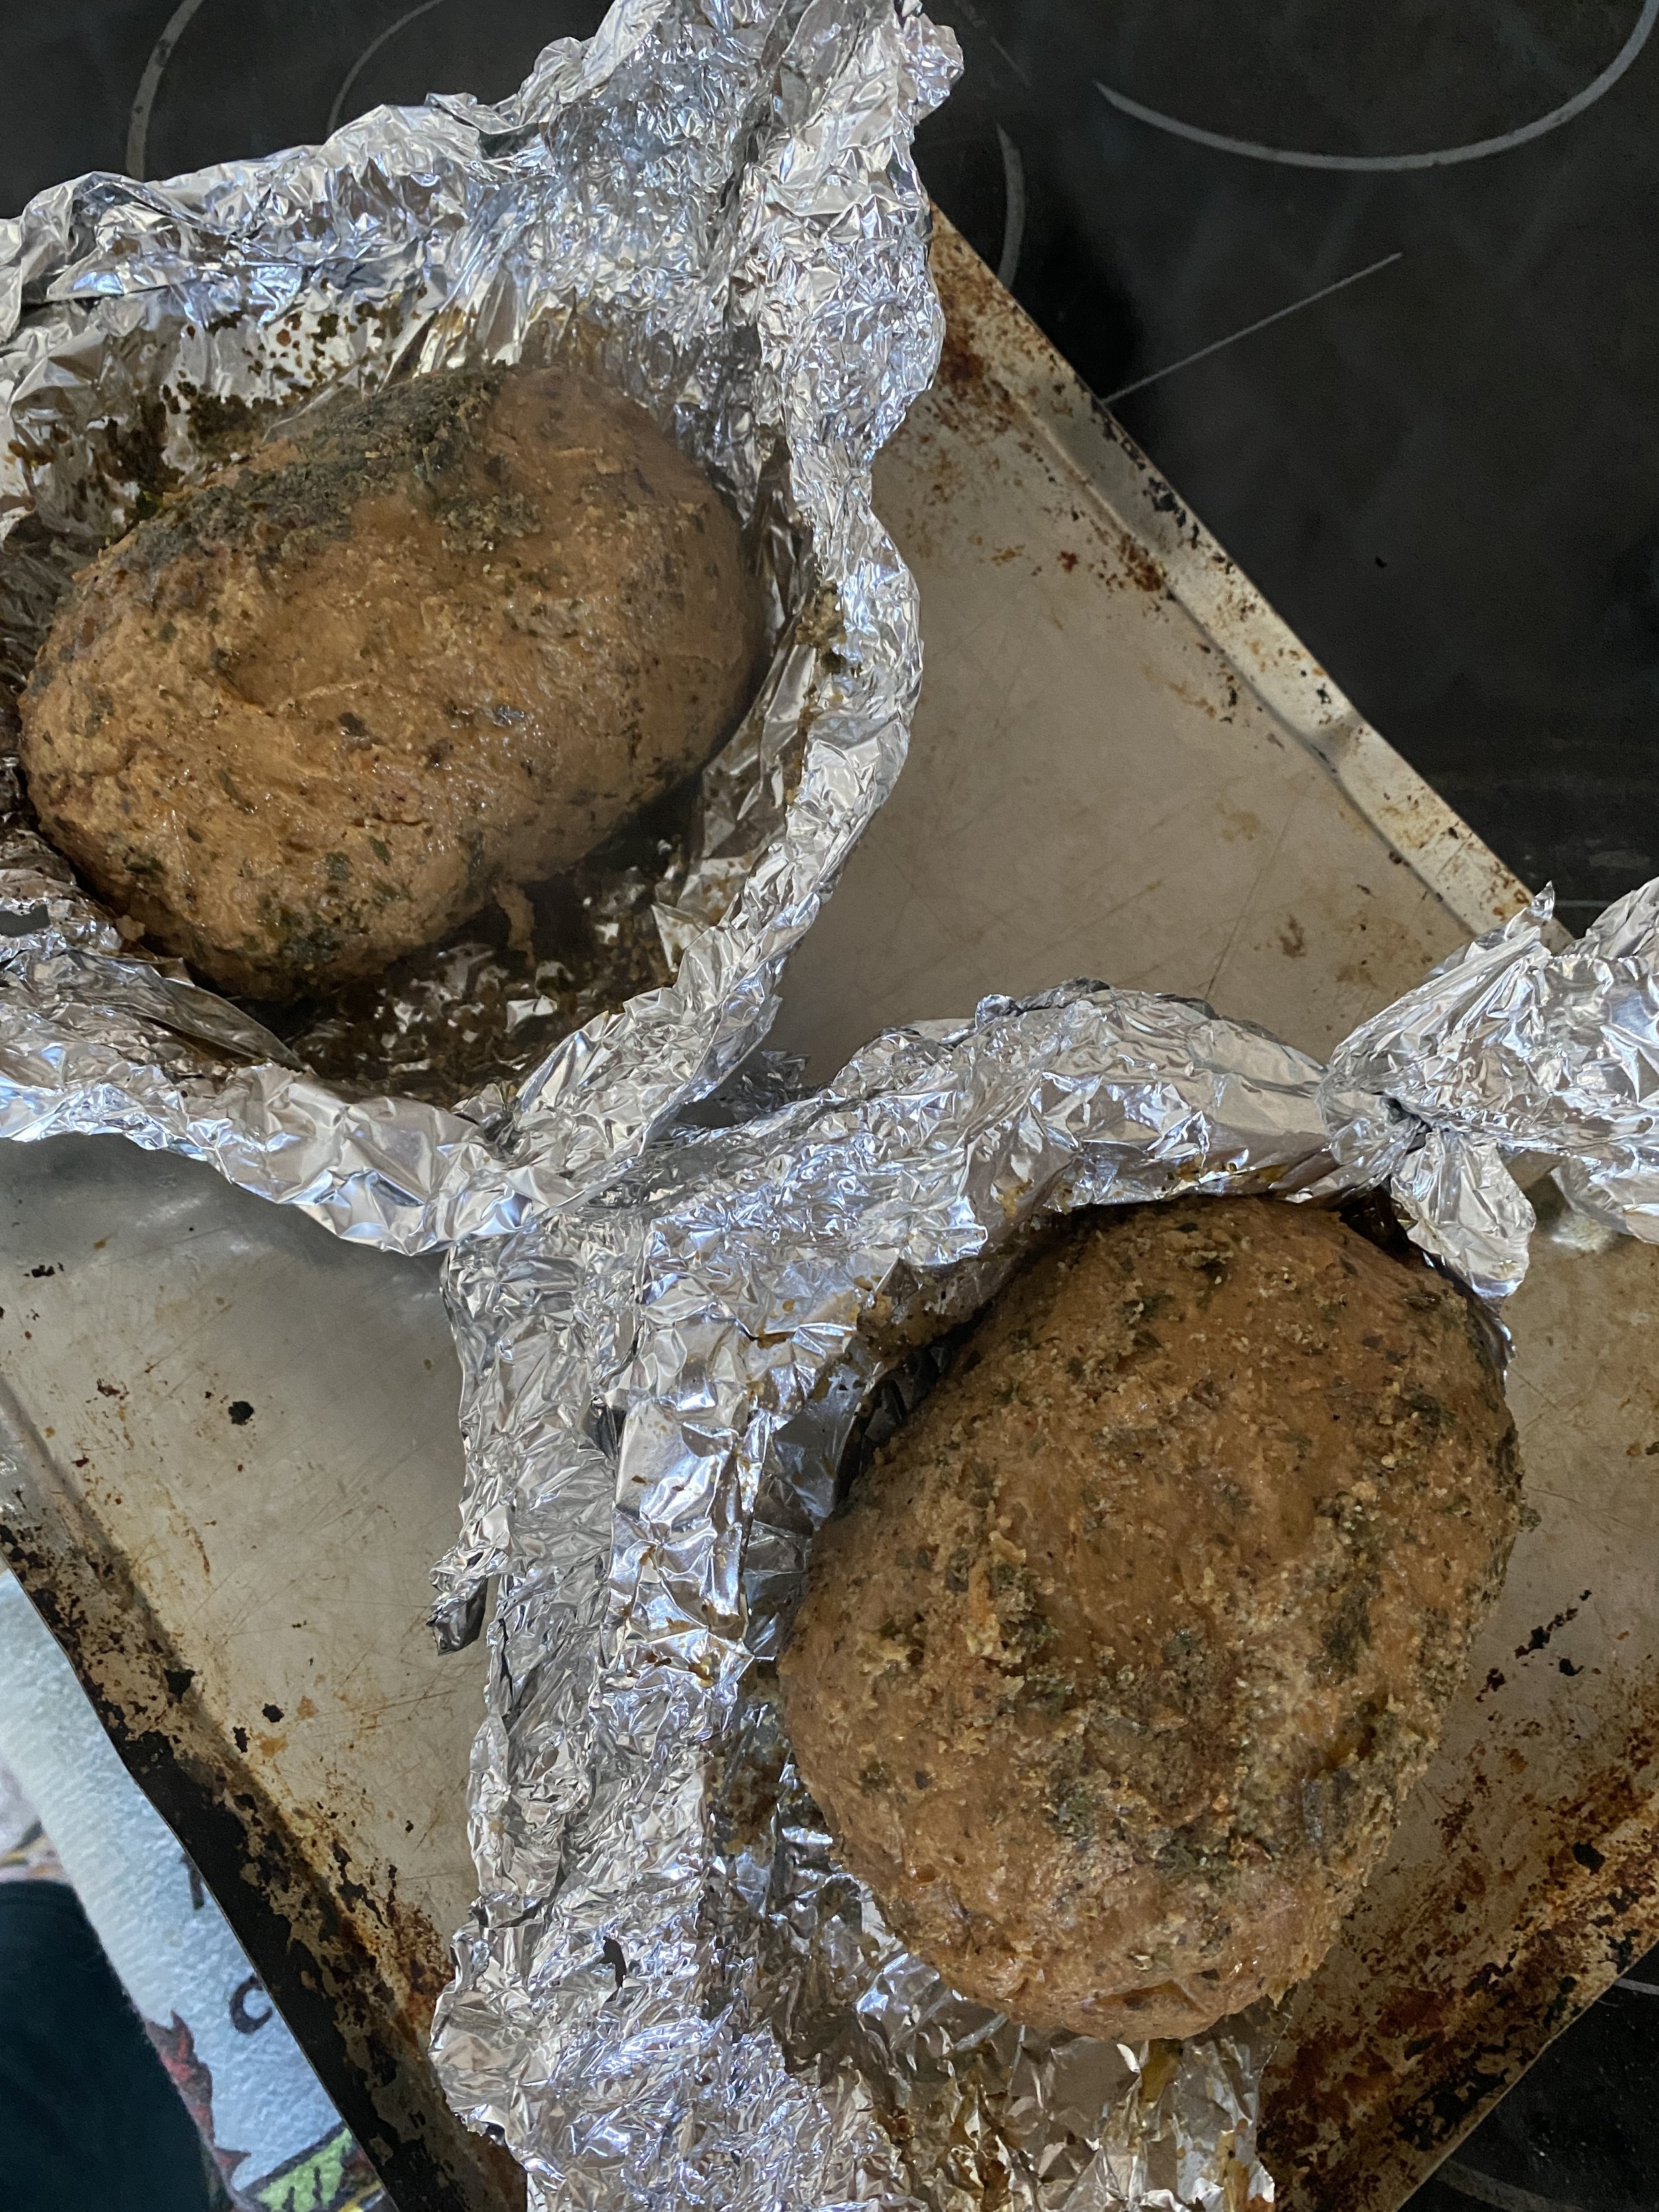
  8. Place on a baking sheet and put in the oven on the middle rack. Bake sealed for 30 minutes. After 30 minutes carefully open up the foil, and continue baking for another 30 minutes. (bake times vary depending on oven, if holes are present in loaf after slicing, look at troubleshooting notes above.)

  9. Remove finished gyro meat and let cool at room temp. Seal the foil back up and place back in the fridge over nigh or at least 8 hourst to rest. You can also let it rest unwrapped on a wire cooling rack. This step is important to get the texture we are trying achieve. If you try and serve it before it rests it will not be nearly as firm. LET IT REST…THE SEITAN MUST REST!!!!! (if you choose not to let it rest, don’t come round leaving sassy comments about the texture being off, you have warned)

  10. Once the gyro meat has been in the fridge over night, you can remove it and slice it to serve. It should at this point be firm enough to slice using a mandolin or a sharp knife. Store in an air tight container in the fridge for up to 10 days.

  11. Serve with pita, tzatziki, lettuce, tomato, mint, cucumbers or however you like. You can heat sliced gyro meat in a lightly oil pan for a few minutes before making a wrap If you like

If you like this recipe, then try these:

86eats vegan gyro

Vegan Patty Melt

patty melt

In college I waited tables. I mean I guess that is pretty typical.

I worked a few places actually, and one of those places was Steak n Shake.

I took mostly night classes in college and I worked third shift at Steak n Shake and had plenty of idle time to get homework done and papers written. It worked out really well, actually.

I also got to eat half price and that is always a perk when you are a broke college student.

One of my favorite things ever at Steak n Shake was the Frisco melt. I was basically a patty melt with 1,000 island dressing.

Is it good for you? Well no. Is it delicious? Heck yes. Is it vegan? Absolutely not. Can you make it vegan. Well yes, you can!

IMG_9628.jpg

I used Beyond beef patties for this recipe. I am not here to debate Beyond vs Impossible meat. I am an equal fan of both. But Costco sells Beyond meat burgers, and now the meatballs as well, and the price is better than anywhere else I have found. I actually just buy the burgers at Costco and thaw them to use in place of the 1 lb ground because it is the most affordable option!

Also, I personally love Beyond meat! So its a win win.

You could use any vegan hamburger patty you like, store-bought or homemade. Grinding up failed seitan often makes a decent burger patty if that is something you are into.

Add any cheese you like. We are family divided, and with this sandwich are split between being fans of vegan American cheese, or Gouda! You any cheese you like, store bought or homemade. I have about 40 cheese recipes on the site, so check some of those out if you are feeling adventurous! They are all really really easy so don’t be afraid to give it a go!

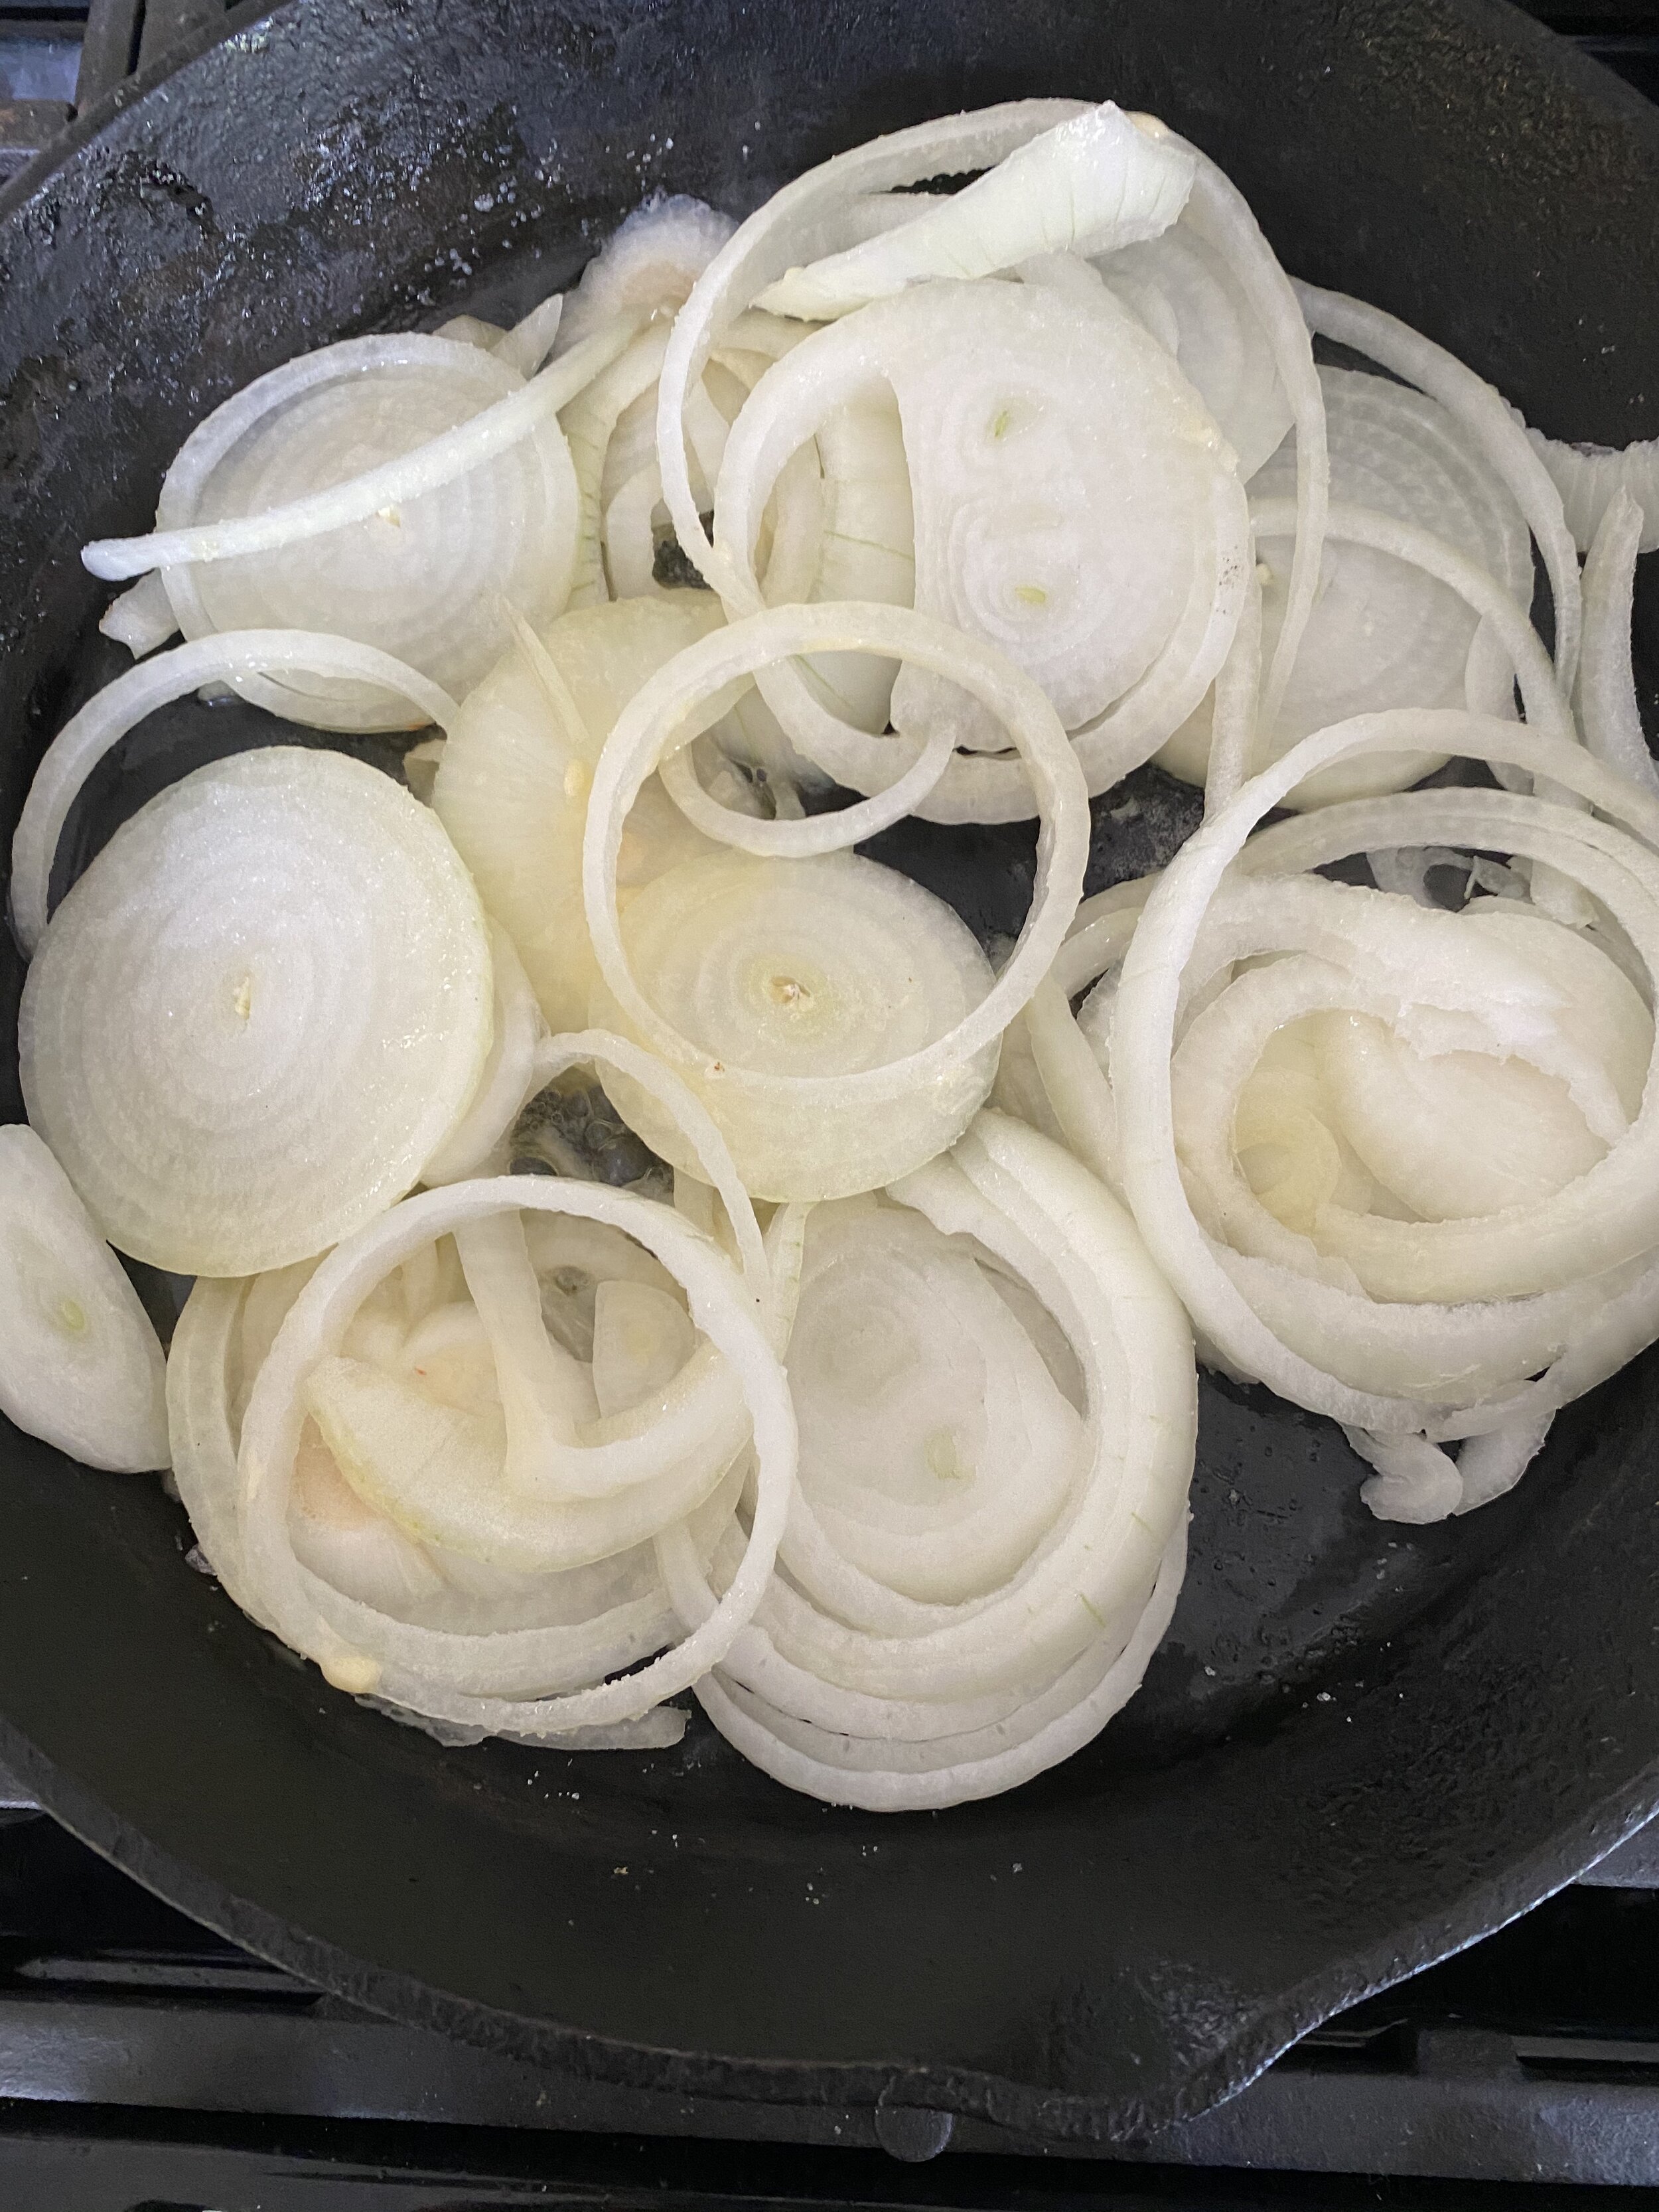
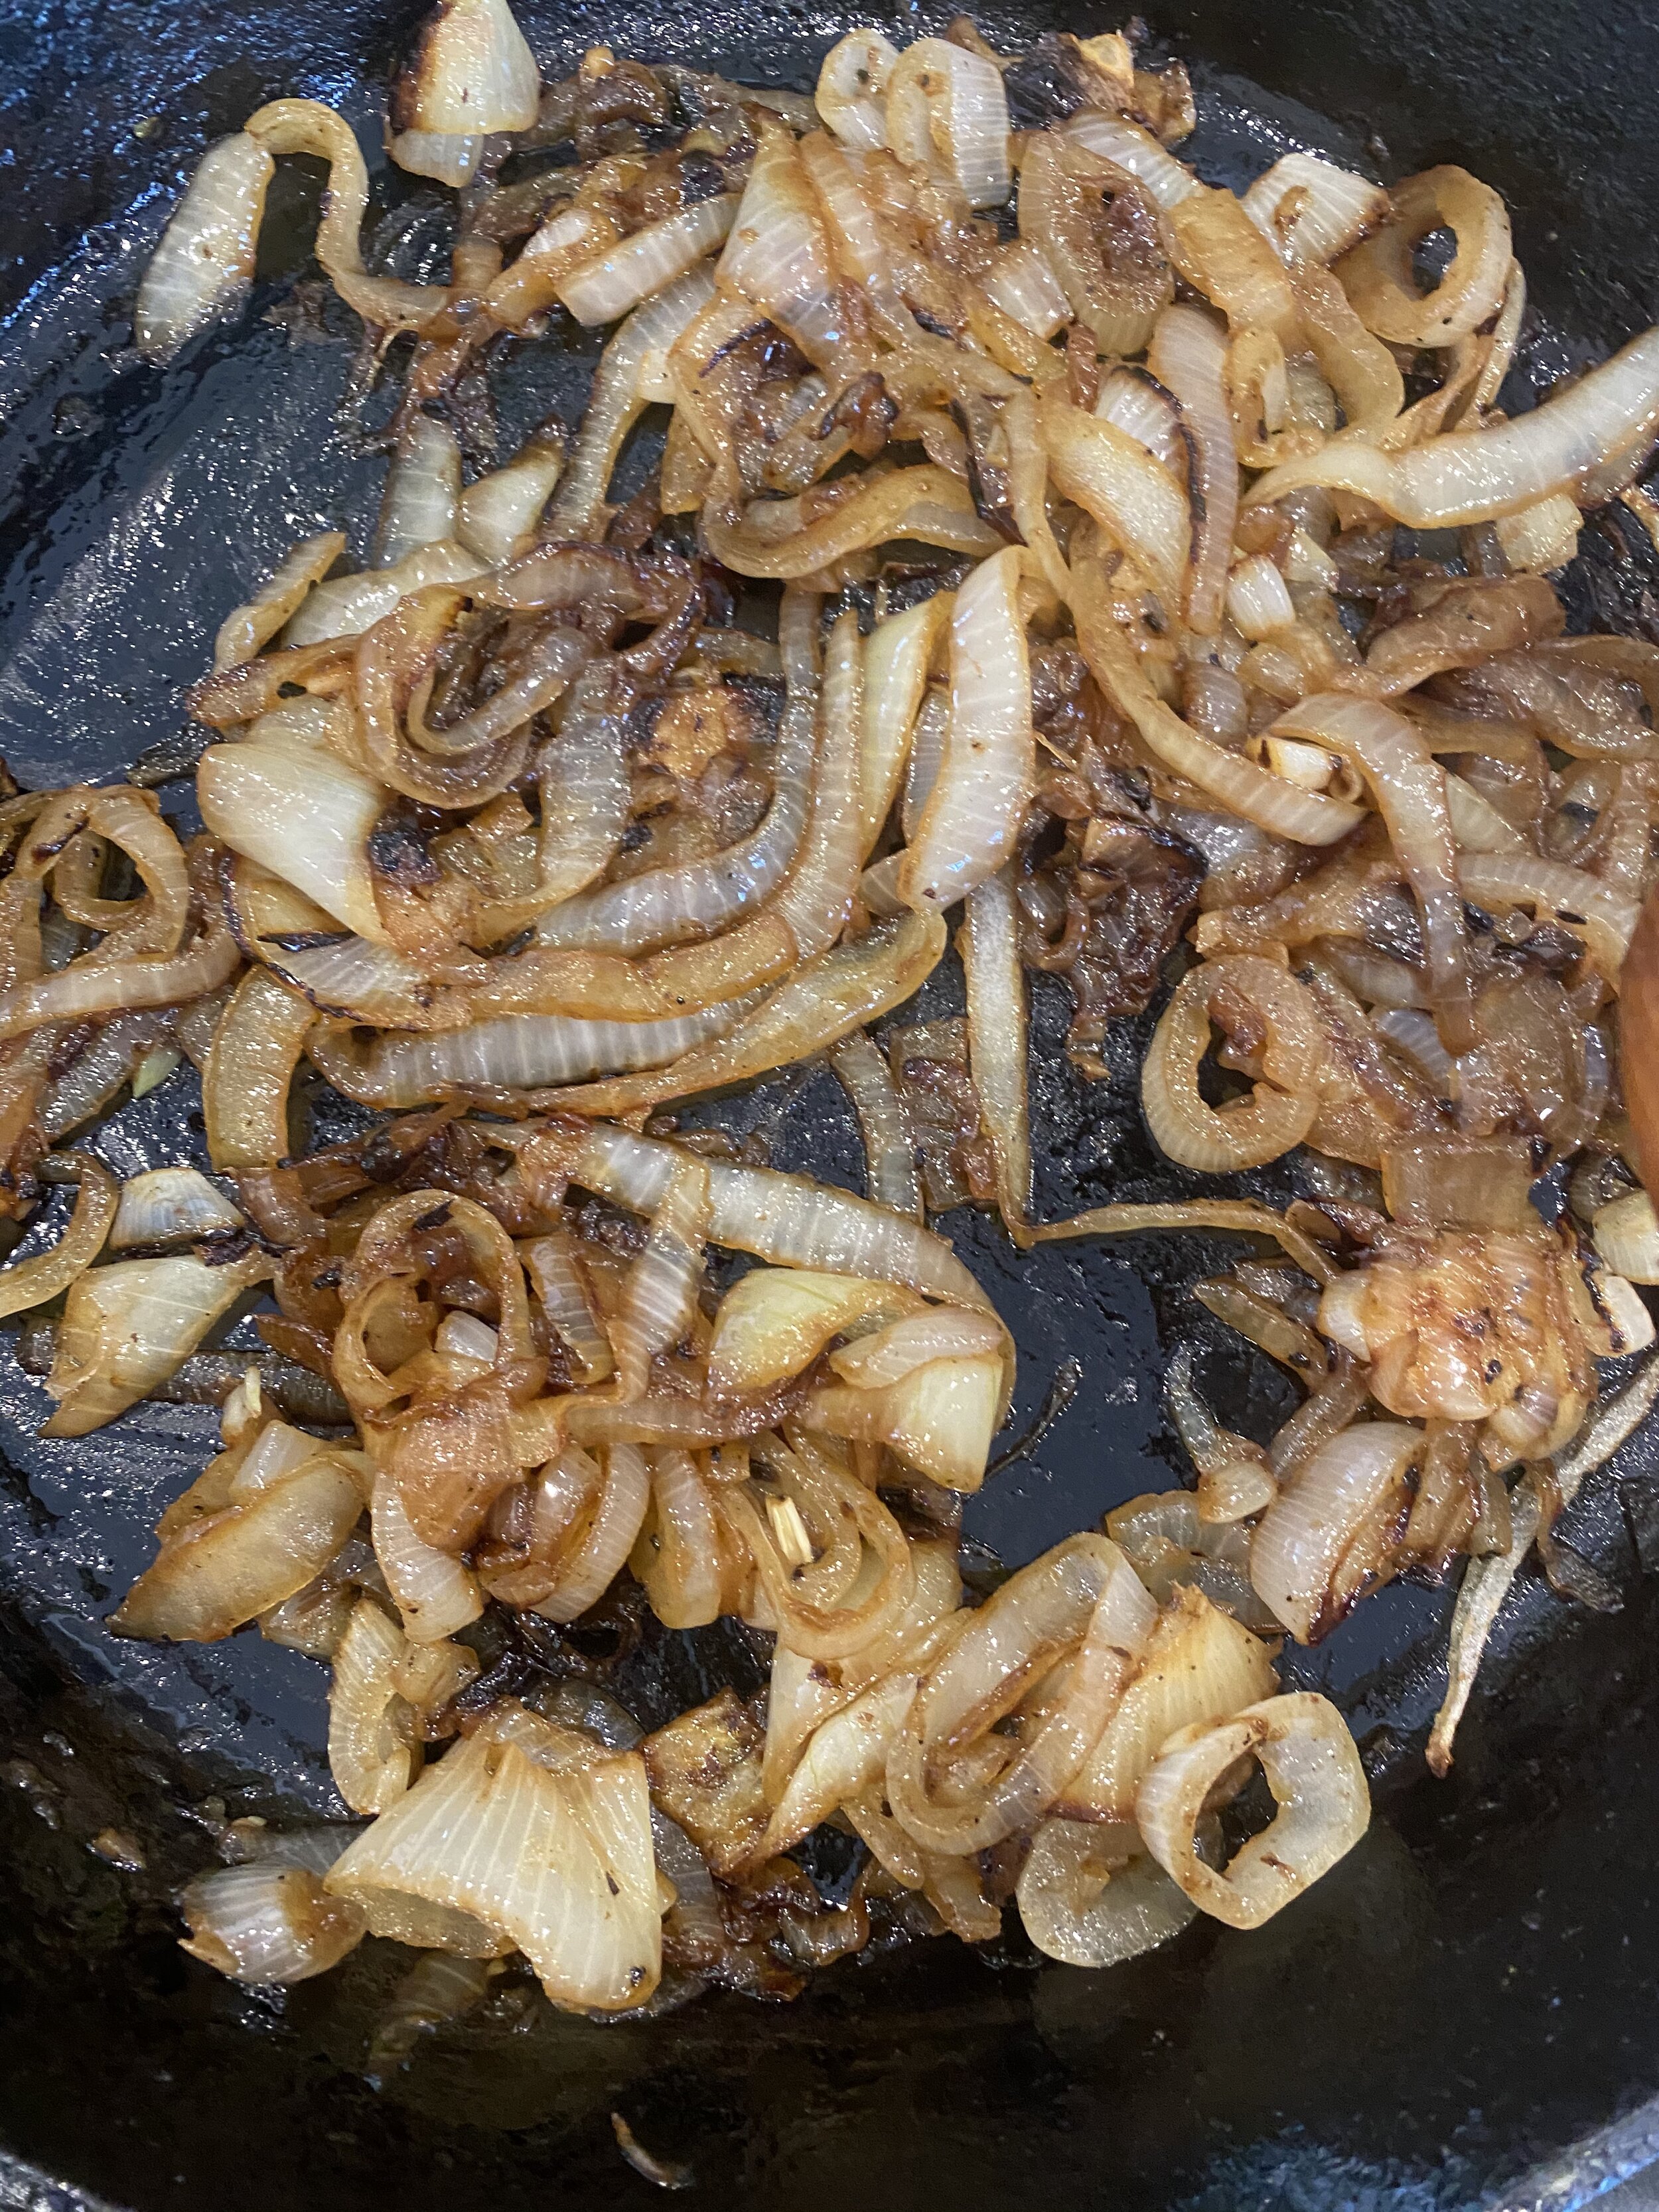
The next step is caramelizing onions. This is not a hard task by any means, it just takes a little while. So be patient. They are worth it!!! If you are especially impatient and just want to sauté your onions and not caramelize them, I’ll forgive you, but trusts me when I say the sandwich won’t be as tasty.

Next slather that baby with a whole lot of 1,000 island dressing and you are on you way to sandwich heaven. Seriously my love for 1,000 island runs deep and wide. Its one of my favorite salad dressings and also dips for fires or tater tots. If you hate 1,000 island then I am not sure we can be friends, but you can use whatever less exciting condiment you like. Mayo, ketchup, whatever…I am out of suggestions because the only right answer is 1,000 island.

Ok, so go make yourself a vegan patty melt. A gooey, cheesy, greasy, 1,000 dripping vegan. patty melt, and be happy!!!


INGREDIENTS:

  • 4 vegan burger patties ( we used Beyond Meat Patties)

  • 8 pieces of any vegan sandwich bread you prefer

  • 4 slices of vegan American, Cheddar, Gouda, or Swiss cheese.

  • Vegan butter

  • 2 larger yellow onions

  • 1 teaspoon salt

  • 1 teaspoon sugar

IMG_5712.jpeg

Vegan 1000 Island Dressing:

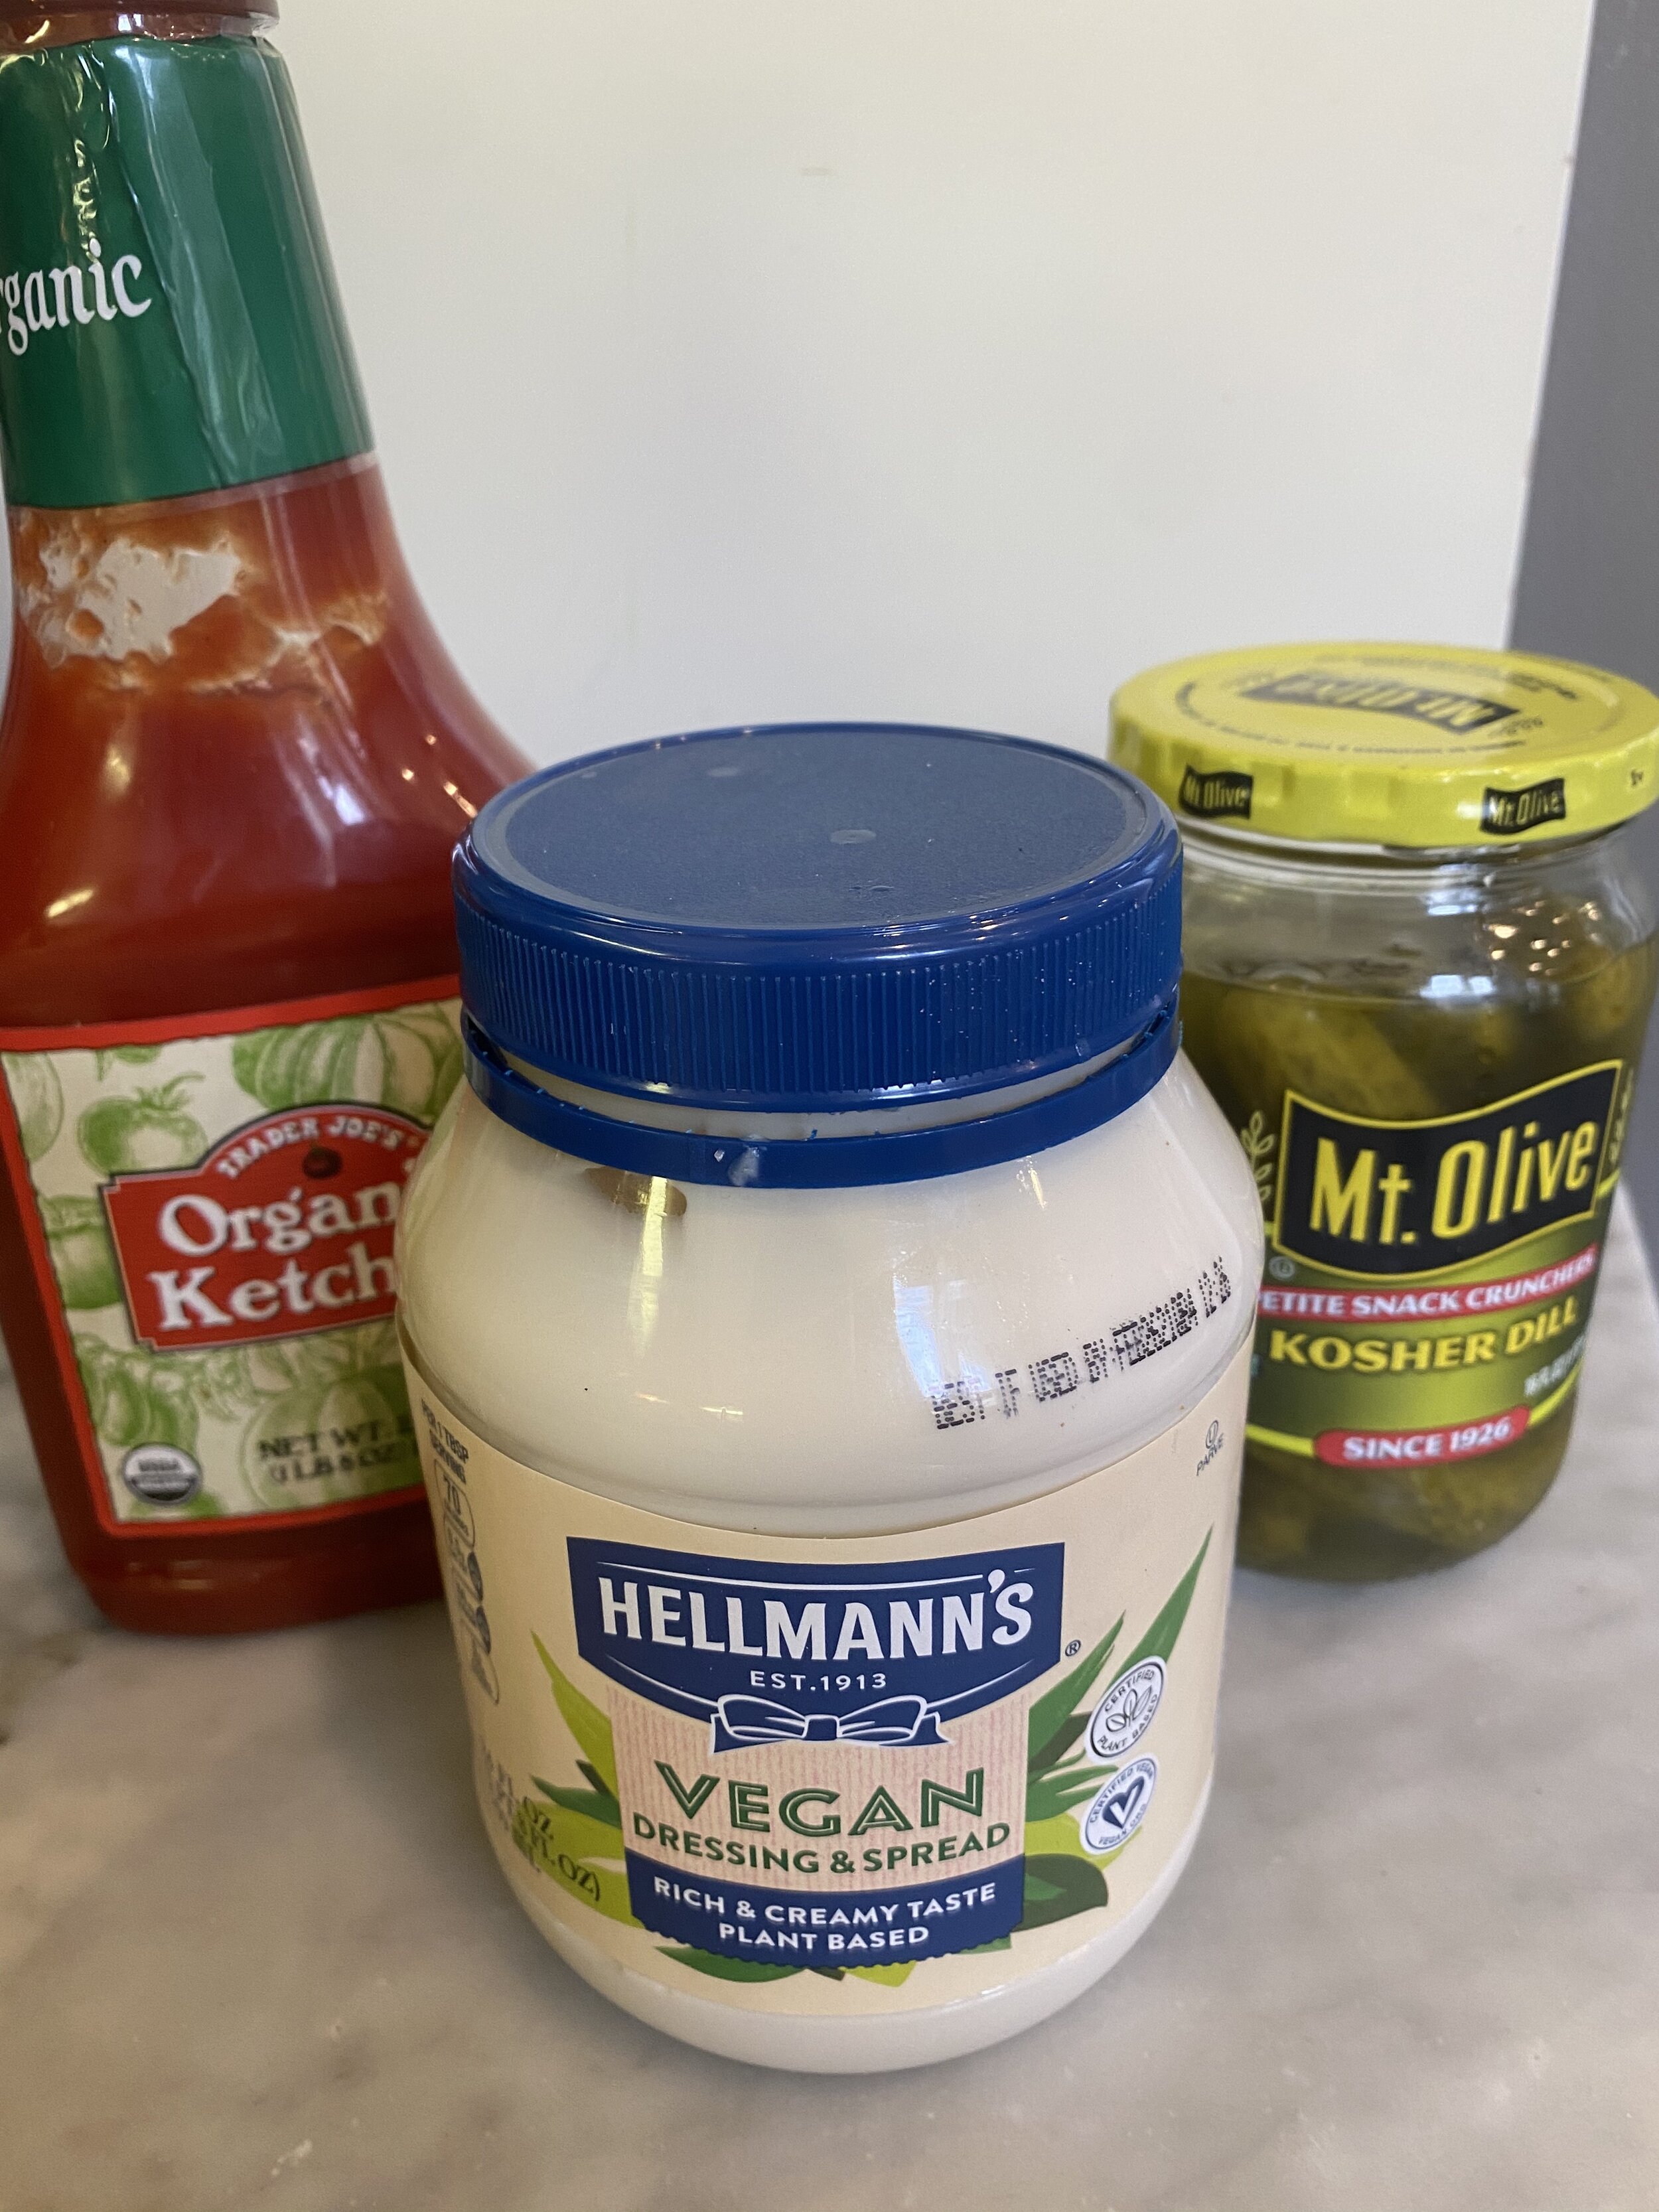
  • 3/4 cups vegan mayo

  • 3 tablespoons ketchup

  • 2-3 tablespoons diced dill pickles

  • 1-2 teaspoons pickle juice

  • salt and pepper to taste

INSTRUCTIONS:

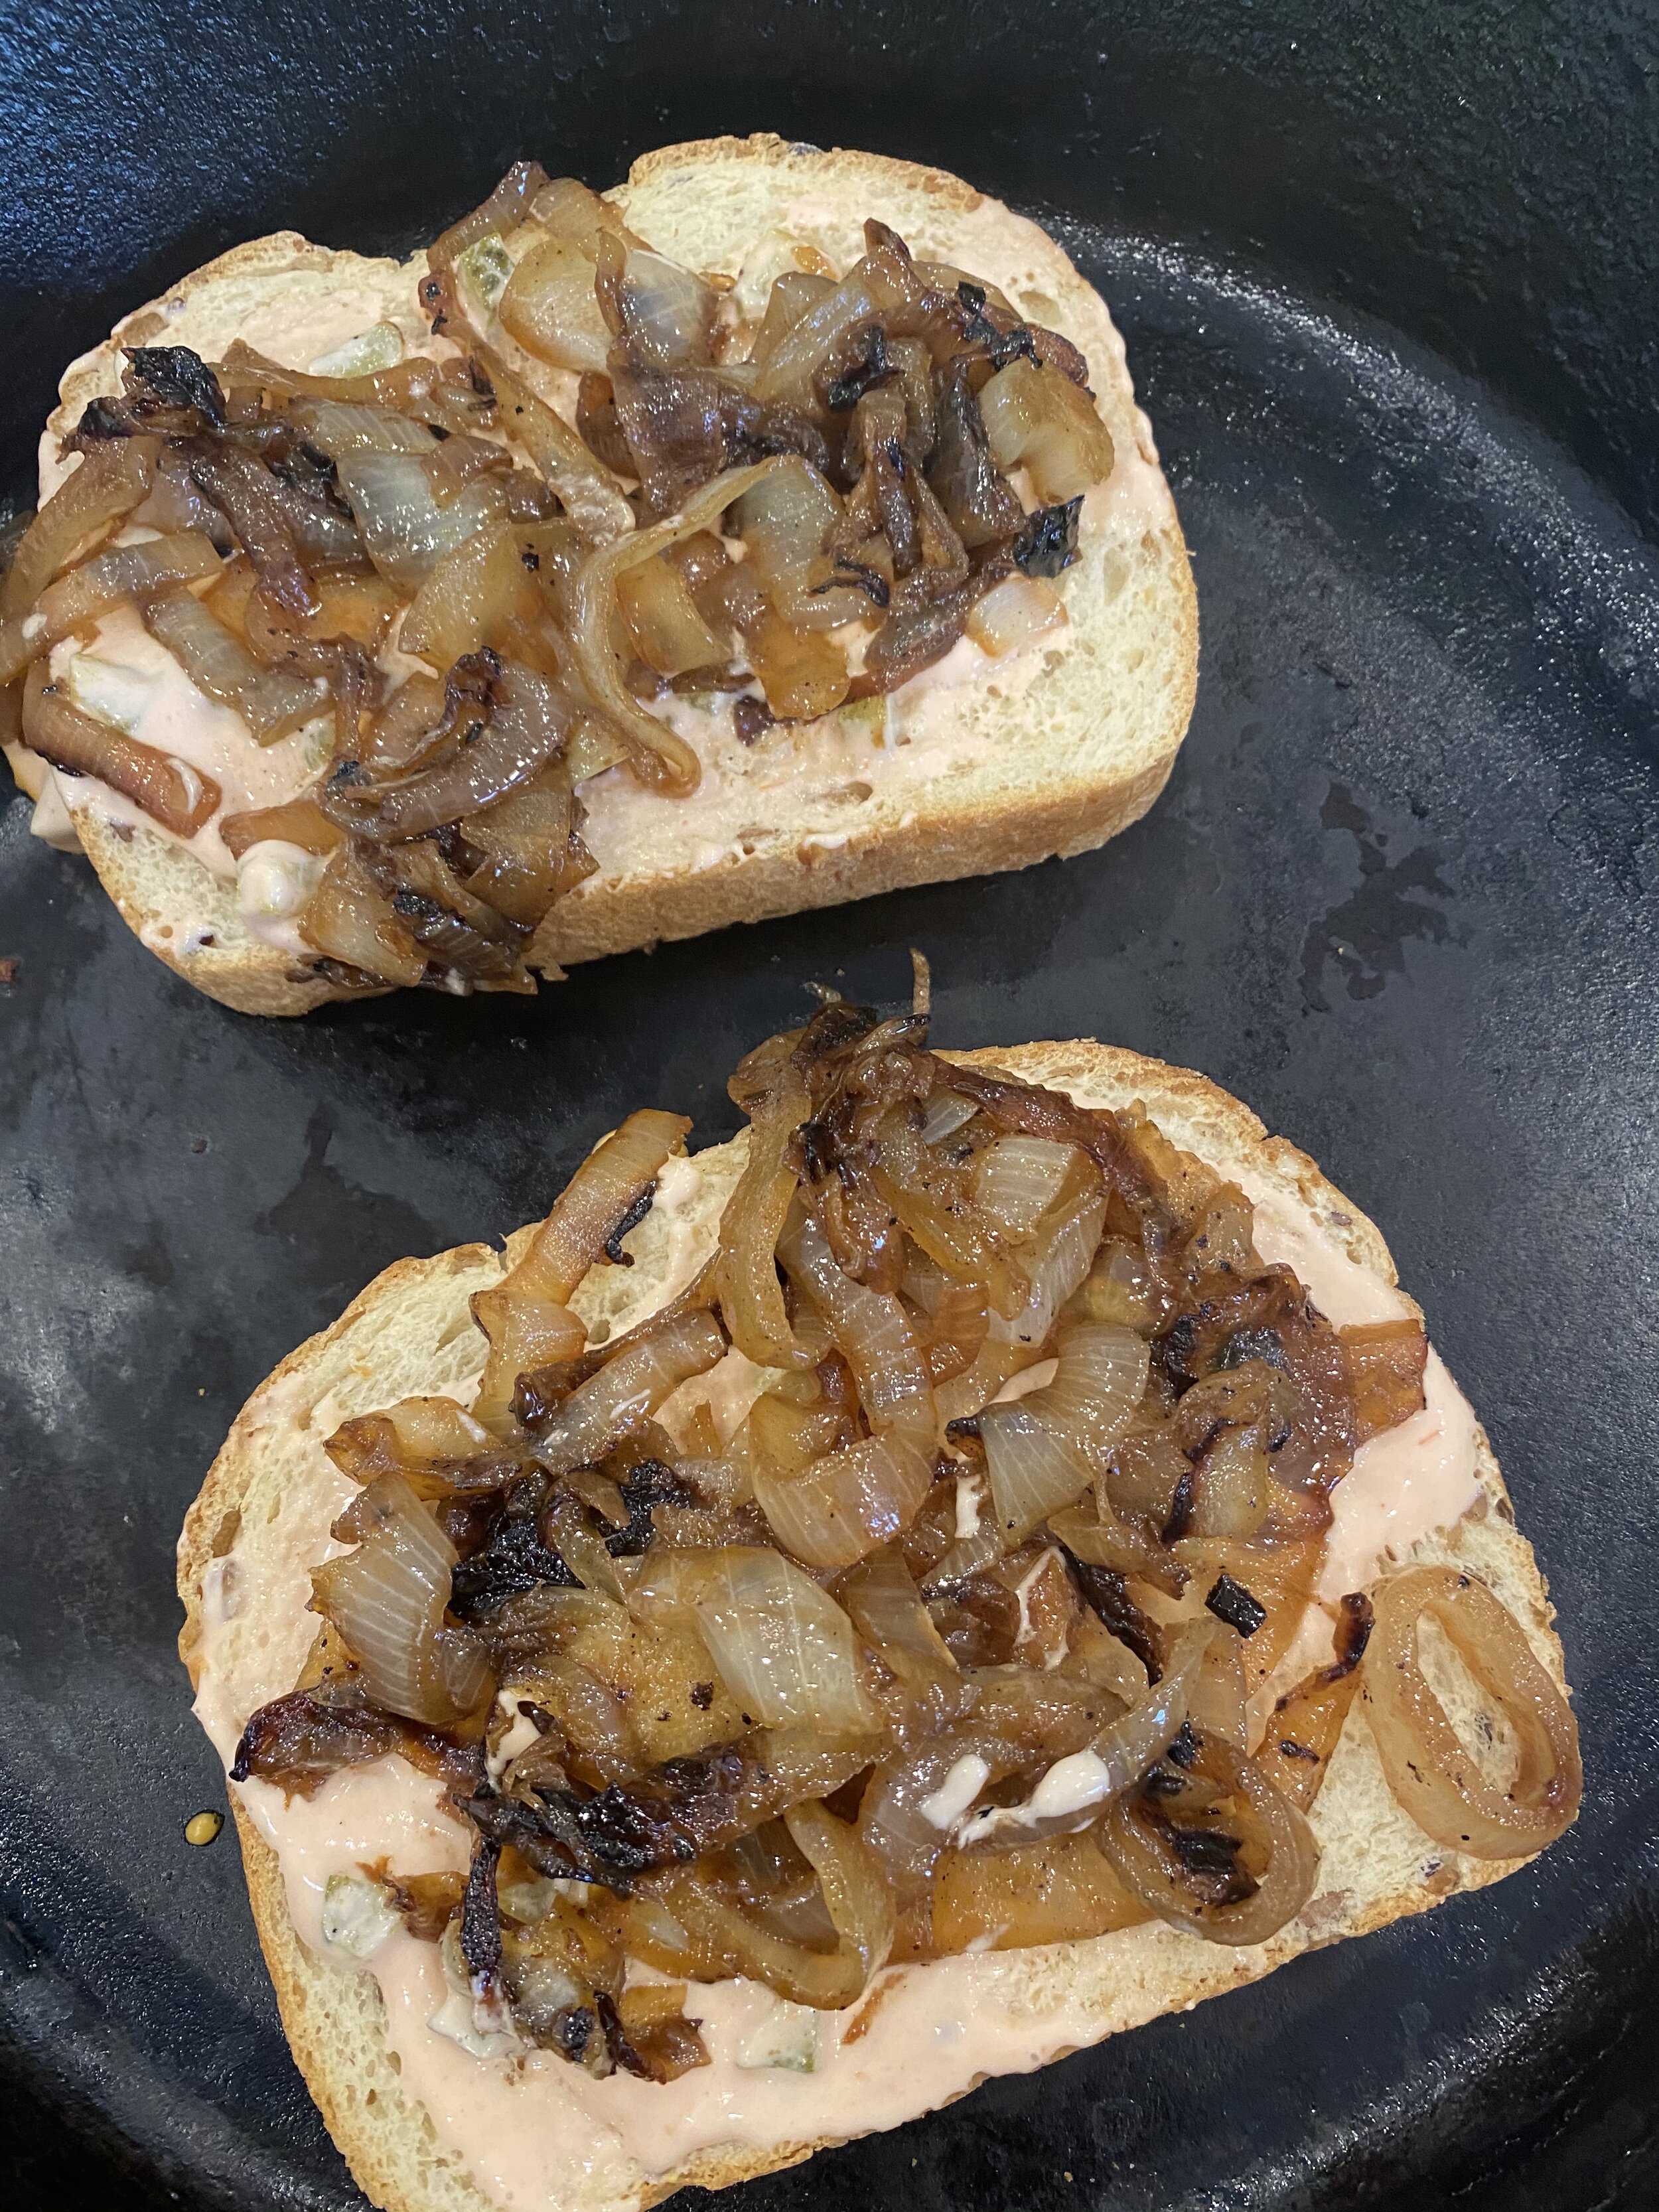
  1. Thinly slice both onions. In a large iron skillet or other large skillet, add a few teaspoons of vegan butter over medium/low heat. Add the onion and sprinkle with the salt. Allow the onions to cook for about 10 minutes with out really moving them around. After 10 minutes give them a good stir and allow another 10 minutes not really messing with them too much. If they seem to be burning reduce the heat to low. Sprinkle with the sugar and stir again. Let the onions cook another 10-15 minutes or until they are browned and caramelized. Set aside.

  2. In a small bowl mix the mayo, pickles, ketchup, salt and pepper to taste. I add a few teaspoons of pickle juice just to thin it out a bit and add a vinegar kick.

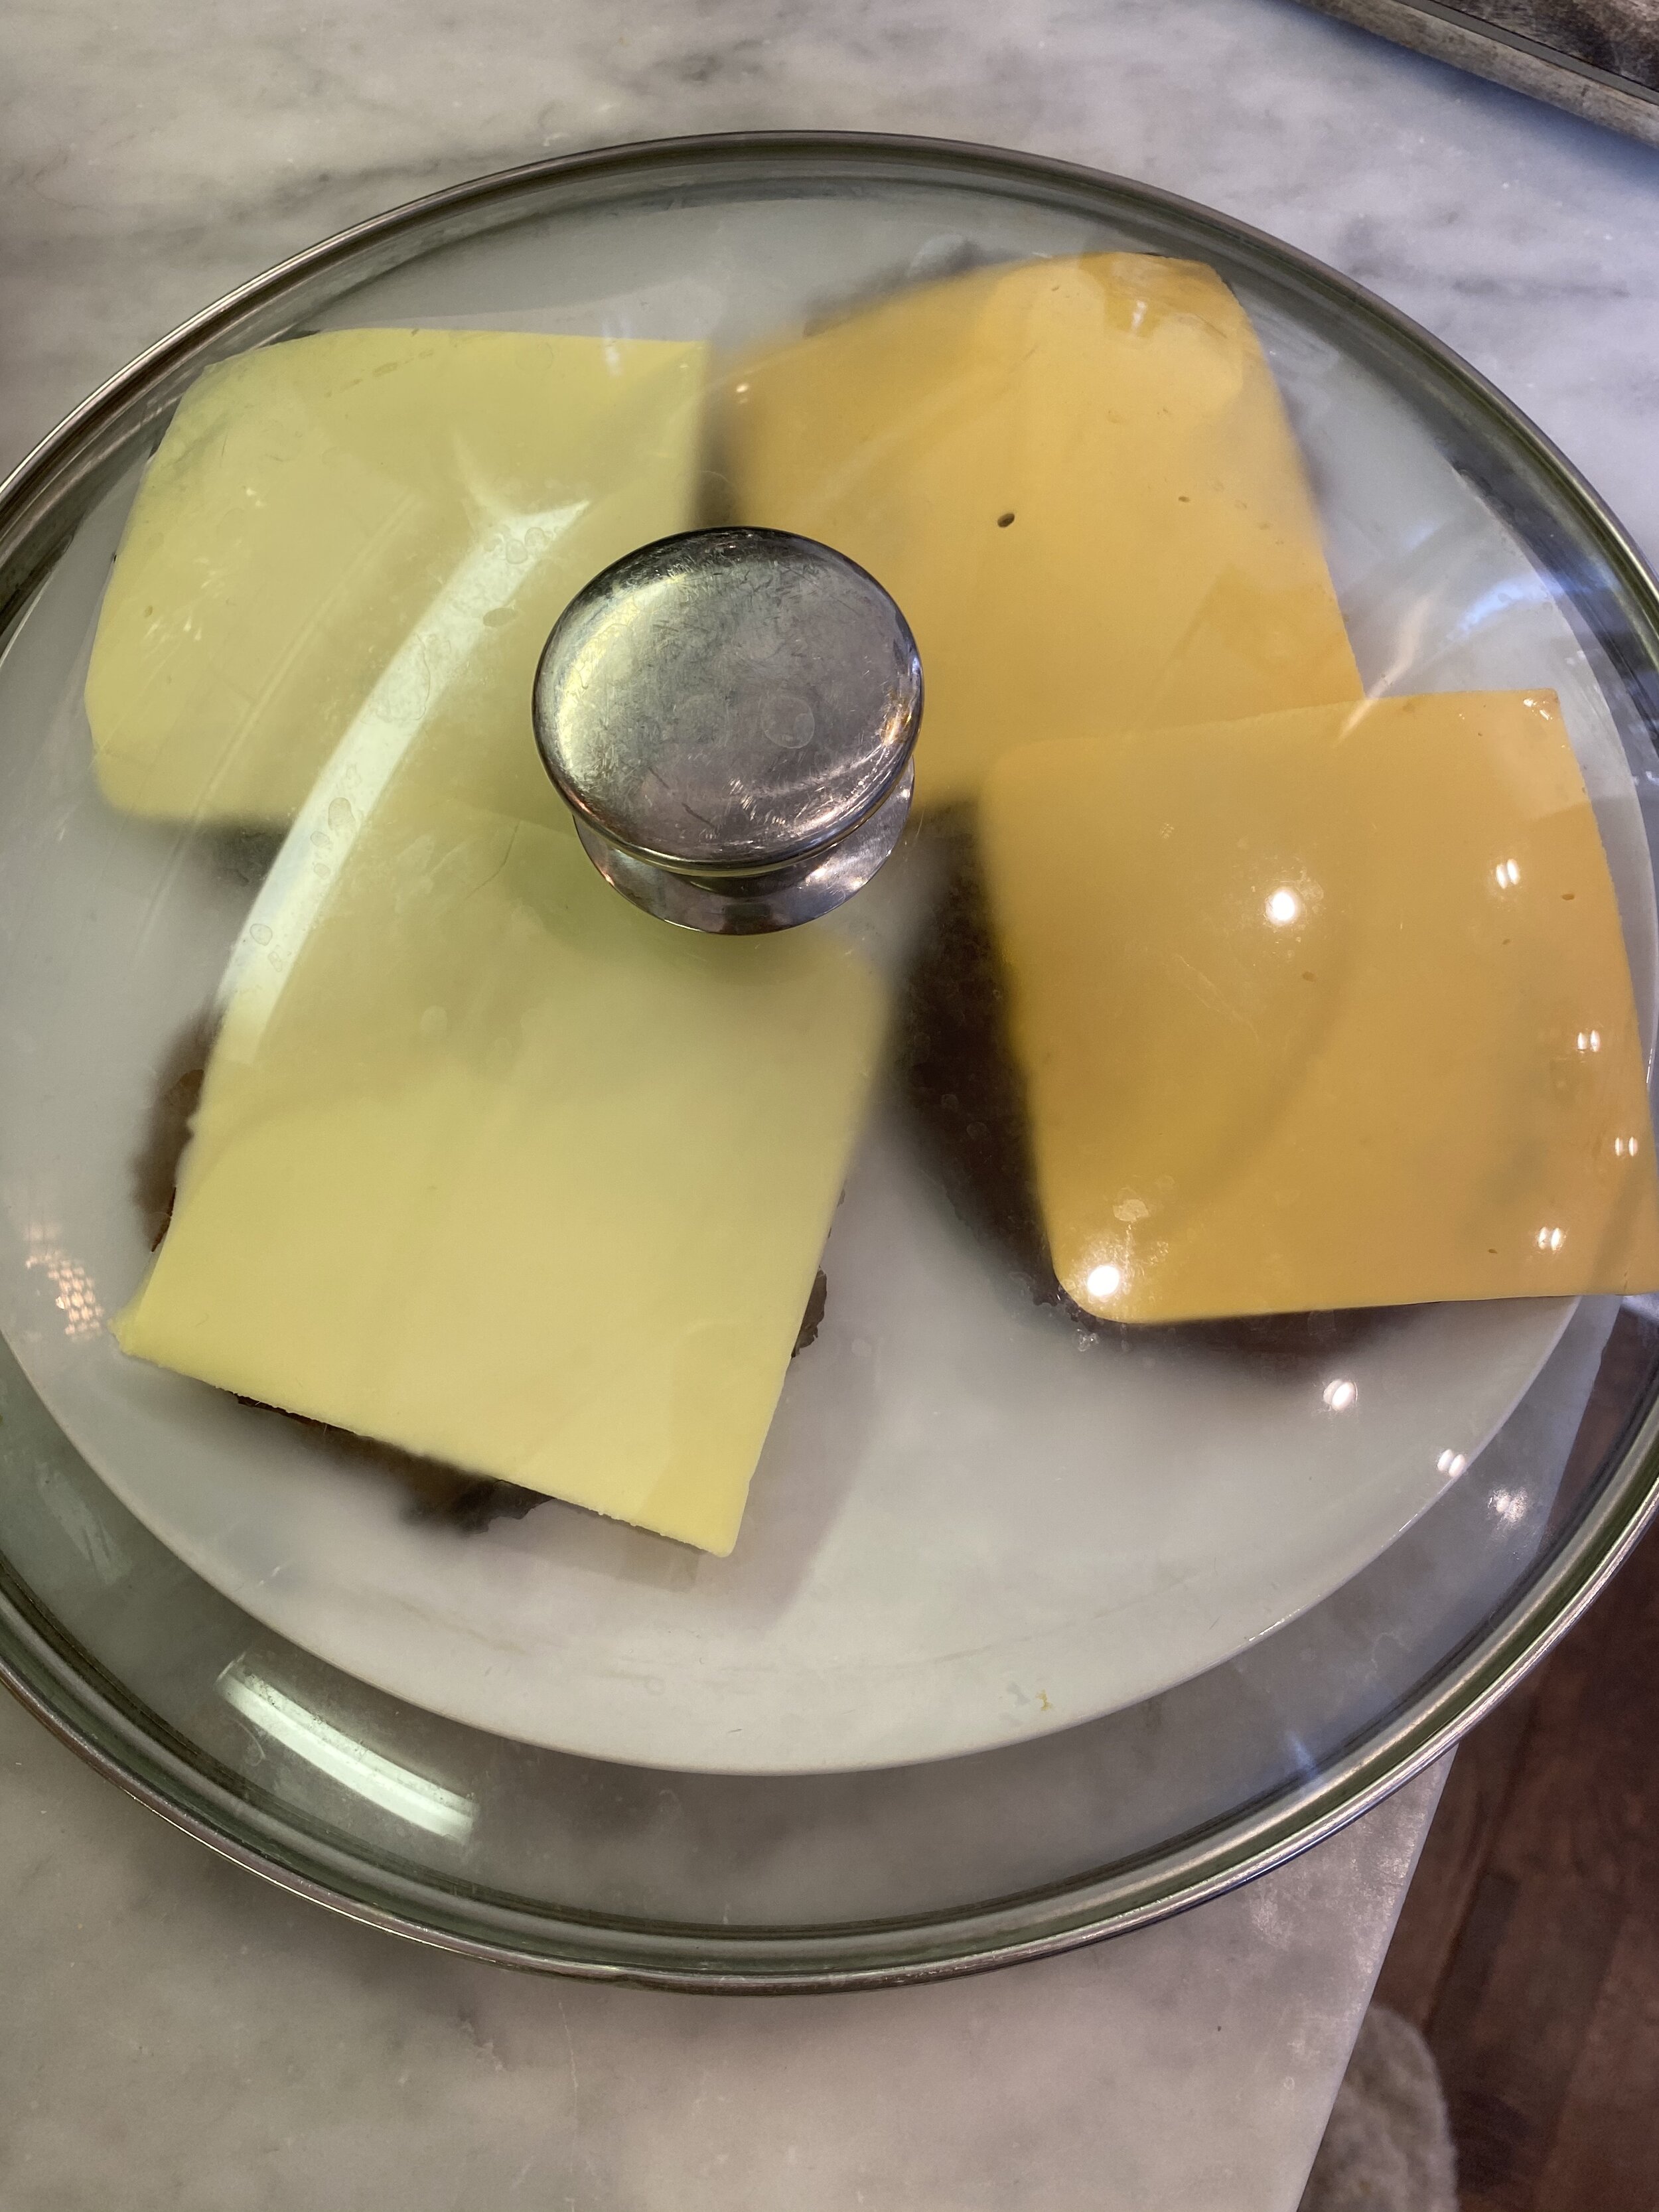
  3. Fry the burger patties, trying to get them pretty flattened out while frying. You don’t want a big thick patty for a patty melt, but rather a nice thin patty. I like to get mine flattened out and a little crispy around the edges. Place finished burgers on a plate. I like to add the cheese slices to the burgers hot out of the pan. I then put a large skillet lid over the plate so the cheese can steam and melt some before I grill the sandwiches. Vegan cheese doesn’t always melt super well and this step helps.

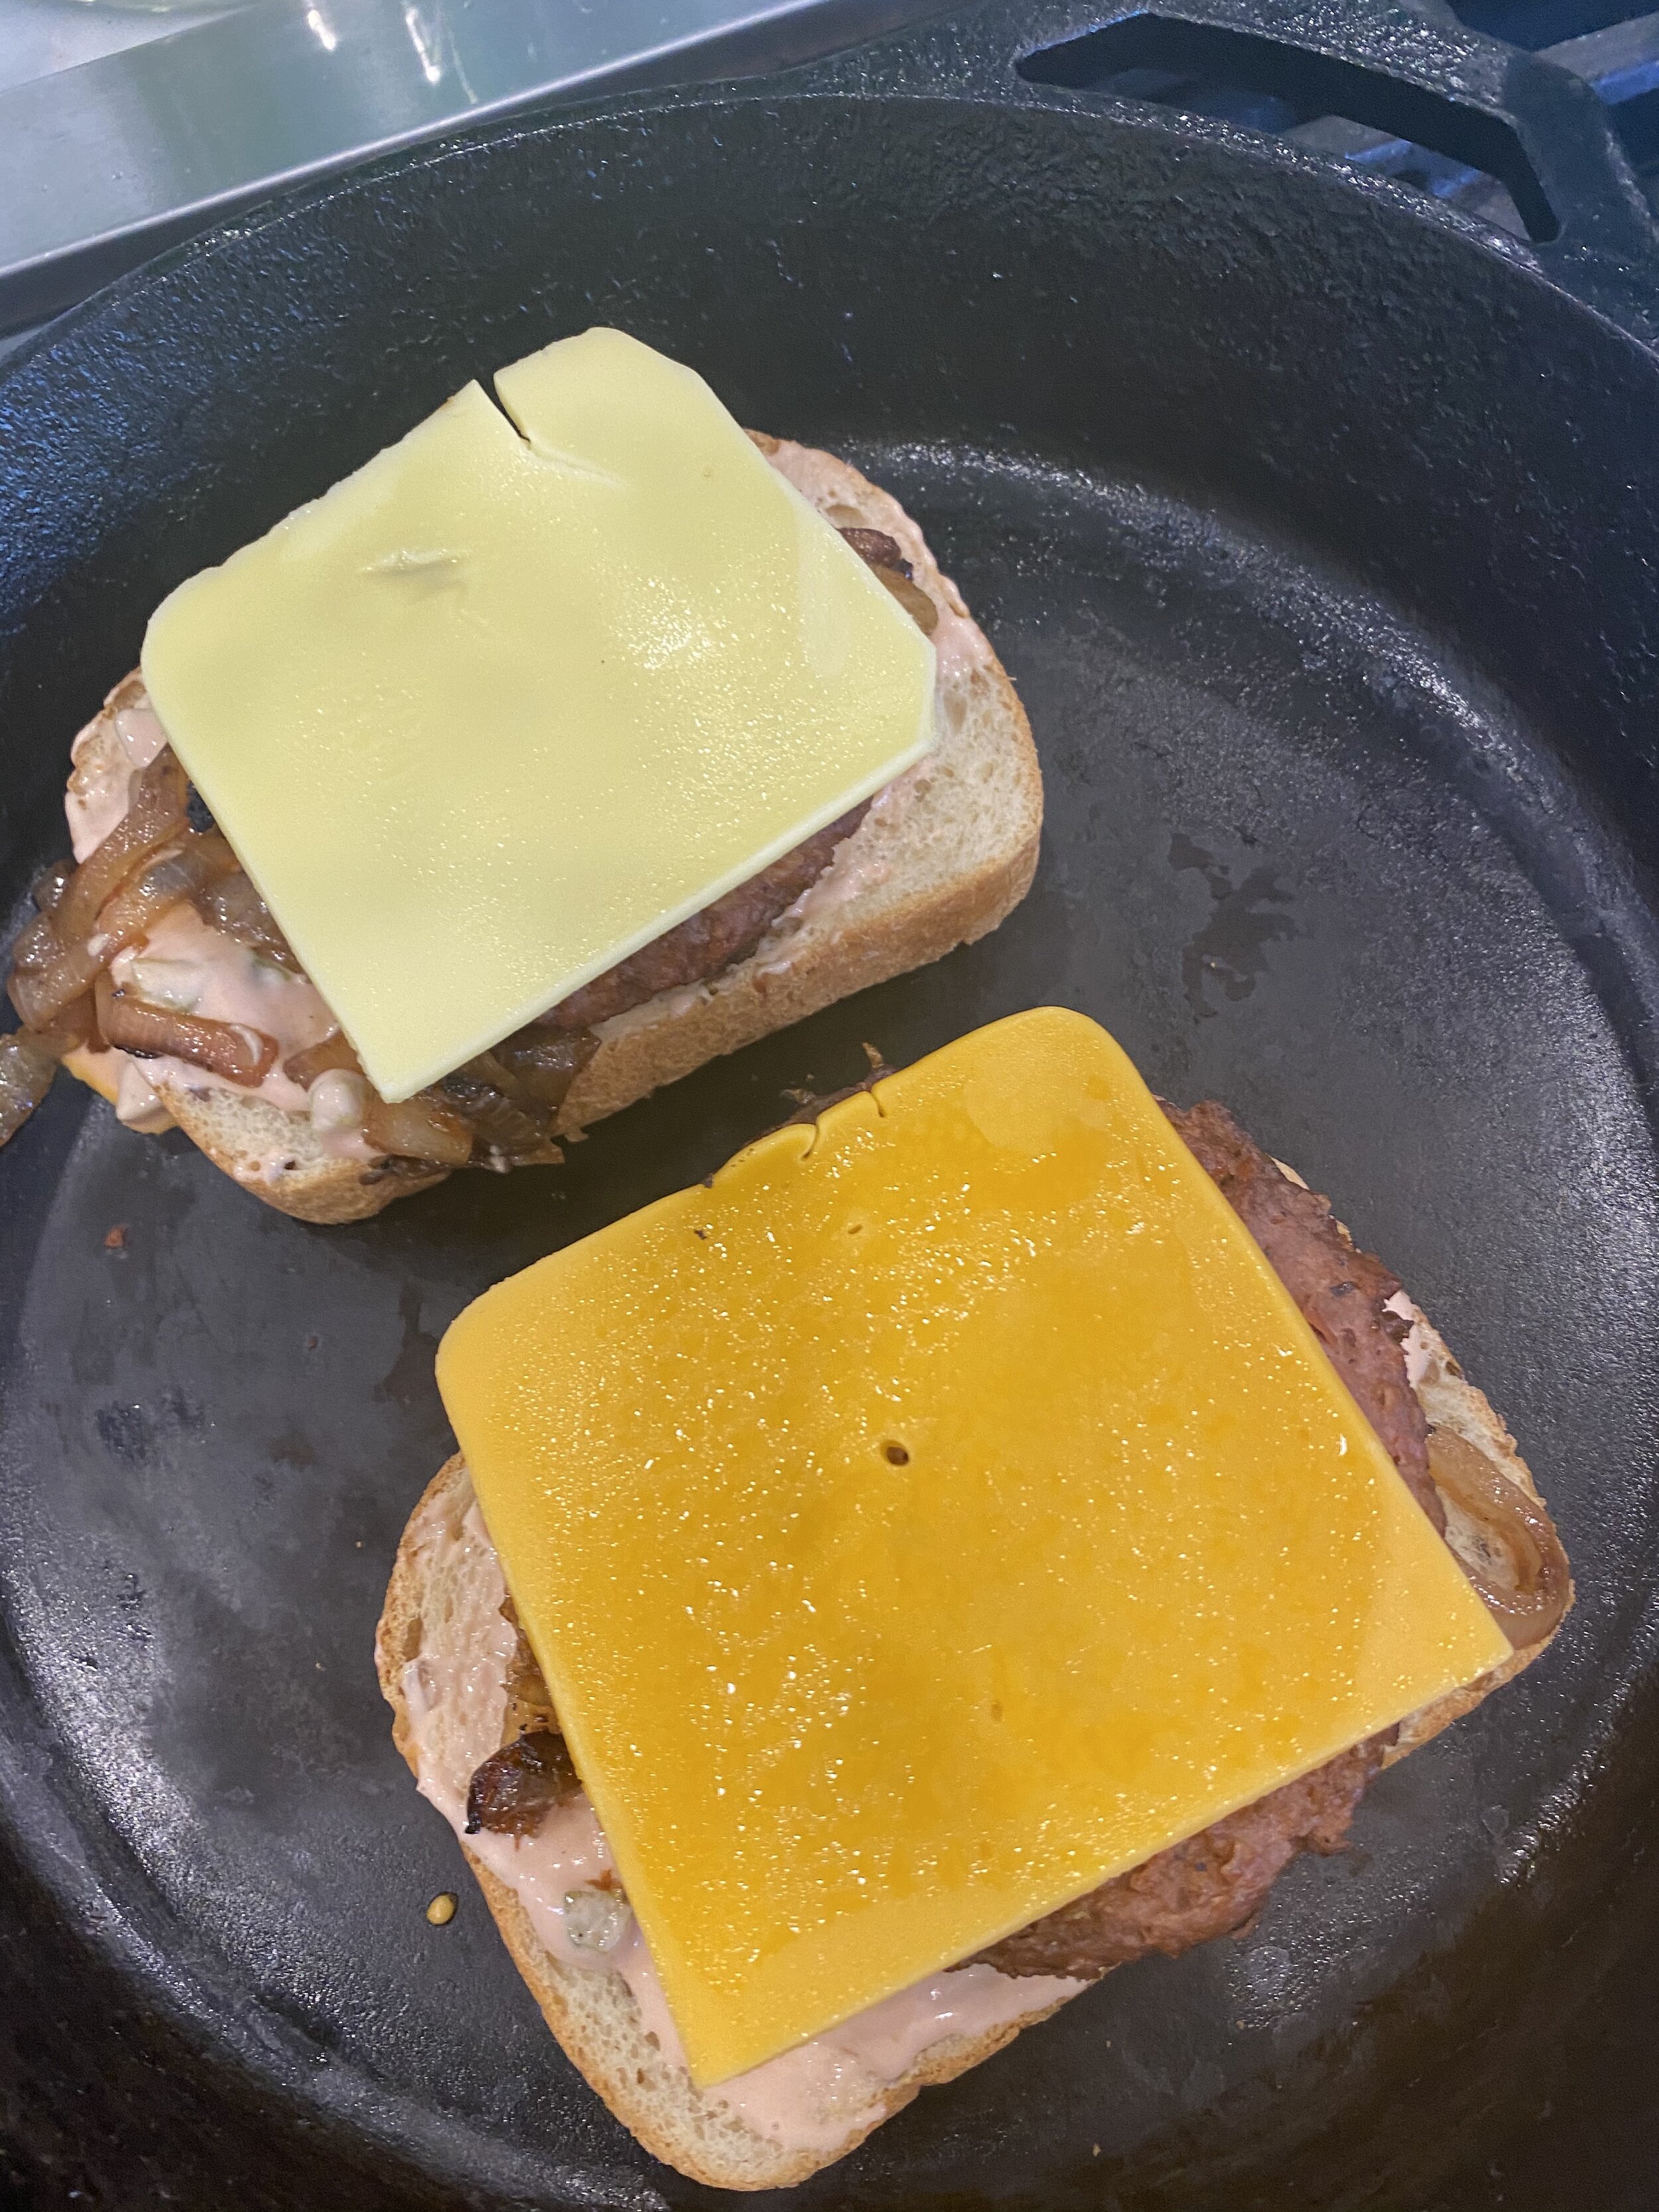
  4. Butter one side of each slice of bread. Lay them butter side down in a large skillet over medium heat (I normally make 2 at a time.) Smear some 1000 island on the the bread, add the burgers, cheese, and 1/4 of the caramelized onions to each sandwich. Heat the sandwiches on each side long enough to get the bread toasty and the cheese good and melted.

  5. Serve as is or with a side of fries or chips.

If you like this recipe, then try these:
Vegan Big Beef and Cheddar

Vegan Big Beef and Cheddar

Vegan Buffalo Chicken Sandwich

Vegan Buffalo Chicken Sandwich

Vegan Fish Fillet Sandwich

Vegan Fish Fillet Sandwich

patty melt

Vegan Big Beef and Cheddar Sandwich (Vegan Roast Beef)

IMG_9383.jpg

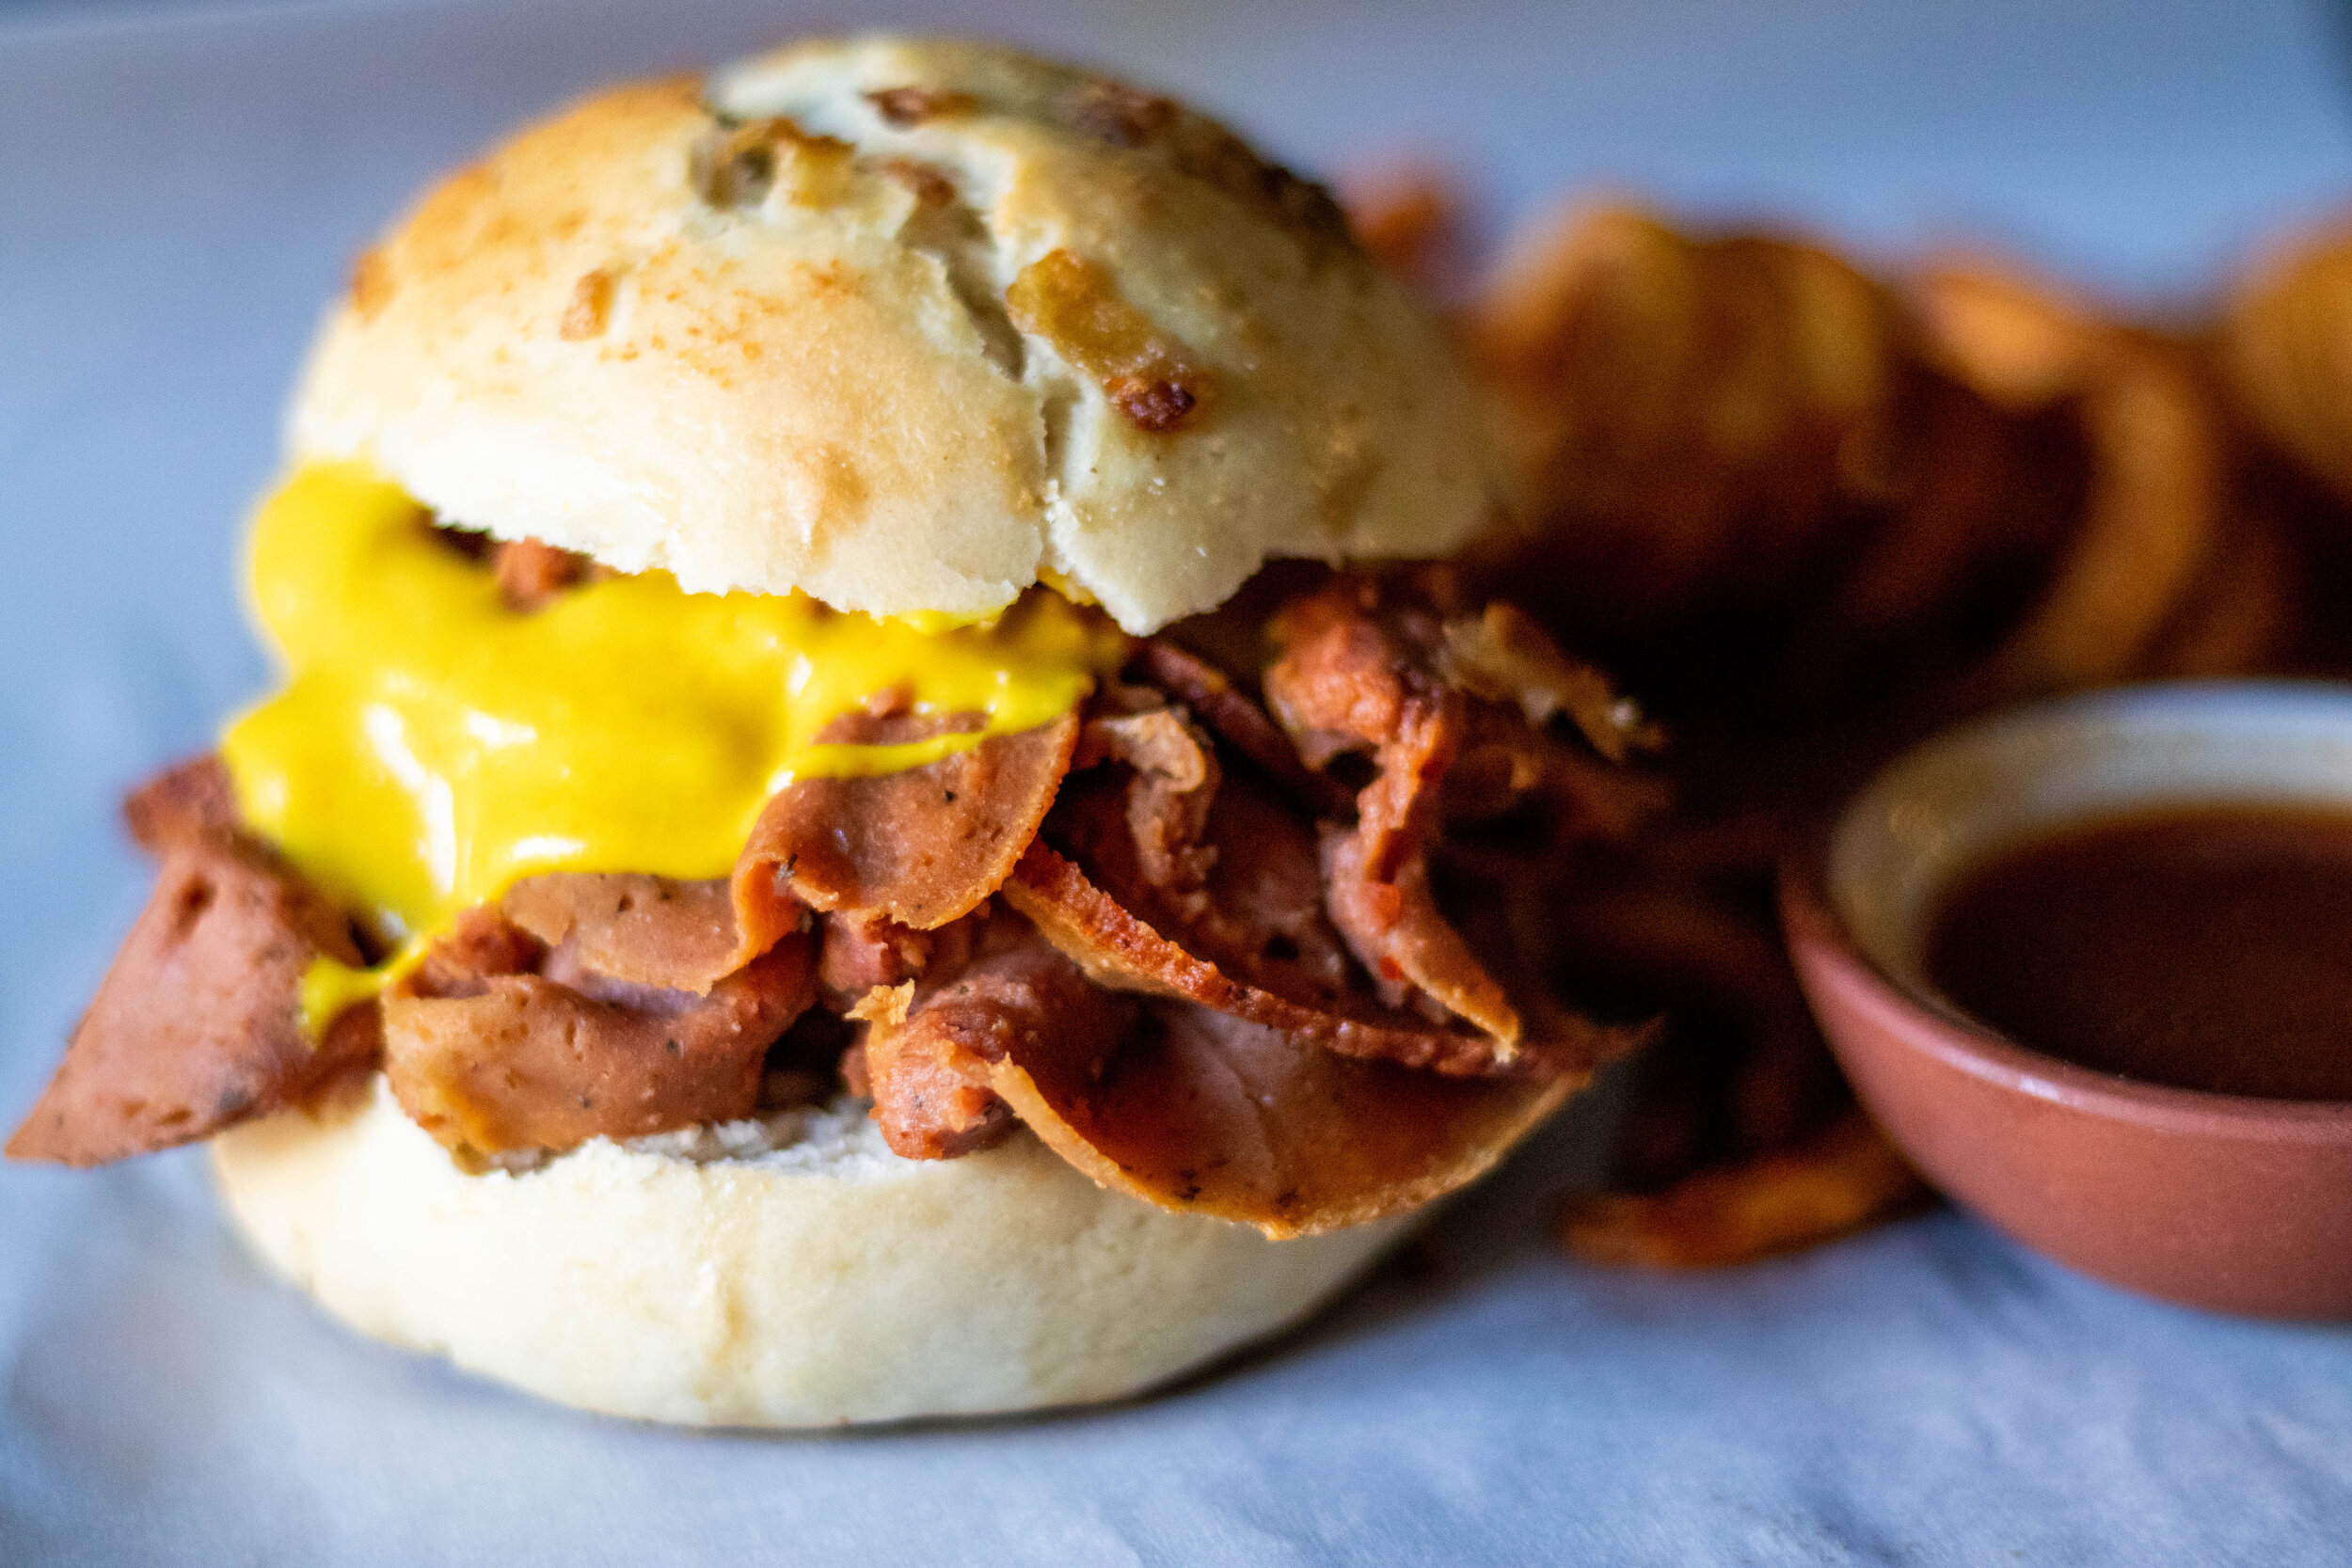
What is an Arby’s big beef and cheddar you might ask? ( you would ask if you have no clue what Arby’s is or have never eaten there pre-vegan.) Well its a thinly sliced, warm roast beef sandwich, with cheddar cheese sauce, on an onion bun from Arby’s fast food restaurant ! And it my friends was DELICIOUS! The big beef and cheddar is more pricey than an original roast beef and most often did not fit into my high school, stolen change, budget.

When I was in high school, you could get 5 classic Arby’s roast beef sandwiches for $5. My friend Jessica and I would raid my step sisters giant jar of change for $5 so we could split 5 roast beef sandwiches between us. And let me tell you, we both could EASILY pound 2 and half classic roast beefs in one sitting, no problem. Not that I would advise anyone do that now that I am a grown up and realized nobody “needs” 2 and half sandwiches of any kind at one time.

IMG_9362.jpg

My kids have never had real roast beef let alone an Arby’s roast beef sandwich or Arby’s sauce. My southern family would say, “bless their little hearts!” So recently when someone made and posted the 86eats roast beef to mimic an Arby’s big beef and cheddar, I realized how crazy it was that I had not done that yet and shared it with my own kids.

So, I already had a solid vegan roast beef recipe, and my good friend Mike has just loaned me a deli slicer, and I also have a solid vegan cheddar cheese sauce recipe, so all I need was to veganize the Arby’s sauce and an onion roll! Easy enough, y’all.

For the sauce, I just googled all the other copy cat Arby’s sauces, married a few together and used vegan ingredients. For the bun, I used our no rise hamburger bun recipe and changed up a few things to get a super tasty onion roll!

IMG_7398.jpg

These buns are the quickest yeast buns ever, so easy to make and pretty much fail proof. I loved onion rolls as as kid, and often made my turkey sandwiches on one, so now that I have an easy vegan version, and the best vegan deli turkey lunch meat recipe, I am making these vegan onion rolls ALL THE TIME!

Heads up if you need to have the famous fries with your vegan big beef and cheddar, most chain grocery stores sell them in the freezer section! The actual Arby’s brand curly fries!! And they crisp up great in my air fryer!

Oh and if you were a fan of the famous Jamocha shake, I added my recipe at the bottom of this page. Quick, easy and worthy or dipping your fries right in there!

So without further ado, I present to you the 86eats vegan version of an Arby’s Big Beef and Cheddar!

IMG_9395.jpg

INGREDIENTS:

Vegan Cheddar Cheese Sauce:

  • 1/2 cup cashews or sunflower seeds, covered in water and microwave 3 minutes

  • 1 and 1/4 cup water (in addition to the water used to microwave the nuts)

  • 2 tablespoons tapioca starch

  • 2 tablespoons nutritional yeast

  • 1 teaspoons turmeric

  • 1 and 1/2 teaspoons smoked paprika

  • 2 tablespoons sauerkraut without the juice (you can sub with 2 teaspoons light miso and a dash or apple cider vinegar)

  • 1 teaspoon salt

IMG_9365.jpg

INSTRUCTIONS:

  1. Prepare the vegan deli roast beef according to instructions. You will need to make it either in the morning if you wish to slice it in the evening or the day before. It requires at least a 6 hour rest in the fridge in order for it to firm up enough to slice thinly. You can slice the vegan roast beef with a super sharp knife or with an electric deli slicer for extra thin, Arby’s worthy slices.

  2. Prepare the onion rolls according to the instructions. These onion rolls are a quick yeast roll, meaning they do not require a rise time. So start to finish they are done in about an hour. Or use any vegan store-bought bun you prefer.

  3. You can make homemade Arby’s sauce or if you have some sauce packets laying around, use them, they are vegan.

  4. Prepare the cheese sauce by adding the microwaved and drained nuts or seeds to high speed blende or food processor, along with the remaining ingredients. Blend until COMPLETELY SMOOTH! You don’t want any bits of nuts or seeds left.

  5. Pour the cheese mixture into a medium size sauce pan and cook over medium heat stirring continuously until the cheese has thickens to a thin pudding consistency. If the sauce gets too thick you whisk in some extra water and thin it back out! You can easily reheat this sauce in a pan, agin adding a little water to help thin it back out. I normally have a batch of this in my fridge for nachos, tacos, sandwiches or dip for fries.

  6. I like to slice and microwave the vegan roast beef wrapped in some wax paper to warm it through for about 30 seconds. I also like to heat the bun, not toast it, steam it to warm through.

  7. Add heated vegan roast beef, along with cheese sauce, and Arby’s sauce to the buns to serve.

  8. Serve with Arby’s brand curly fries and a homemade vegan Jamocha shake to complete your veganized Arby’s experience! Y’all have to know I did not go to all this trouble without making that shake and sharing the recipe!! Cause I love you all that much ;)

BONUS REICPE (VEGAN JAMOCAH SHAKE)

  • Blend 3 cups vegan chocolate ice cream with 1 cup cold, strong coffee, and 1 cup plant milk! It’s that easy and sooooo good!!!

If you like this recipe, then try these:
Vegan Salami

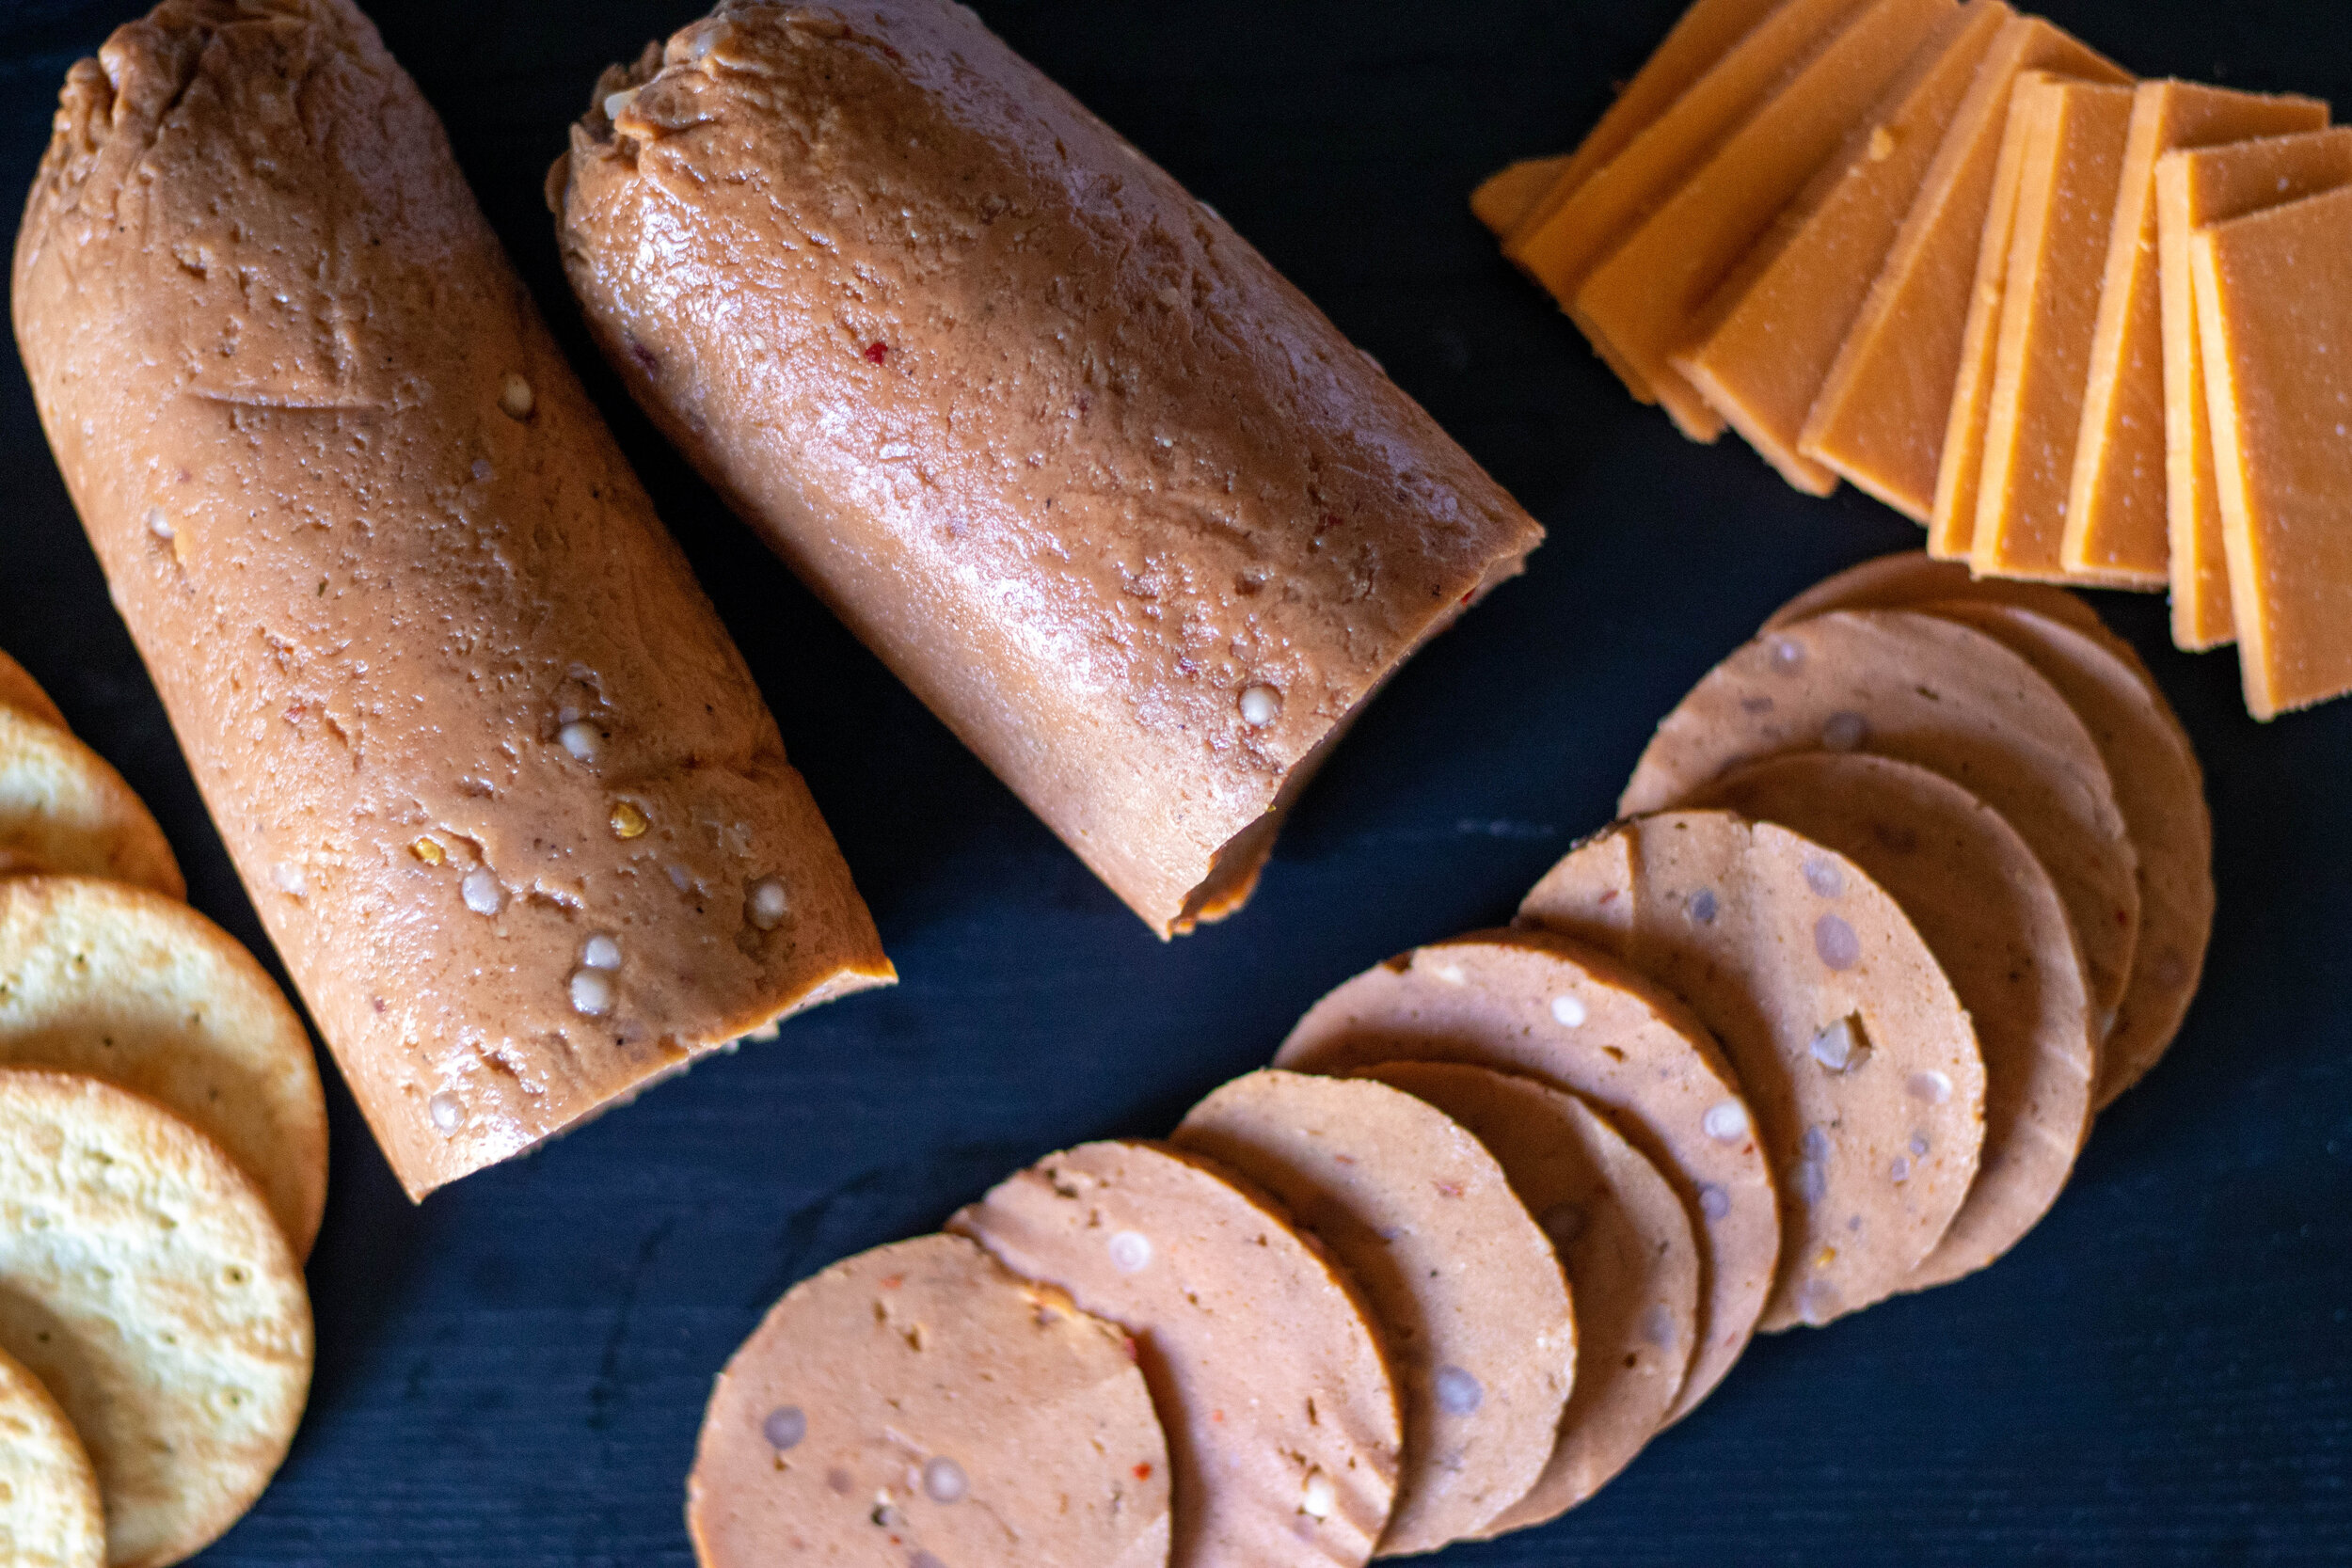
IMG_9306.jpg

Many, many, many, months ago my friend Rosemary Kate sent me a text asking if I had made a vegan salami yet.

I had not. I had, however, thought about it, but had not tried it at that point. So I got right to work.

Guys, some things just don’t come that easily. Like you may try a recipe 5 times before it works out, or doesn’t.

In this case I think I made 5 or 6 salamis and was just not really satisfied with how it looked.

I mean I know looks are not what counts in life, but where food is concerned, they kind of do matter. And when you are trying to mimic a classic meat, you want people to look at it and say, “oh is that vegan salami”, so I just kept on trying.

IMG_9325.jpg

After attempting to mimic the fat bits with white seitan and it always failing, I tired small tapioca pearls.

My daughter and I have been mulling over the idea of using tapioca when I saw a fellow recipe creator and Facebook friend, Aleksandra (go join her Facebook group Creative Vegan Cooking! You will find so much inspiration there, I promise) make a beautiful seitan with tapioca!! And our suspicions were confirmed about using tapioca as the fat bits! She is a genius. I knew that already, but this sealed the deal.

I only had small pearls on hand so I tried that at first. And at first, that seemed like it was going to work. But once the salami baked up, the pearls were lost! Sigh…attempt number 5, at least.

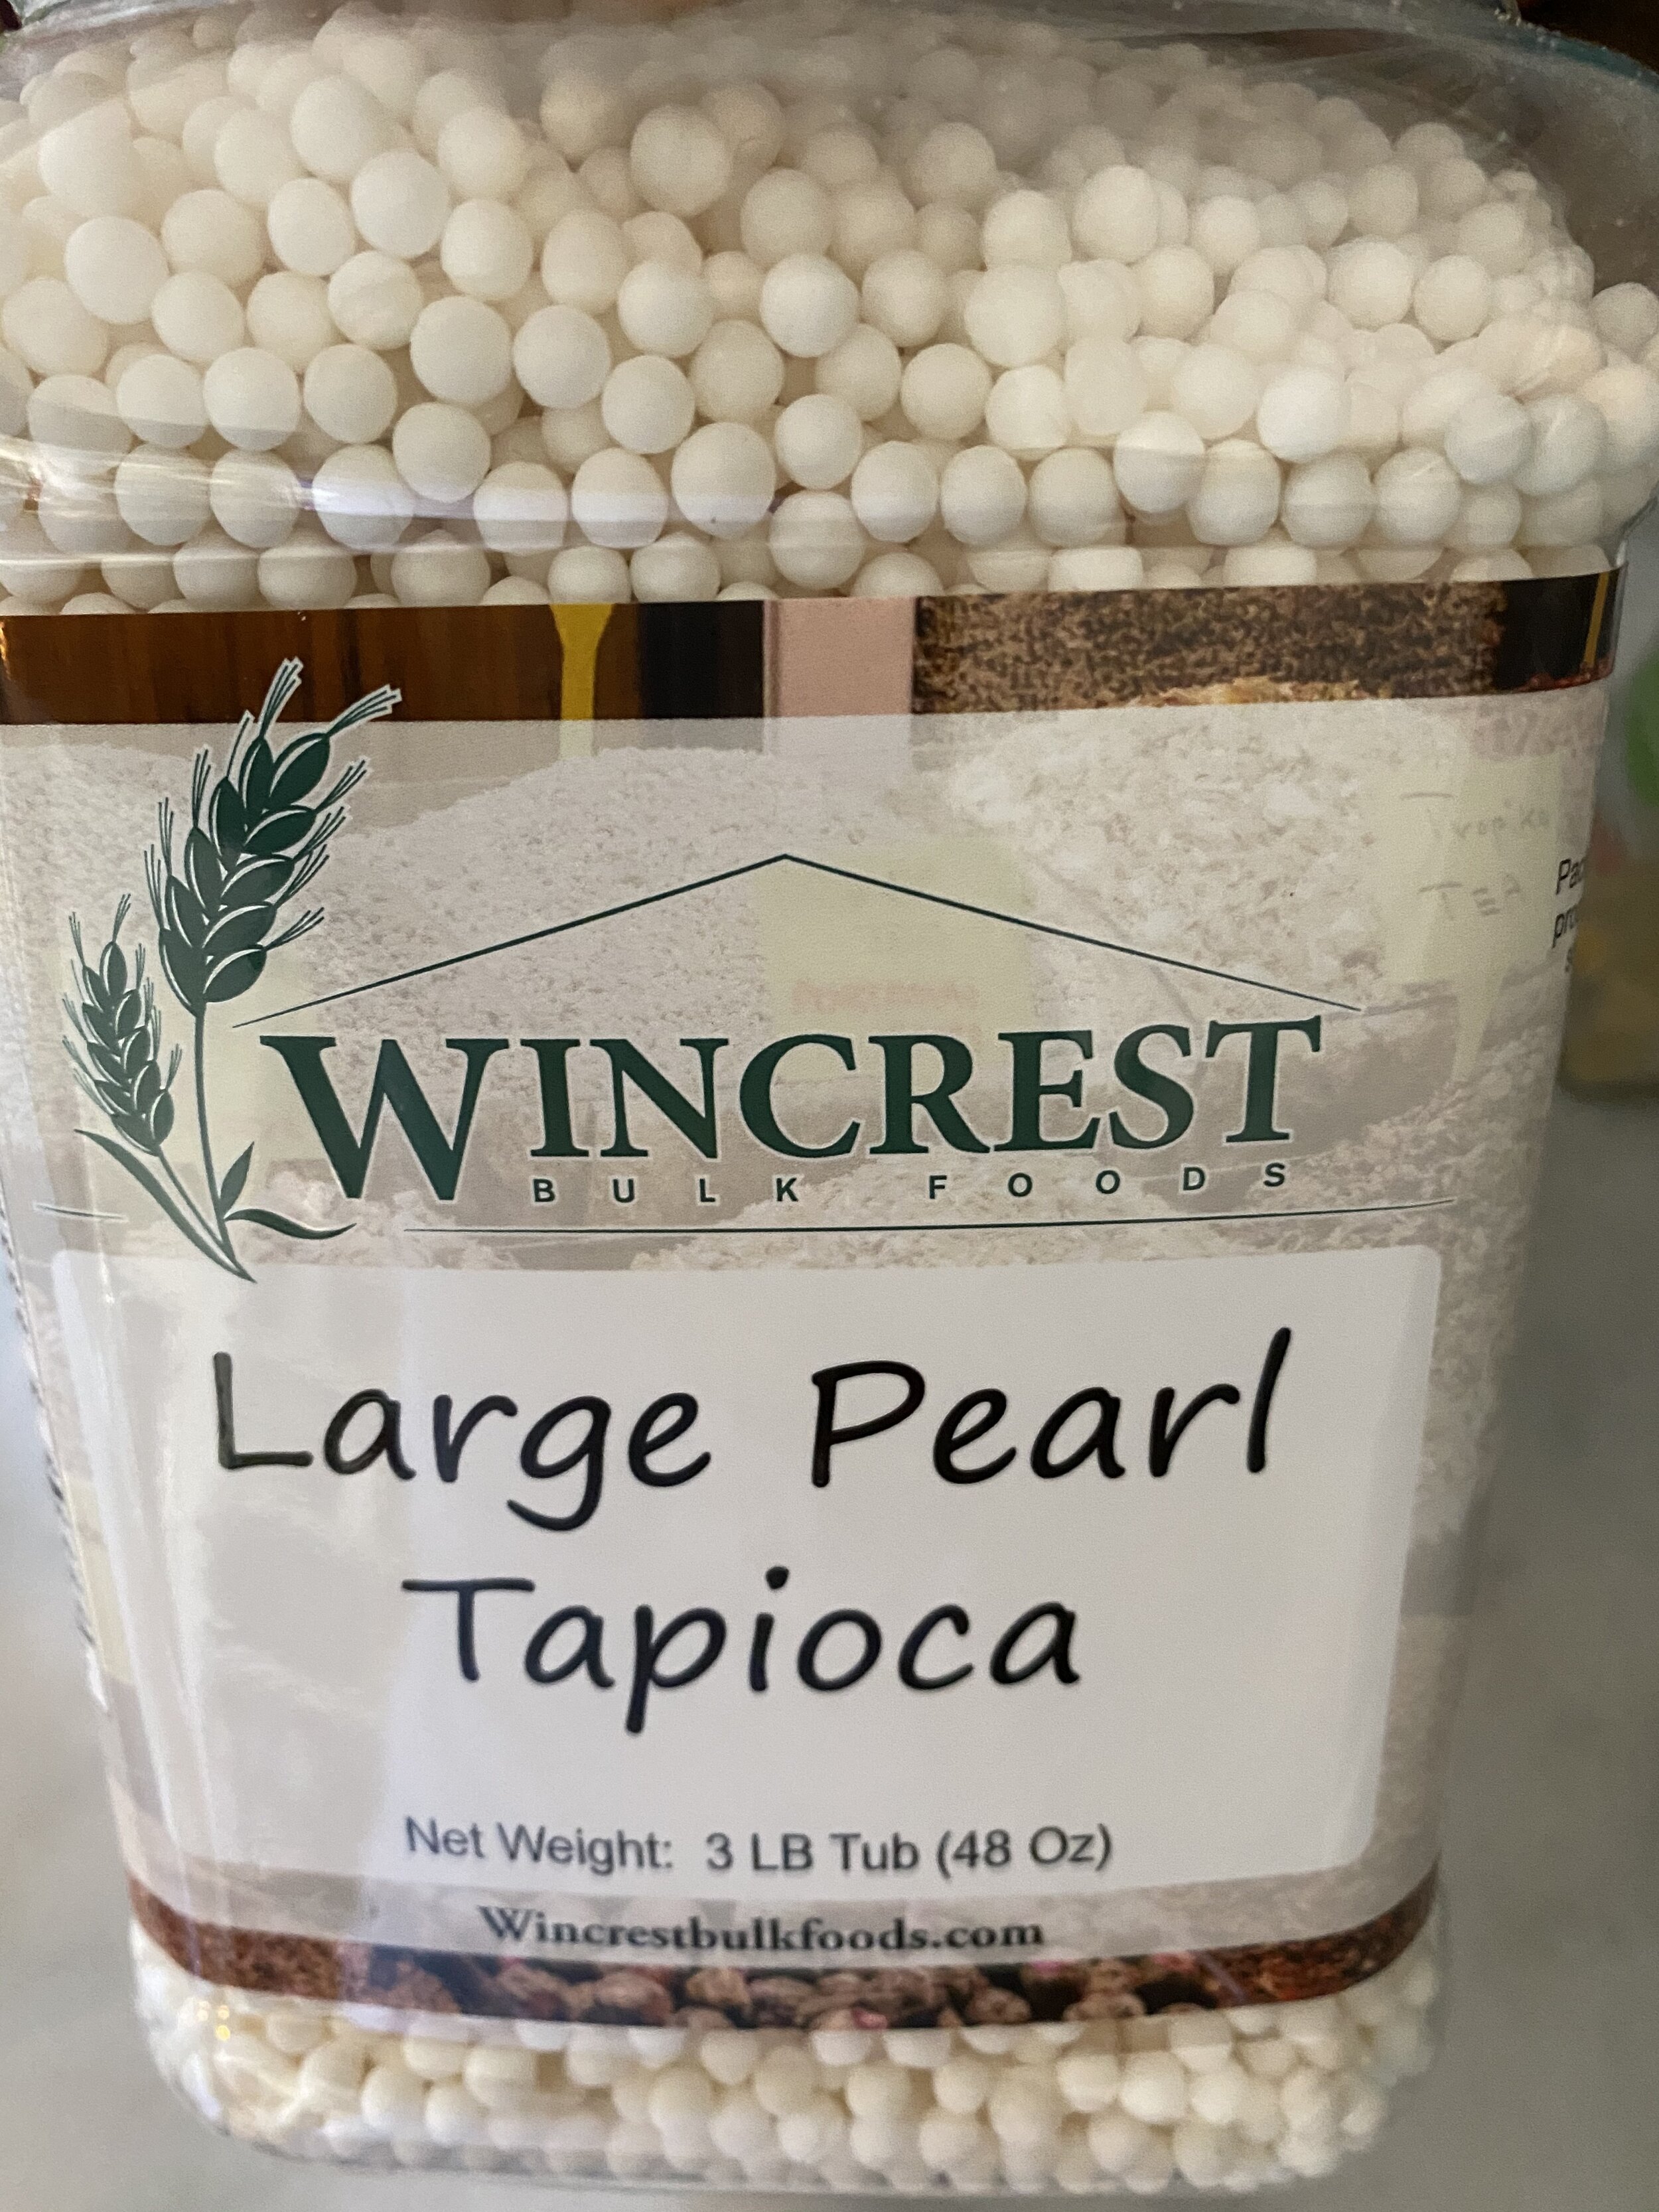
So you 100% NEED TO USE THE LARGE PEARLS. They do not get lost in the dough. I had to order mine online because I could not easily find them at a regular grocery store.

large tapioca pearls

Now if you do not care about it actually looking like salami, you do not have to use the pearls at all!! The only single thing those pearls do is recreate the fat bits in a non vegan salami. That is it. The taste and texture will be the same without them.

I am just tenacious and stubborn to a fault and would not dare post a vegan salami until I felt like it at least somewhat resembled a traditional salami.

This vegan salami recipe is pretty quick (mixing and baking that is) and easy to make. It does take some time for those pearls to soak, so keep that in mind when you go to make this vegan meat. You will need to soak the tapioca for about 4 hours. You will also need to allow for the VERY IMPORTANT REST TIME. And I yell this because you 100% have to let this salami rest before you go slicing into it. The texture depends on it.

I say this so you understand you will make vegan salami today and probably not eat it until tomorrow! But that is ok, good things come to those who wait, and this vegan salami is worth the wait.

It is also worth the savings. Store bought vegan meats are not very cheap. But if you make your own at home it will be pennies to the dollar you spend on pre-made vegan meats! That is reason enough for me to make my own vegan deli meats at home. They are so affordable and easy to make, once you start, there will be no looking back! Promise!

So go, make some vegan salami and stack it high on a cracker with a nice slice of vegan cheese, or on your favorite sandwich! It really is delicious and so easy to make your own vegan salami right at home!

IMG_9307.jpg

INGREDIENTS:

  • 16 oz of super firm tofu (the kind in vacuum sealed package)

  • 1 1/2 cups vital wheat gluten

  • 1/4 cup LARGE tapioca peals, plus hot water to soak them

  • 1/4 cup nutritional yeast

  • 1/4 cup tapioca or corn starch

  • 1/3 cup diced cooked beet (buy in a jar or tin, or you can wrap in foil and bake at 400 degrees until tender. After it has baked the peel easily comes off)

  • 2 tablespoons tomato paste

  • 1 tablespoons No Beef or Vegetable Better Than Bouillon. or some other vegan bouillon paste or powder

  • 2 teaspoons onion powder

  • 2 teaspoons minced garlic

  • 2 teaspoons dried mustard

  • 2 teaspoons sugar or monk fruit sweetener

  • 1-2 teaspoons black pepper

  • 1 teaspoon salt (optional)

  • 2 tablespoons neutral flavored oil (you can also use water instead)

  • 1-2 teaspoon liquid smoke

  • 1-2 teaspoons dried red pepper flakes

  • 1-2 tablespoons water if needed

*I use SUPER FIRM TOFU that is packaged in a sort of vacuum sealed wrapper. This tofu if much firmer than firm or extra firm and does not hold much water. Because of this you do not need to press this tofu AND it yields a much firmer seitan than regular or extra firm tofu. If you can only find firm or extra firm tofu then you will need to press it really well first, I suggest at least 30 minutes.

INSTRUCTIONS:

  1. In a medium sized bowl, add 1/4 cup of large tapioca pearls. Cover the pearls in HOT water. You can also add 1 teaspoon of bouillon if you like but don’t have to. Let the pearls soak for about 4 hours. Once they are done soaking, drain and set aside.

  2. Preheat oven to 350 degrees Fahrenheit

  3. Add the cooked beet to a food processor or high speed blender, and blend until the beet is well minced and broken down.

  4. Add the tofu (no need to press if using super firm) broken up into pieces into the food processor, or blender with the beet, and blend for a minute. You want to blend until the tofu iis good and broken down.

  5. Food Processor Instructions: Add all of the remaining ingredients and let the food processor run for a couple of minutes. You want the mixture to form a dough. Letting the processor run will help knead the dough. We want this seitan to be firm so we need it to knead for a bit. If you dough seems a bit too dry, you can add a tablespoons or of water, just don’t add too much more! You need a firm dough for this recipe.

  6. Blender Instructions: If you are using blender then break down the beet and tofu in the blender and get it as smooth as you can. Add the tofu and beet mixture to a bowl with the remaining ingredients and mix by hand. You will have to get the dough as mixed as you can then turn it out onto a clean surface to knead the dough by hand unit it comes together. You alternatively could add the tofu and beet mixture and remaining ingredients to a stand mixer with a dough hook attachment, and allow it to mix and knead that way.

  7. Once you have a smooth but firm dough, remove it from the food processor and place on a clean counter. Knead the dough with your hands for about a minute, forming a large rectangle shaped loaf with the dough. Try to stretch and flatten the dough out as much as you can.

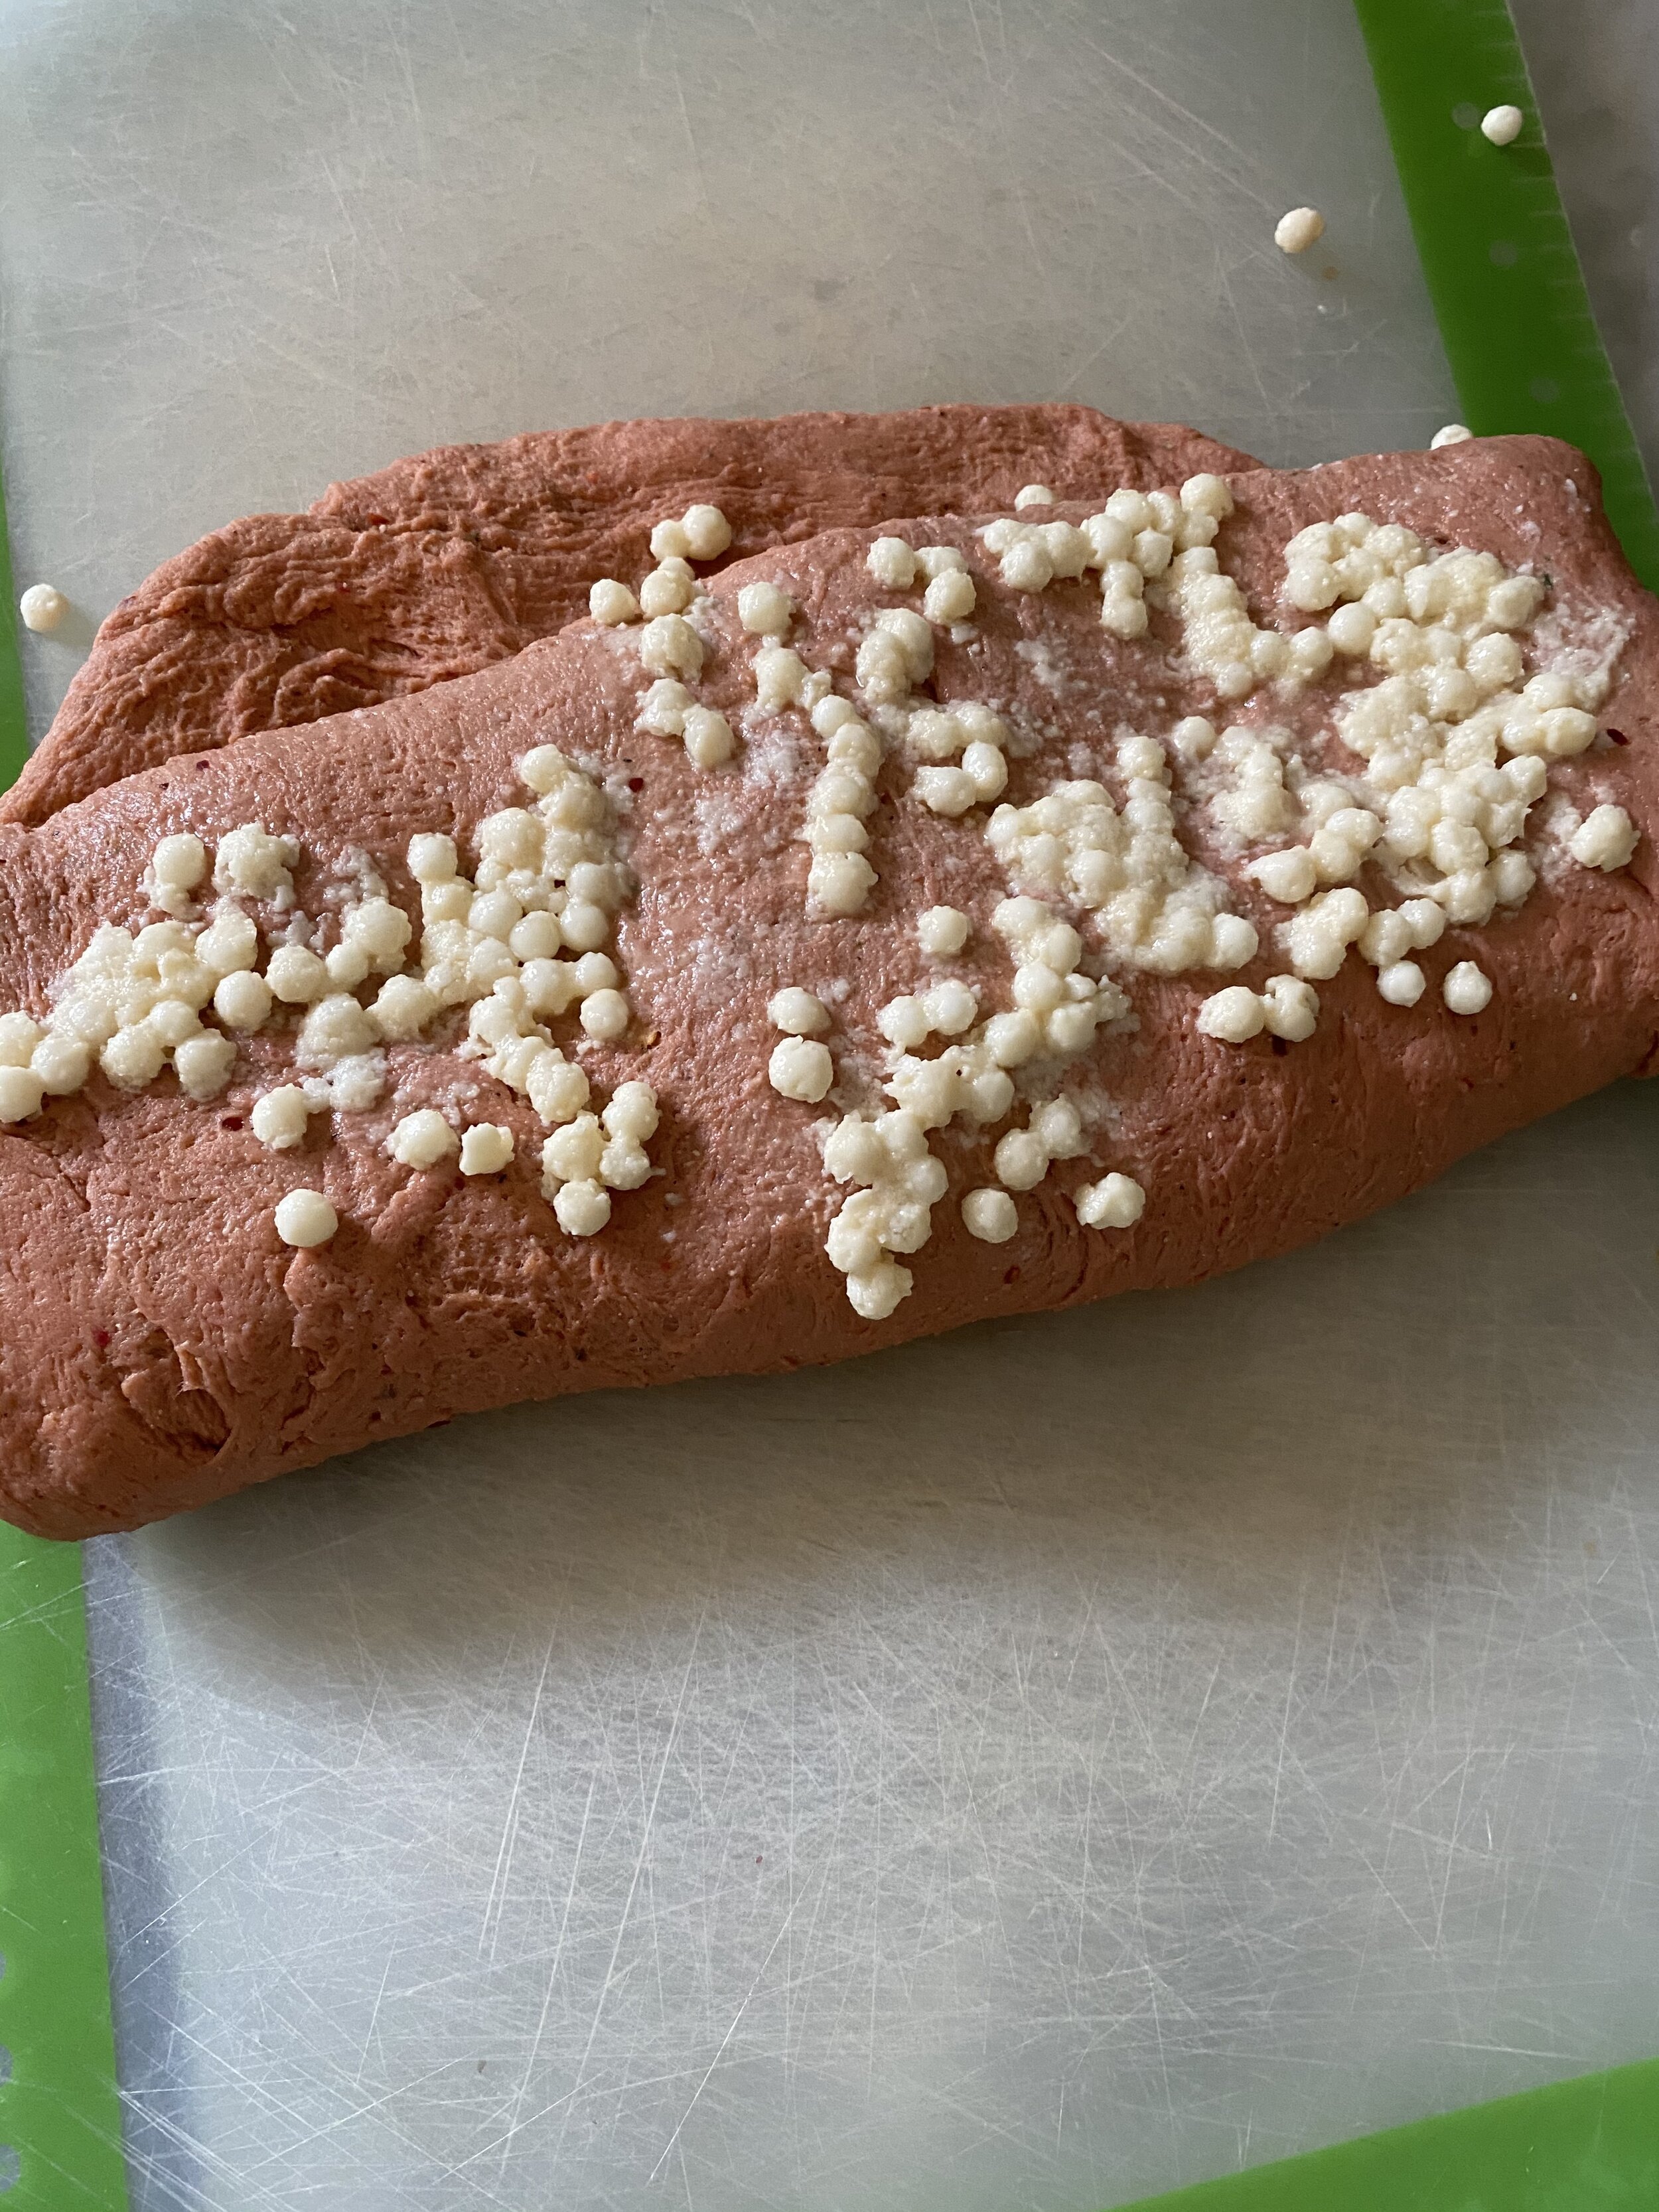
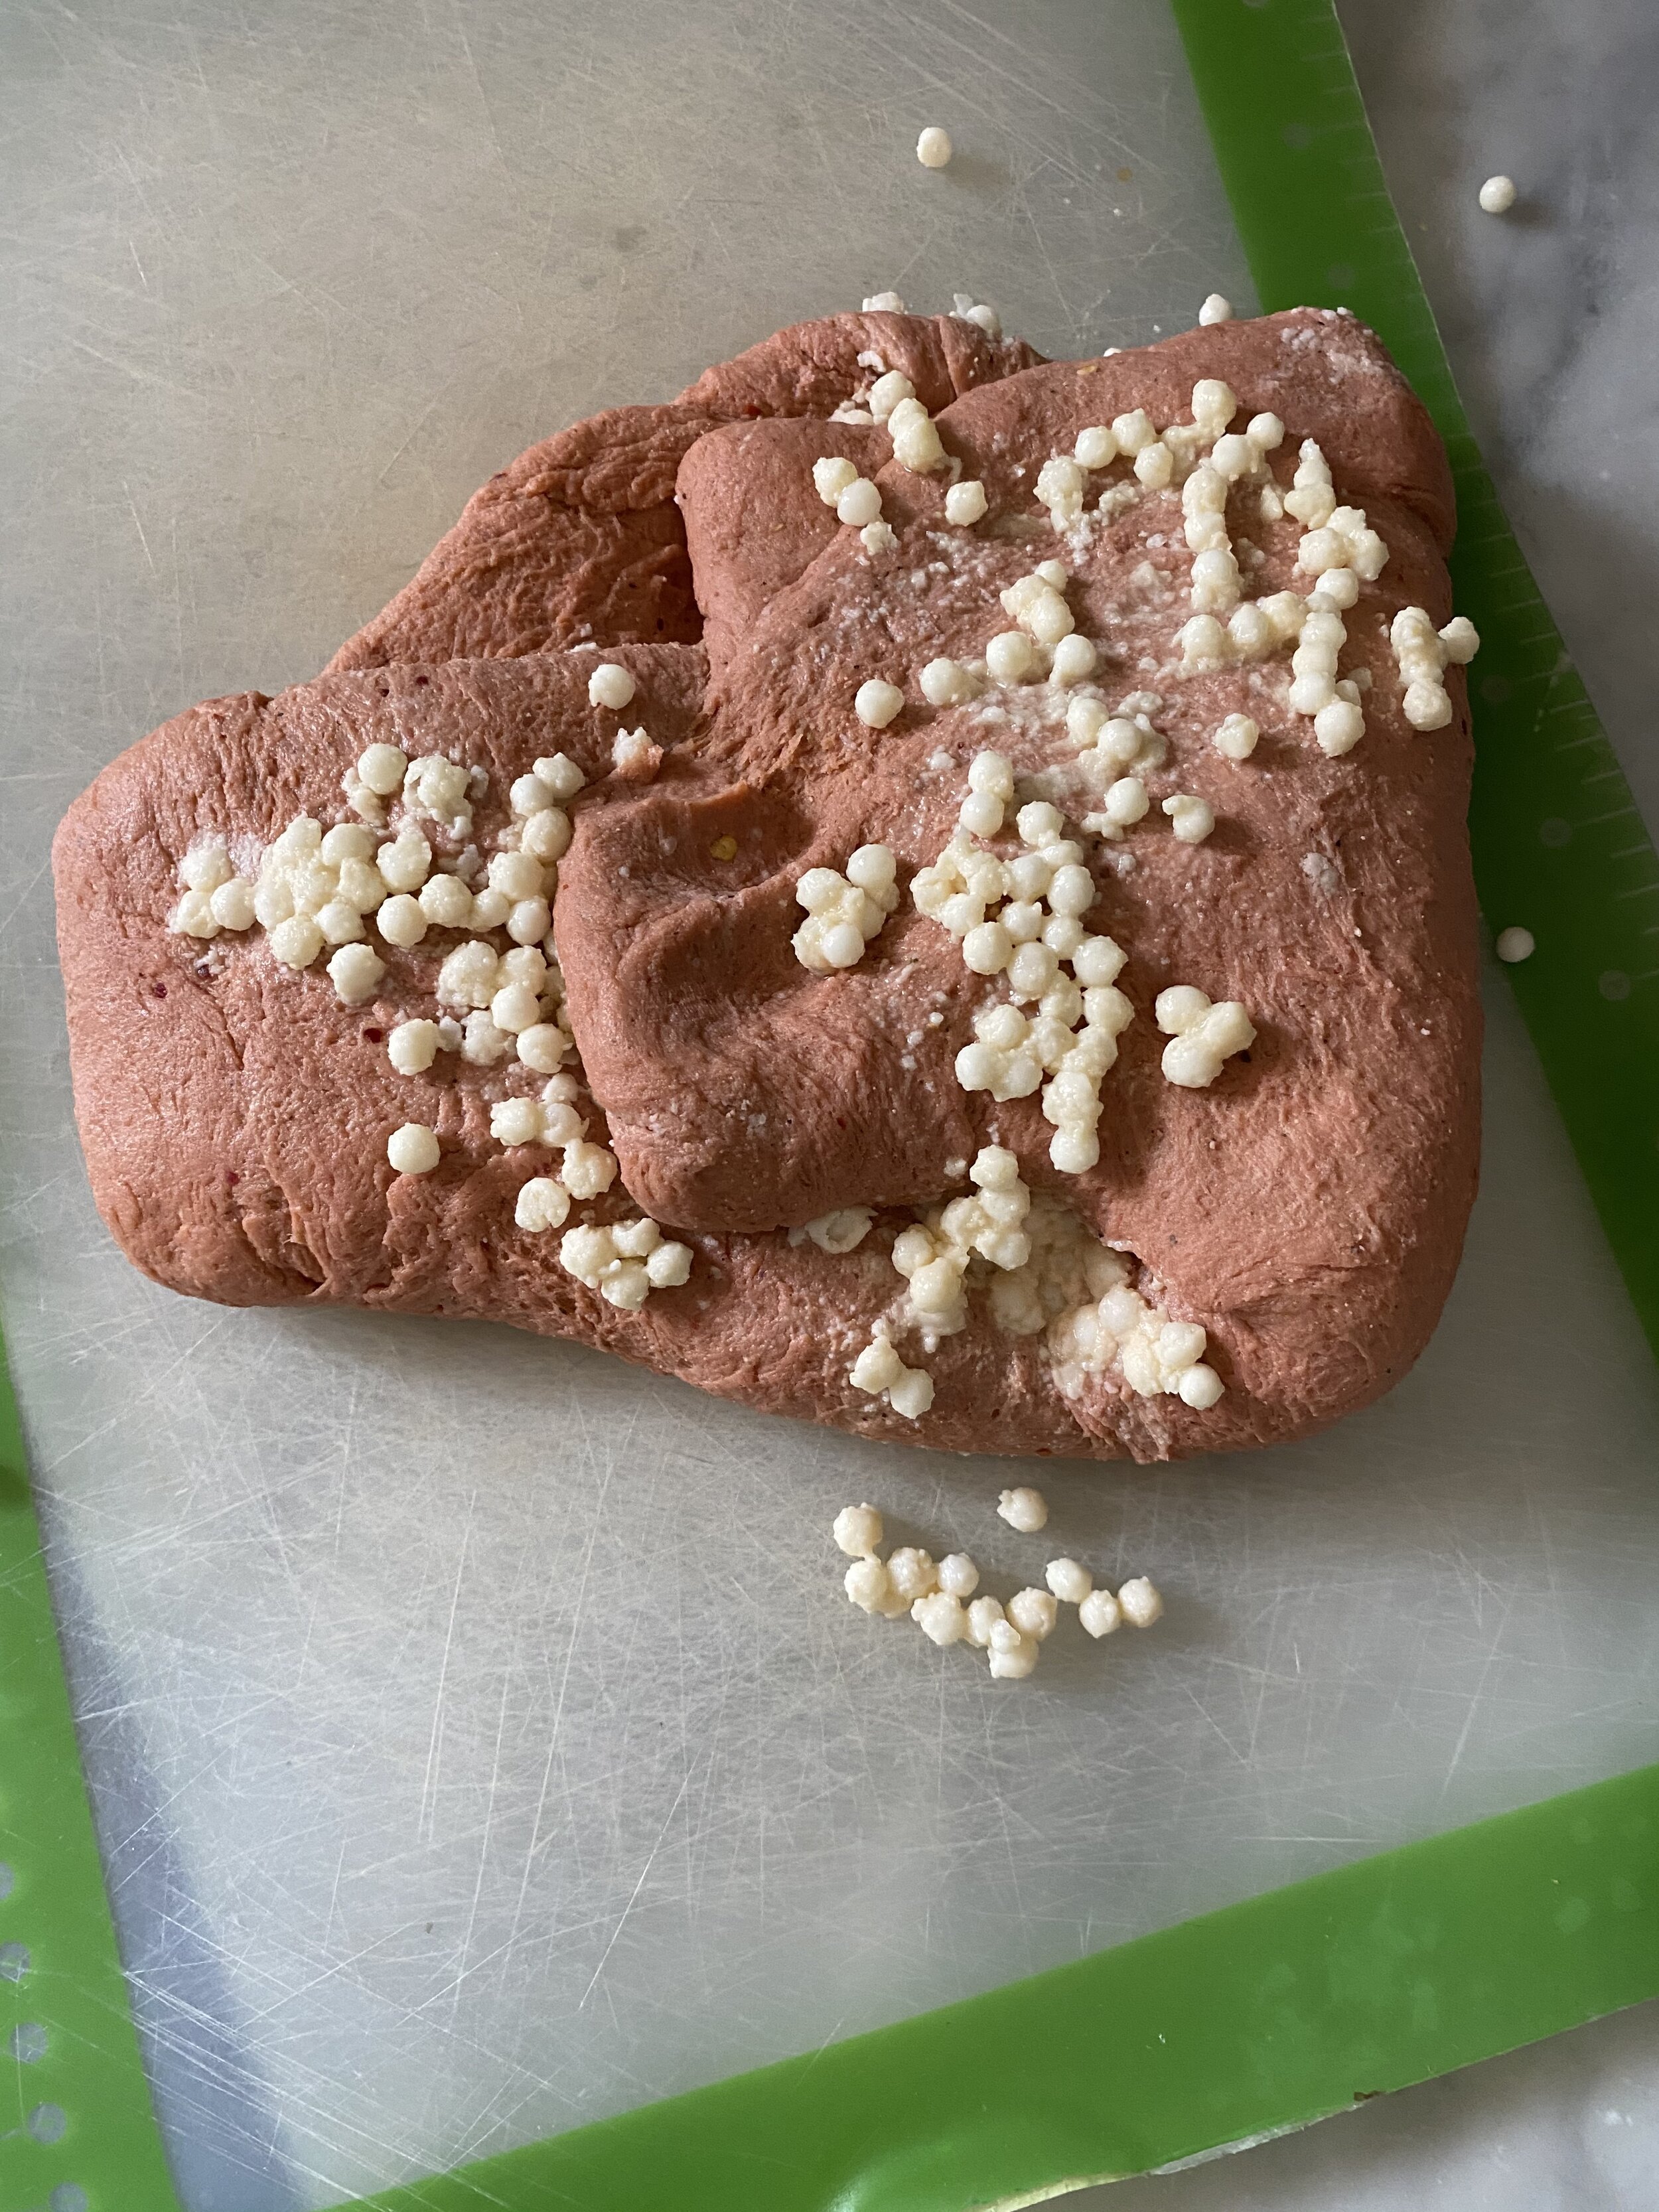
  8. Sprinkle and few tablespoons of the tapioca pearls evenly over the dough and press them in the best you can with your hands (they like to pop out of the springy dough.) Now fold the dough in half and sprinkle more pearls, pressing them in. fold again, adding more pearls, repeating this process until you can not fold the dough any more, and you are out of pearls ( as you fold pearls will spring out as mentioned above, its ok if you don’t get them all in there.)

  9. Once you have gotten all of the pearls (or as many as you can) into the dough, cut it in half. Begin kneading one piece at time by hand until the dough comes back together and is somewhat smooth.

  10. Shape each piece of dough into a 7 or 8 inch log. You will need to roll and pinch the dough to get it as smooth as you can. Adding the tapioca pearls makes getting the dough smooth a little more difficult than if you were making something like a pepperoni. But it will get smooth, I promise.

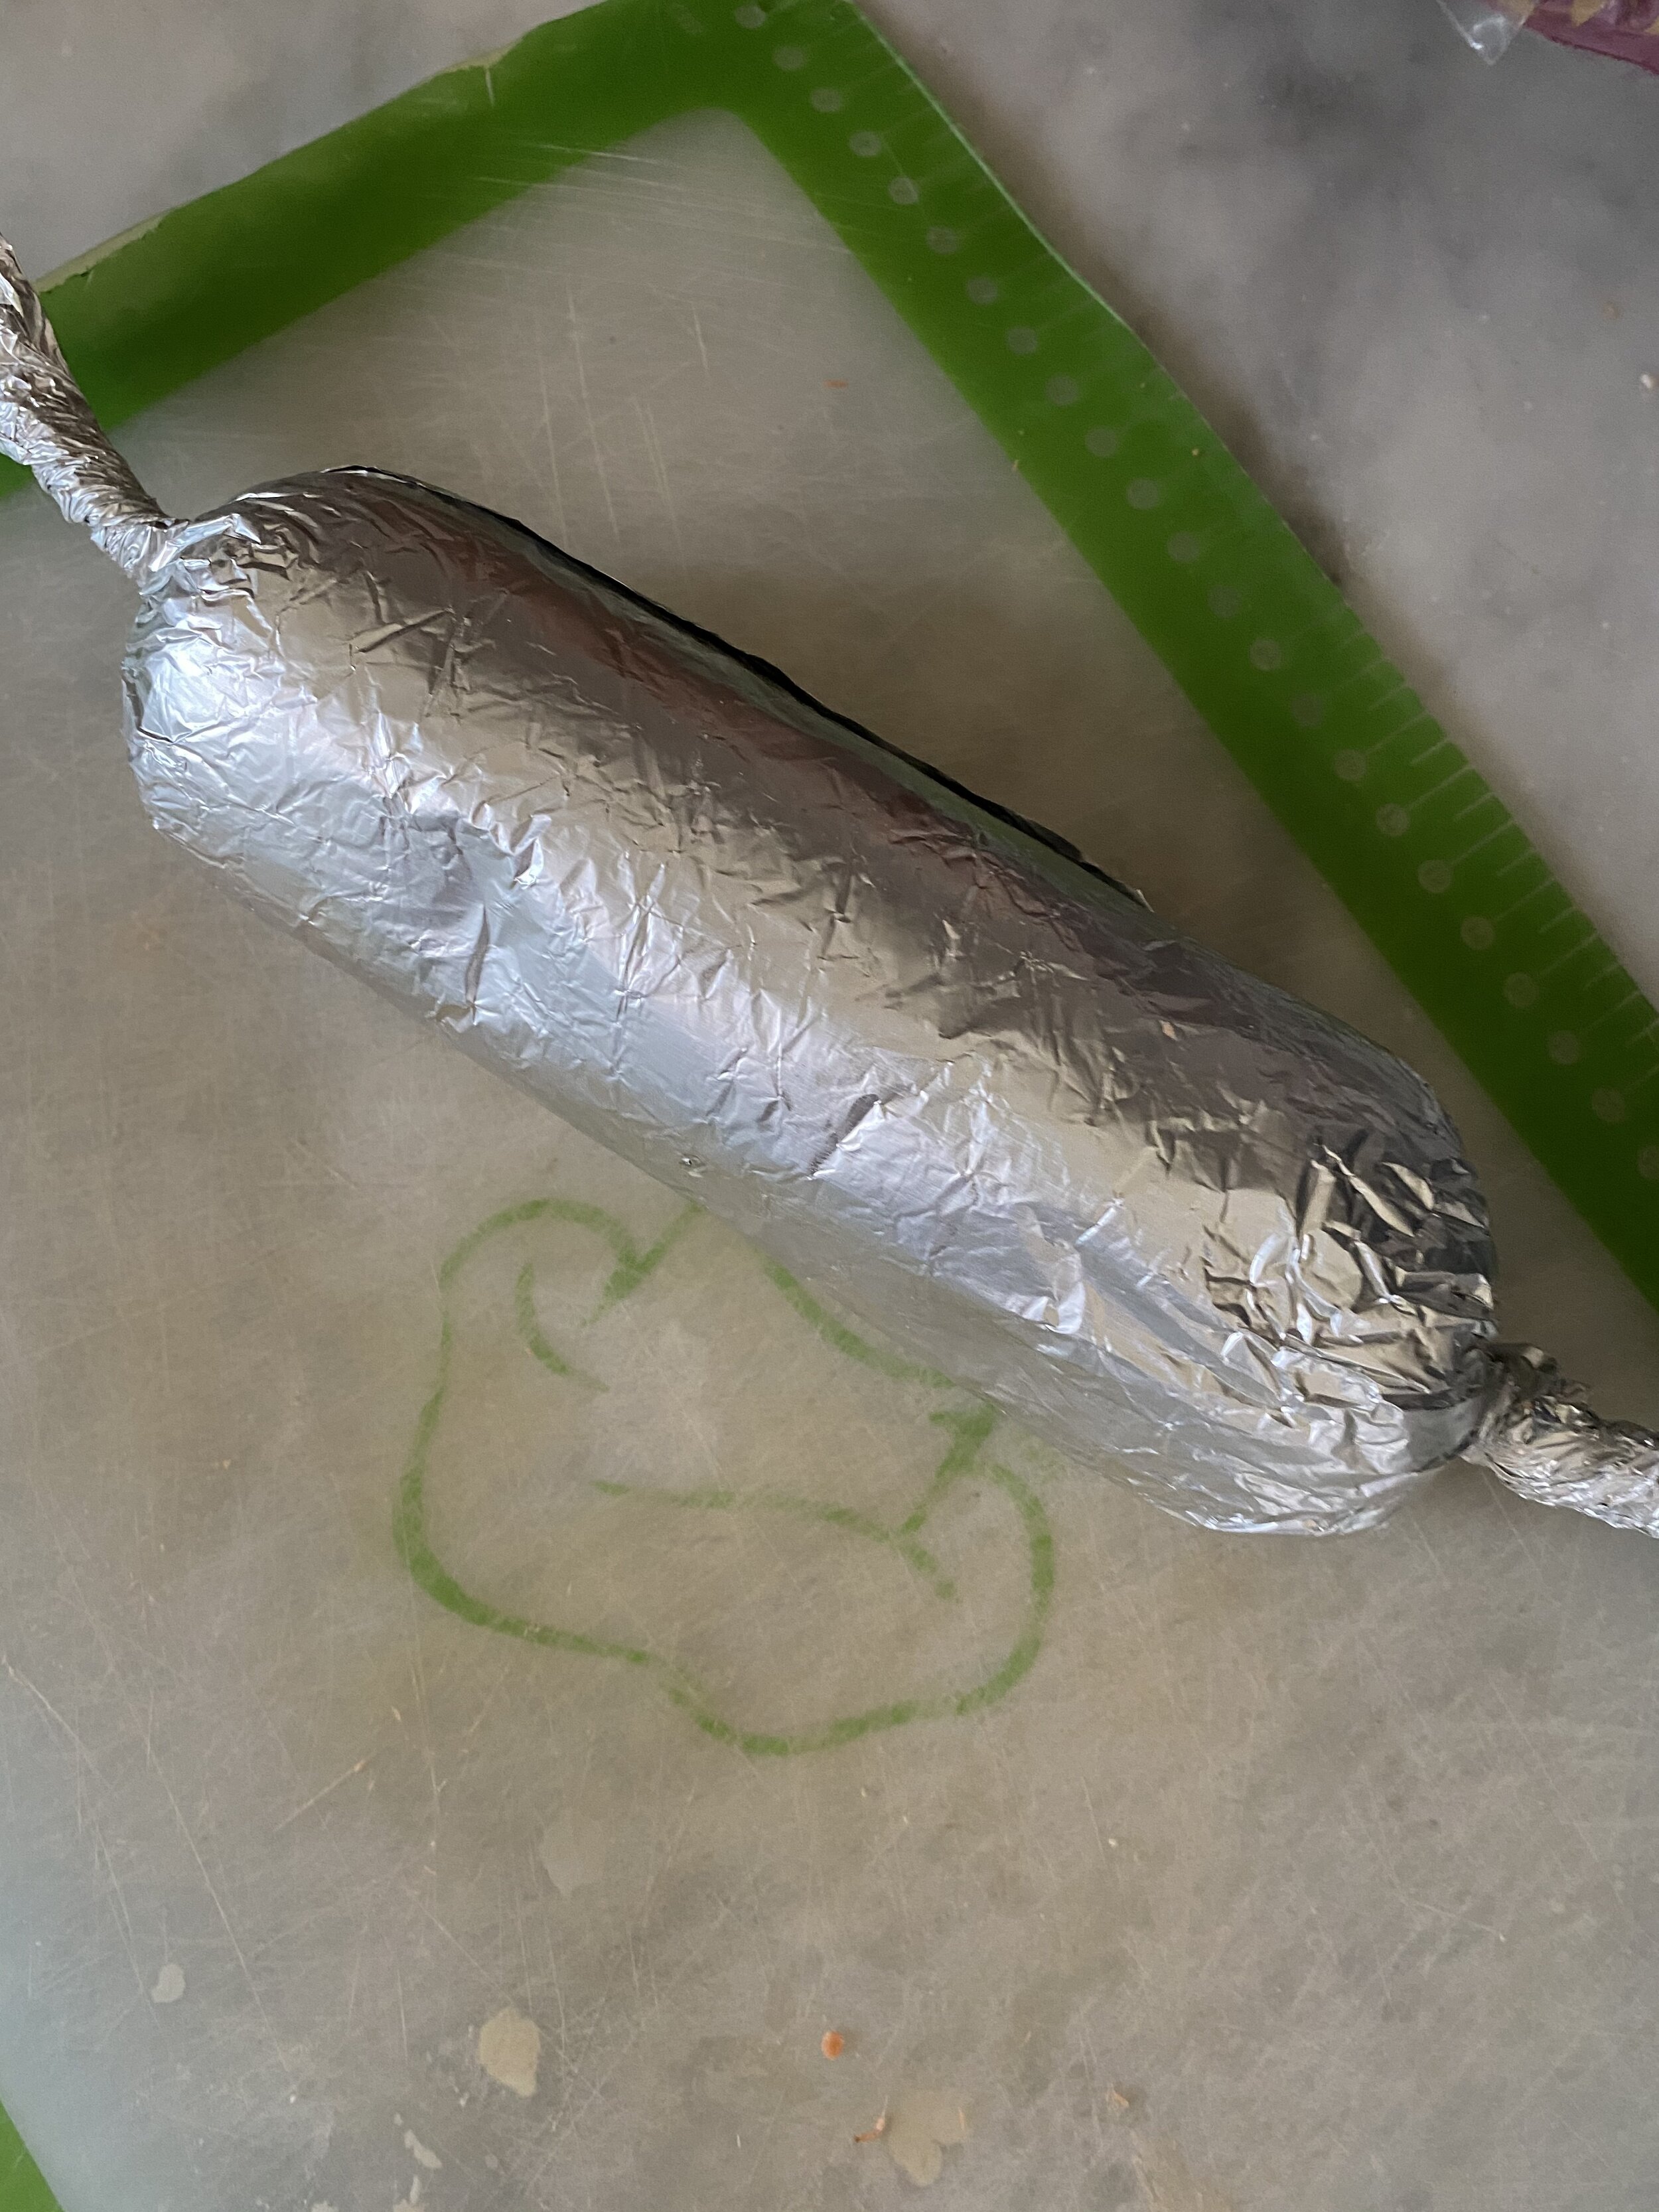
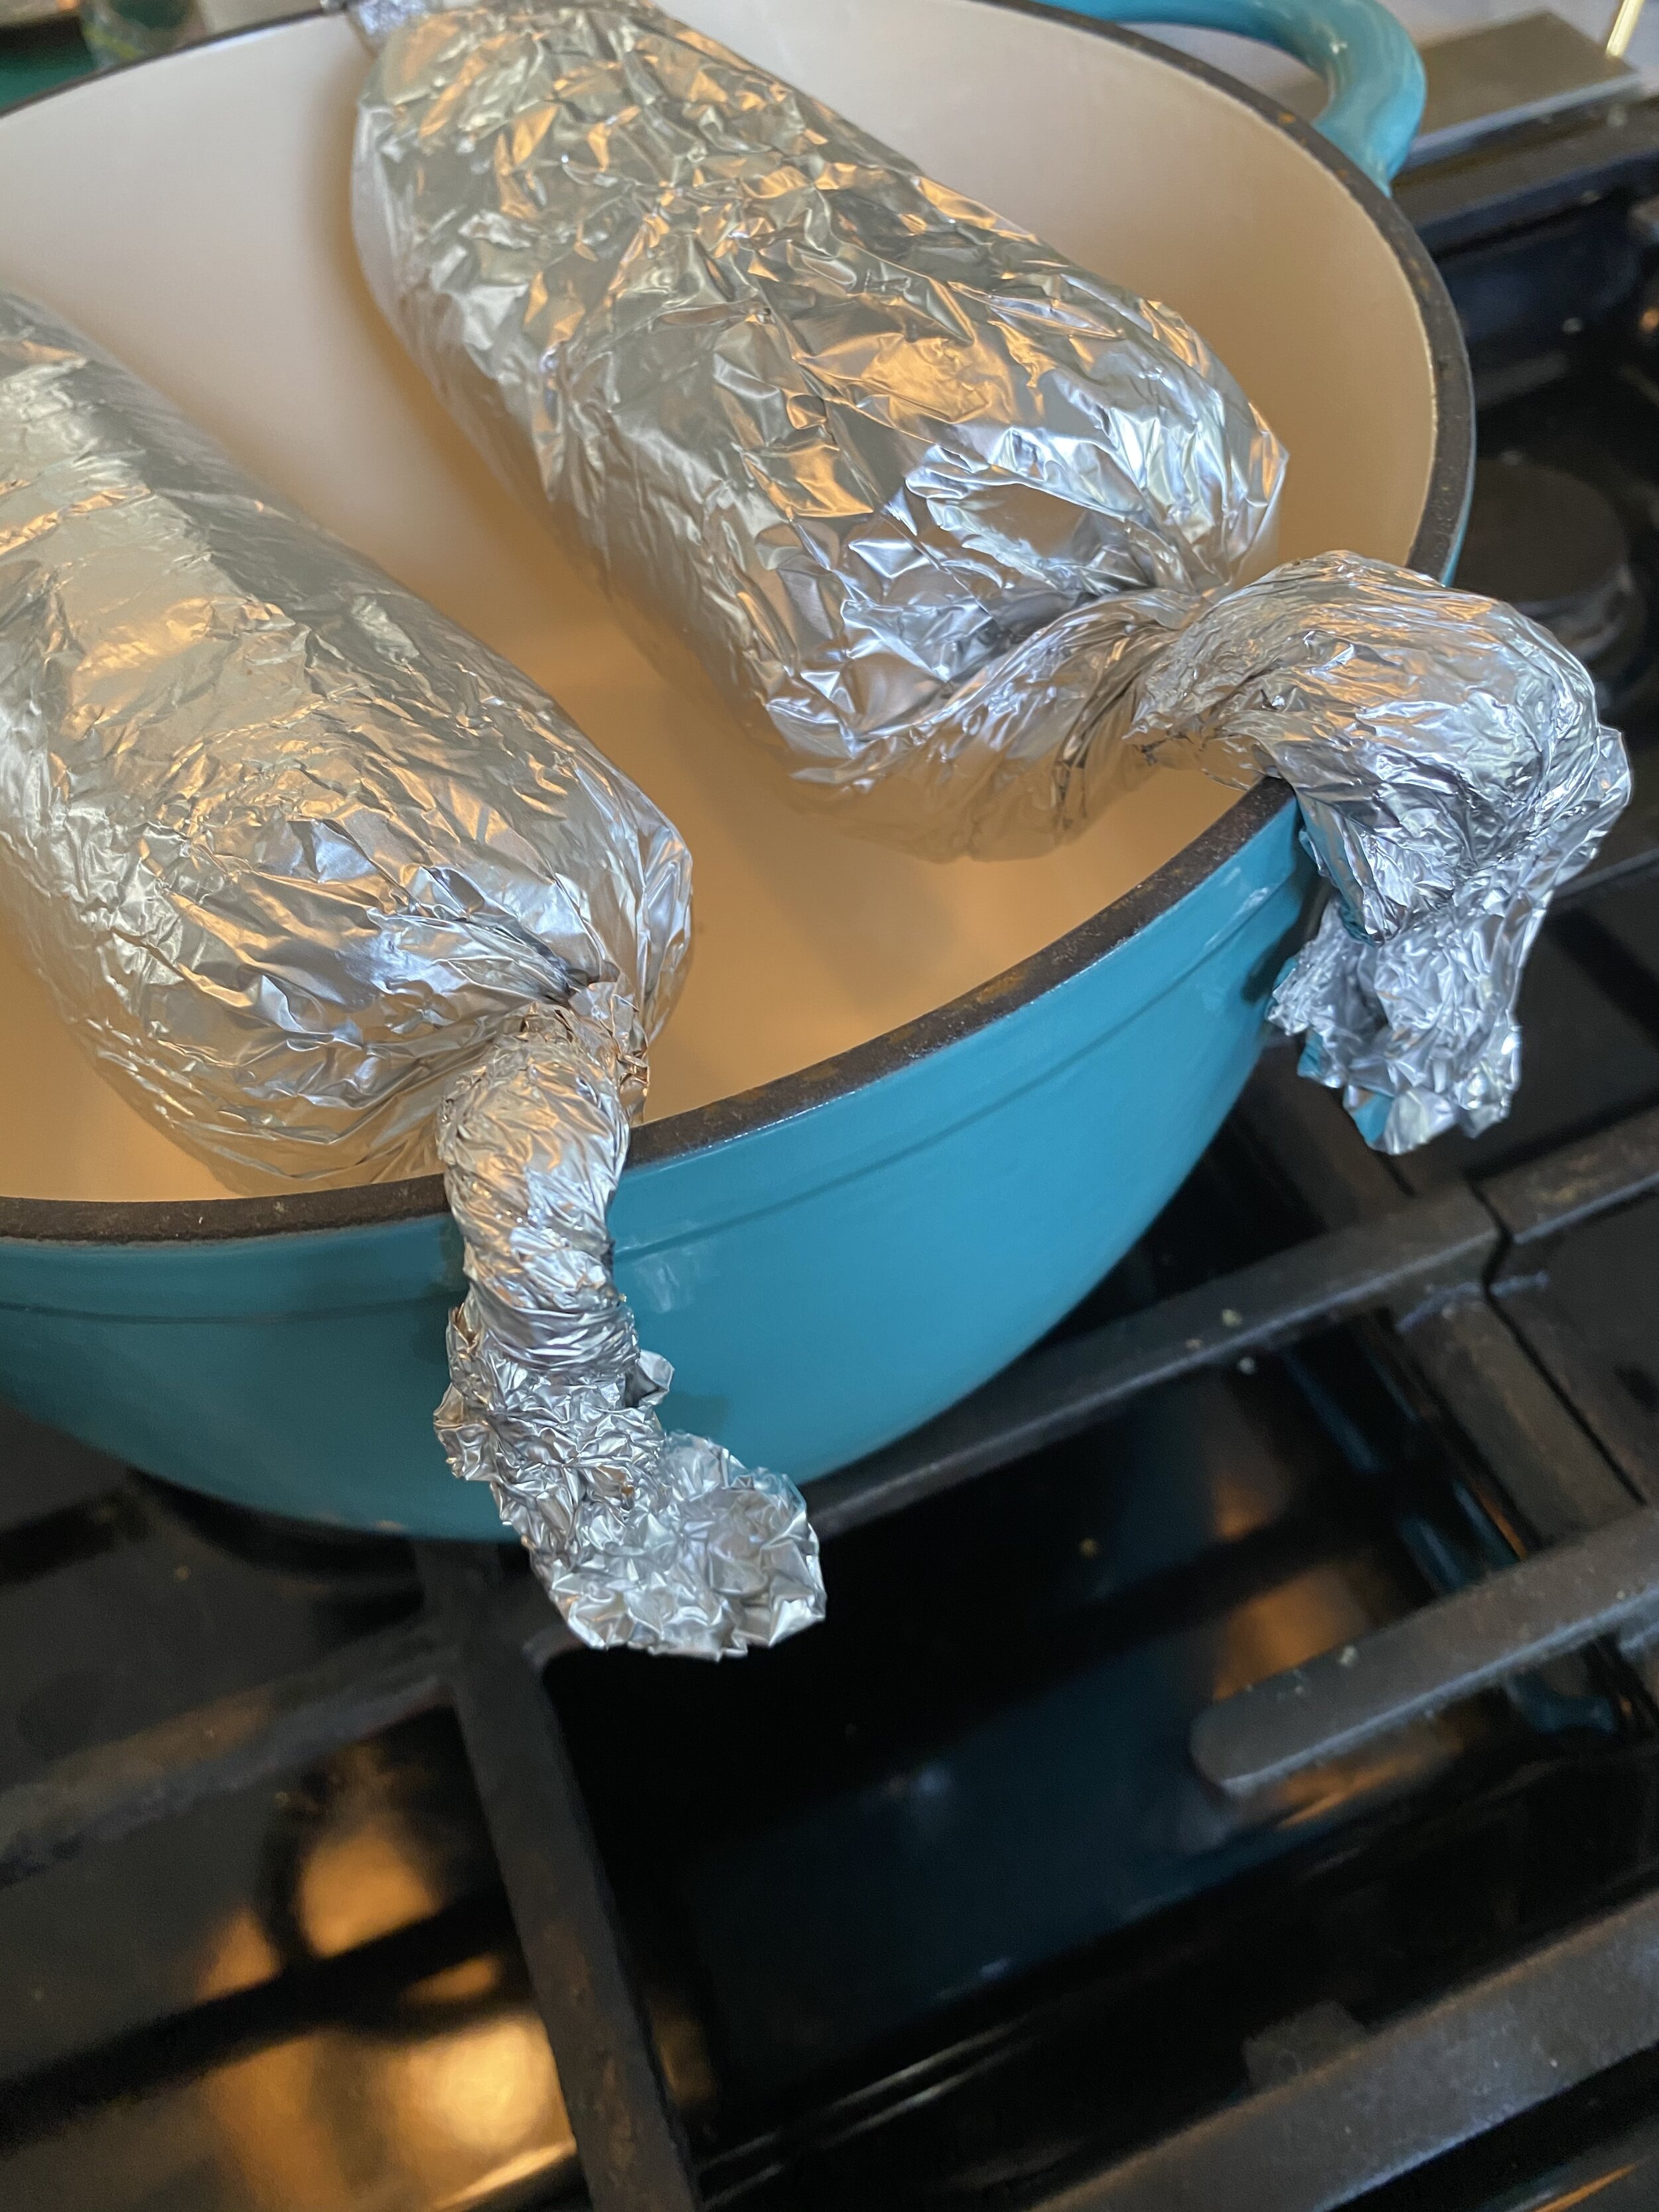
  11. Take two pieces of aluminum foil about 3x bigger than each log of dough, and lay it out flat. Coat the foil in spray oil or wipe it down with any oil you have. Place a log of seitan at one of the long ends of the foil and begin rolling. Once you have it rolled up tightly in the foil, twist up the ends of the foil nice and tight (see picture) like foil arms.

  12. Take a dutch oven, cast iron skillet, or even a baking dish, and use the foil ends to drape the salamis over the pot or pan. You want them suspended and not touching the bottom. If the salami is baked resting on a pan, the bottom tends to flatten a bit and brown while it bakes. This will help you keep a nice round shape without a water bath, and the bottom won’t brown!

  13. Place the pot or pan in the oven on the middle rack, and let the vegan salamis bake wrapped for 1 hour.

  14. Remove from the oven and allow to cool enough to open the foil. Allow to further cool at room temperature. Once cooled place in a zip lock bag or airtight container in the fridge.

  15. Leave the vegan salami in the fridge to rest for at least 6 hours. I normally just leave mine to rest over night. The salami MUST REST! Seitan will firm up only after it has a nice long rest in the fridge! If you want a firm sliceable vegan salami then you have to let it rest, y’all!

  16. Store rested vegan salami in the fridge for up to 10 days in an air tight container, or freeze for up to 6 months.

Trouble shooting issues with your vegan salami:

  1. If your vegan salami seems too doughy after it has rested, then you may not have kneaded it long enough. The longer you knead seitan dough the tougher / firmer it will get. Make sure to let the dough knead a few minutes. Also make sure you wrap that foil nice and tight!!!

  2. It also may be that your oven temp is off and is not the temperature it is registering. You can get an oven thermometer to check the real temp or next time just let it bake an extra 20 minutes.

  3. If you seitan seems bread like, with little holes in it after it has rested, once you slice it, then your oven may be cooking hotter than it registers or you maybe have cooked it too long. Again, can get an oven thermometer and check the temp, or just knock back the temp 20 degrees or so then next time you bake it.

If you like this recipe, then try these:
vegan flank steak

vegan flank steak

Vegan Carne Asada Queso Fries

IMG_9247.jpg

My love for carbs is strong, especially french fries.

I would chose salty over sweet every time and a potato over most other foods always.

Offer me loaded cheese fries and its game on.

I recently saw a recipe for carne asada queso fries and quickly decided that was a recipe I was 100% going to veganize it.

I have never made carne asada pre vegan so I am not sure how it compares but the flavors in this recipe are delicious and I am a big fan of the vegan flank steak marinated in the mix of citrus, garlic, and cilantro. This marinated flank steak would be delicious in lots of things, from tacos, quadrilles, nachos, or even topping a salad.

IMG_9258.jpg

I make serval different queso recipes, meaty queso, spicy queso, nut free queso, so if you are making these fries you don’t use the white queso I used in this recipe, you can check out all of queso recipes on the site and pick your fave. For this recipe I wanted a classic white queso with a little kick, so thats the one I made!

Fro the carne asada I had to create a vegan flank steak recipe that would easy enough for even a new vegan to make, and I wanted it to be fairly quick and fuss free. You will have to make the steak ahead of time and let it rest. So if you want these fries in your future, you will have to get the flank steak started early in the morning if you want to eat these fries later that night.

The flank steak bakes up quickly but requires at least a 4 hour rest. Once it has rested then you need to allow it to sit in the marinade for a few hours.

You only need half a batch of vegan flank steak for this recipe, so you can bake up a batch and freeze the other half for later. The vegan flank steak works great on its own for fajitas, tacos, nachos, sandwiches, whatever!! It so quick and easy to make and a staple I keep around now for recipes like these fries!

IMG_9243.jpg

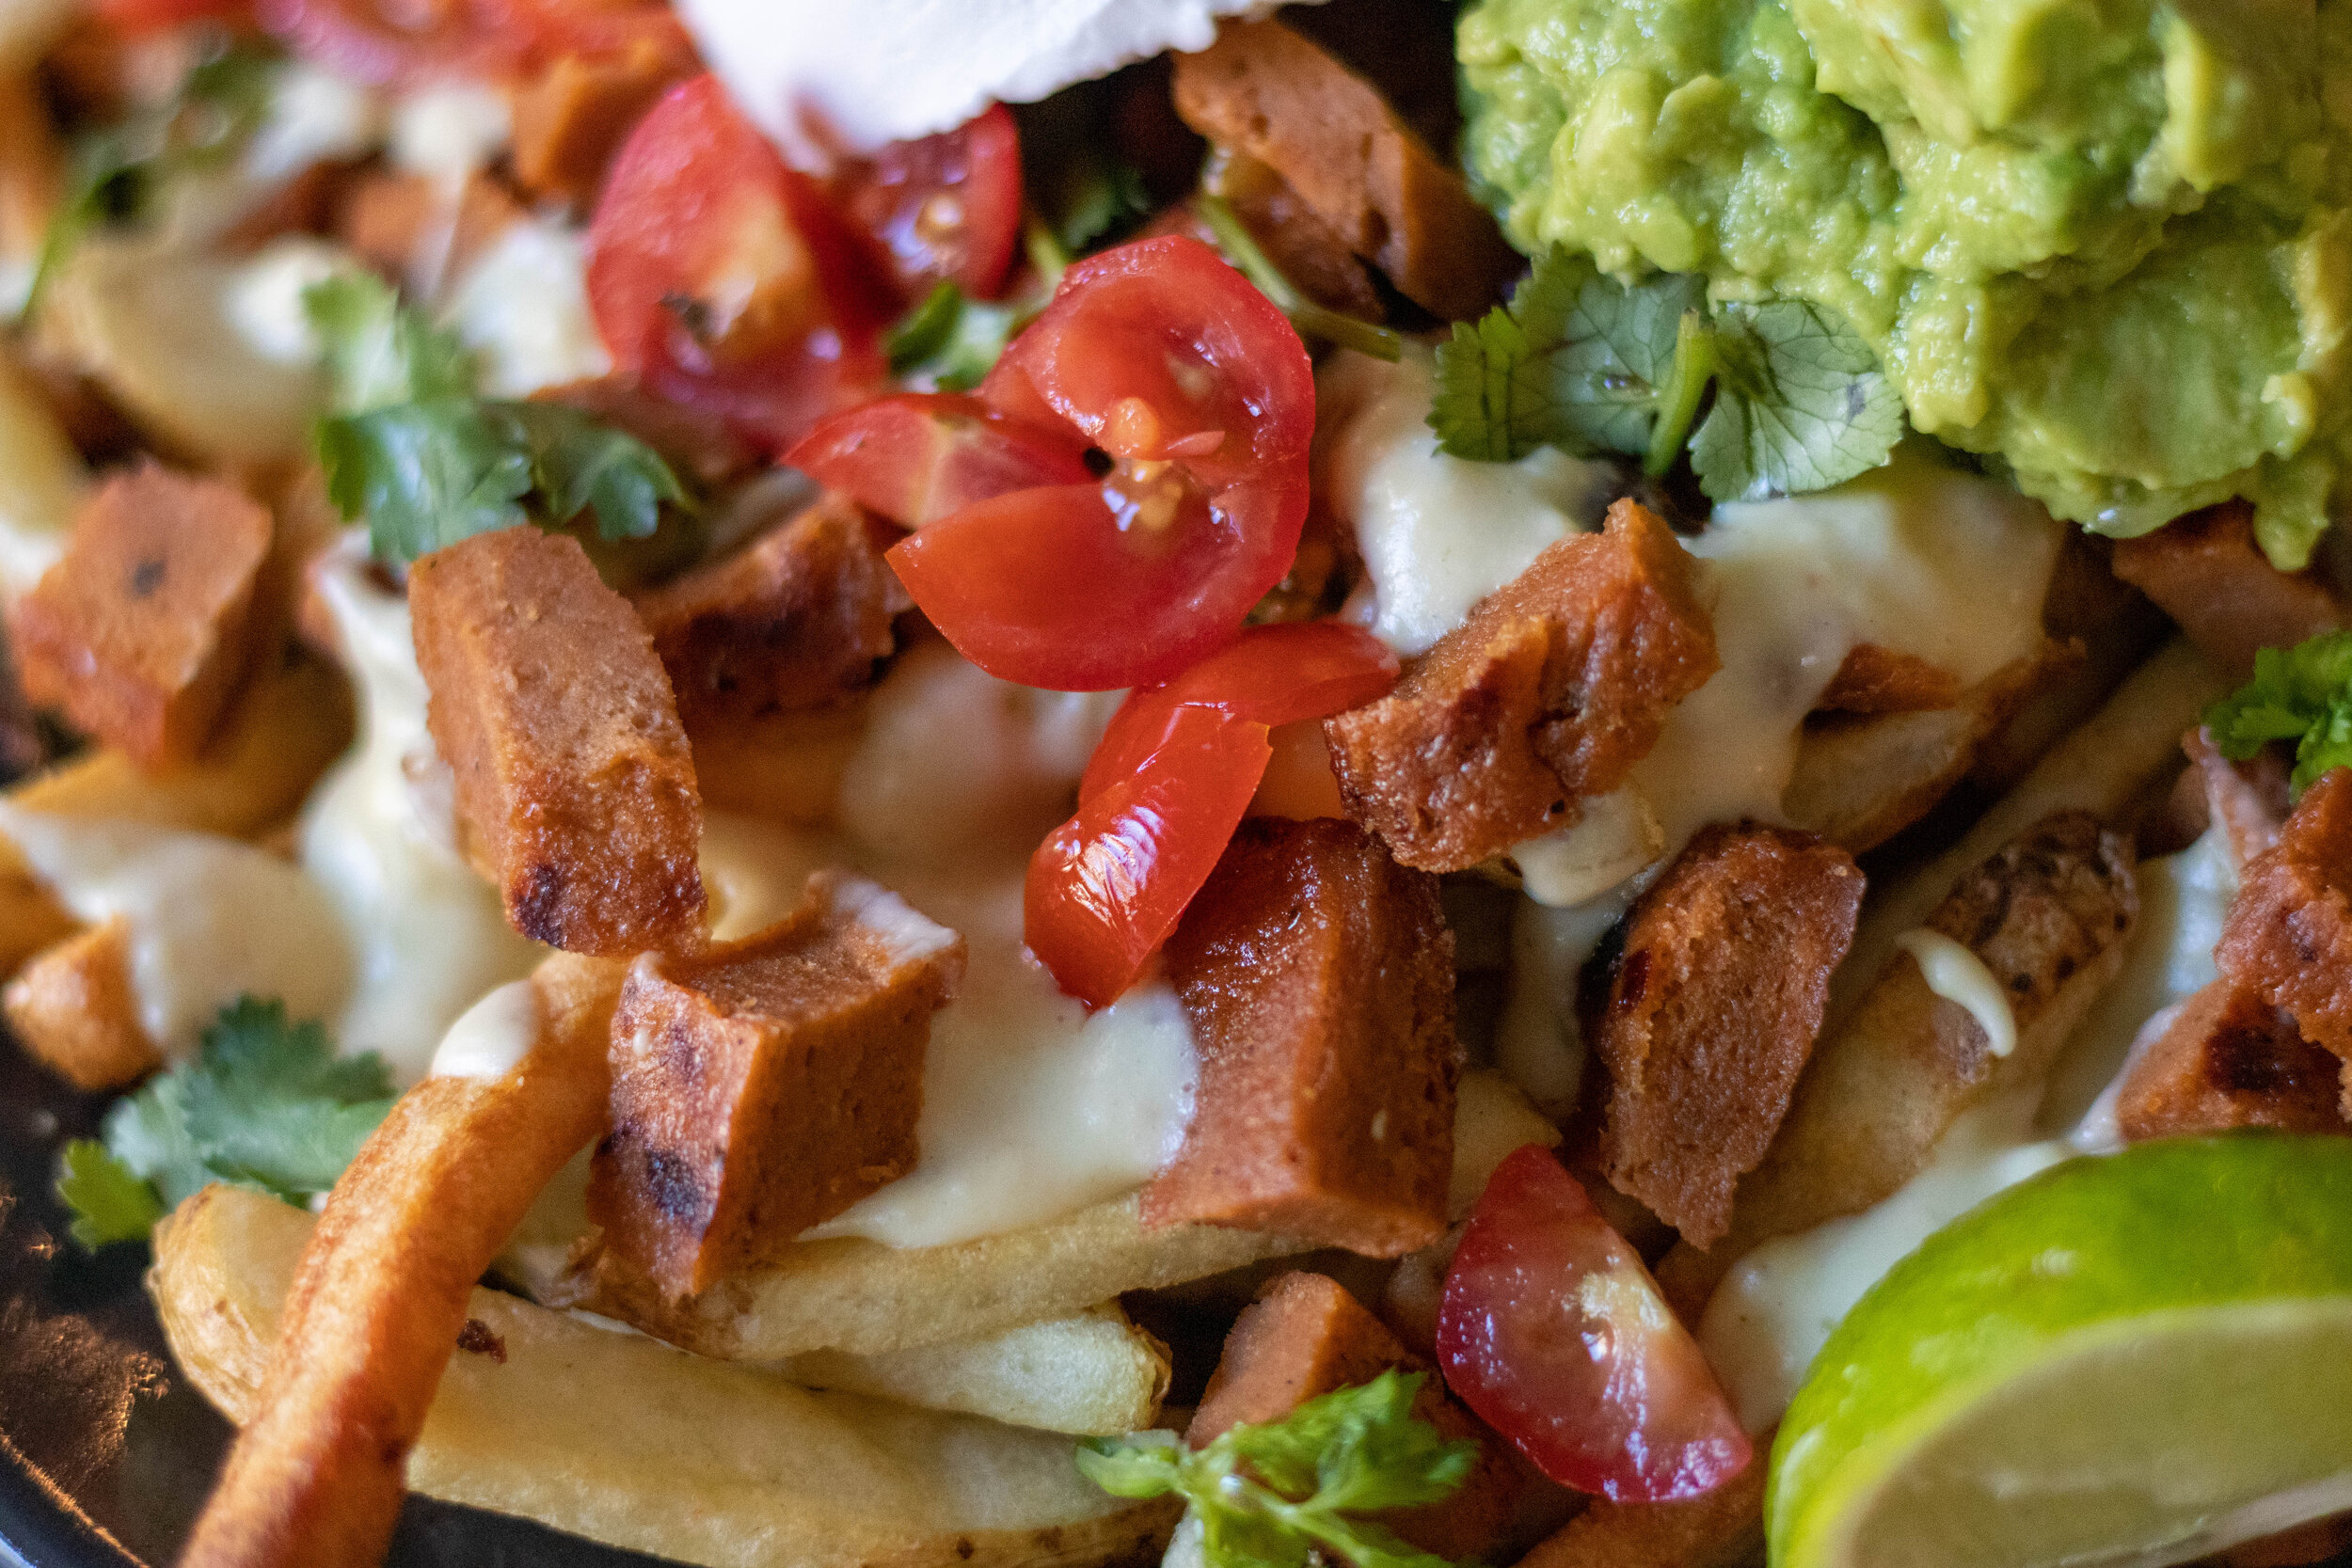
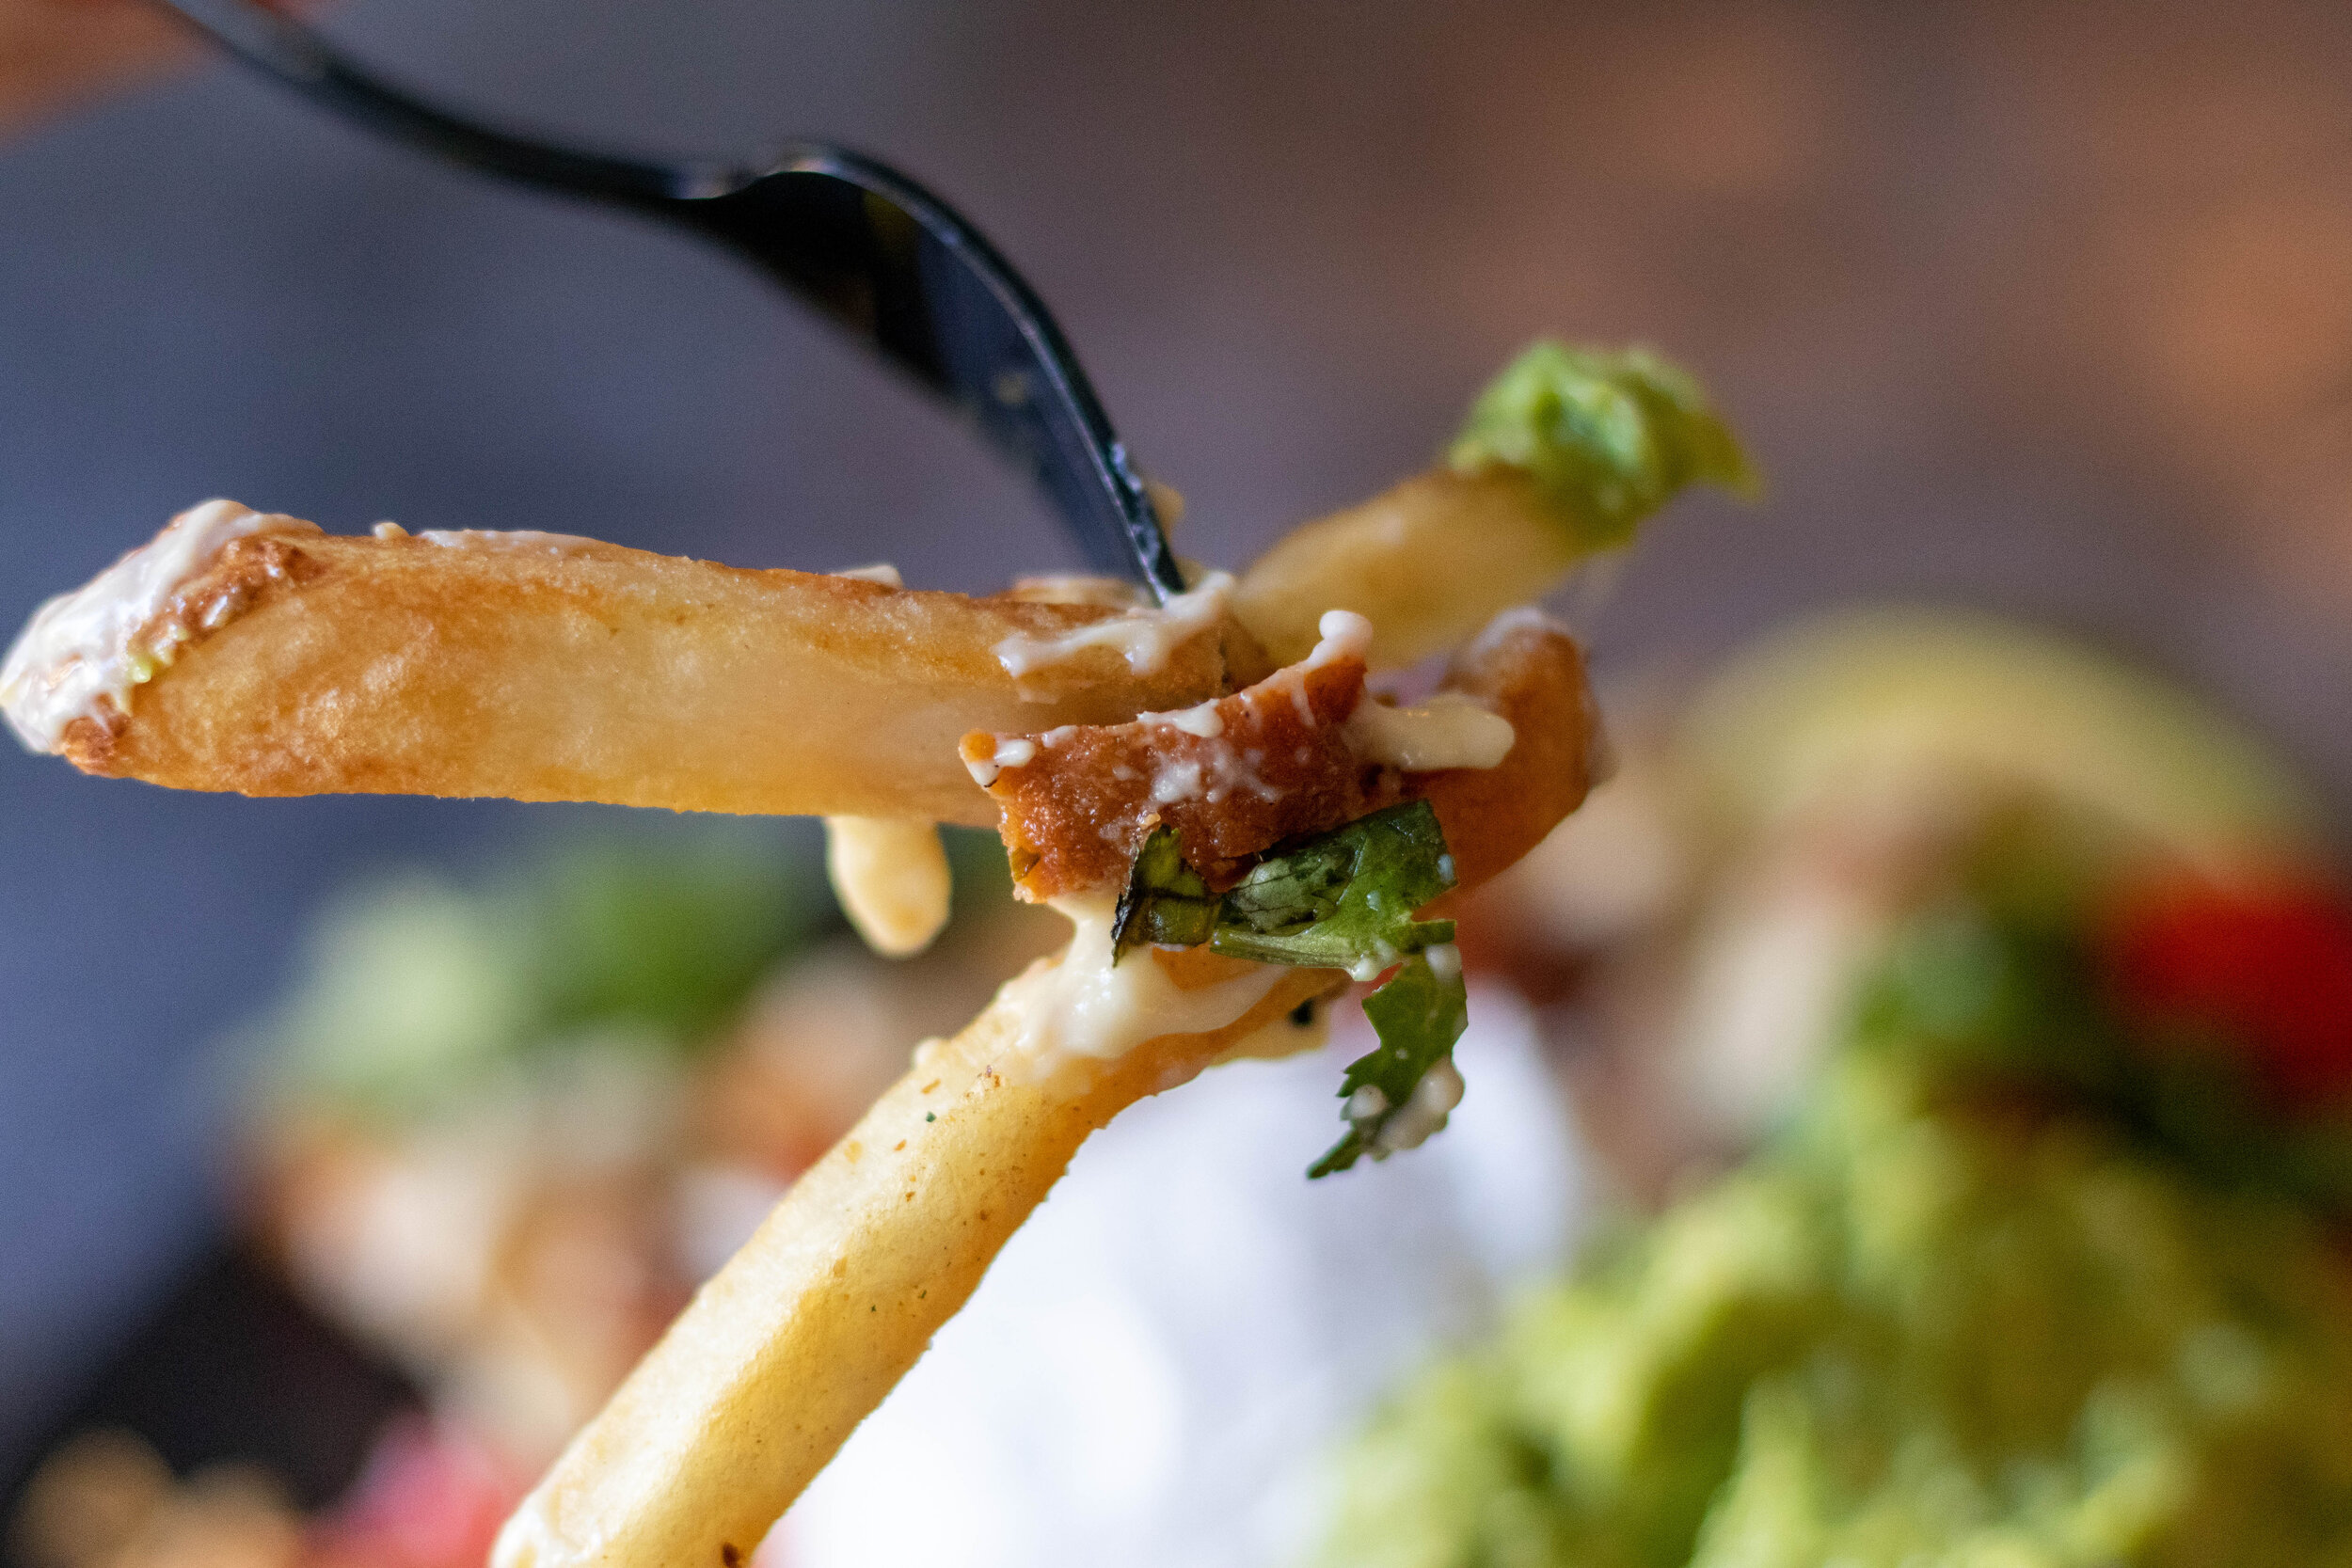
We topped our vegan carne asada fries with and easy homemade guacamole, tomatoes, sour cream, and extra cilantro.

I also used frozen fries for this recipe. I used to always make homemade fries but recently I have just started buying Trader Joes frozen fries and been plenty happy with them.

I give deep frying, air frying, and baking instructions for the fries. I personally have not deep fried a french fry since I bough an air fryer a few years ago. It is maybe my favorite kitchen appliance next to my vitamix! Game changer y’all!

So if you are a fan of cheesy loaded fries, these vegan carne asada fries might be a new loaded fry for you to try and love. I know I am now a BIG fan of these!

IMG_9261.jpg

INGREDIENTS:

  • 4 russet potatoes (for making homemade fries. You can also use frozen fries)

  • 1/2 batch vegan queso

  • 2 avocados

  • juice from 1 lime

  • 1/2 teaspoon salt

  • vegan sour cream, diced onion, dicd tomatoes (all optional)

  • oil for frying, OR you can air fry or oven bake the fries

Vegan Carne Asada (Flank Steaks):

  • 2 vegan flank steaks (1/2 recipe)

  • 1 cup orange juice

  • juice from 2 limes

  • 1 tablespoon oil

  • 1 teaspoon salt

  • 1 teaspoon black pepper

  • 2 teaspoons minced garlic

  • 1 jalapeno, diced (optional)

  • 1/2 cup fresh cilantro, plus extra for garnish

IMG_9244.jpg

INSTRUCTIONS:

  1. To prepare the carne asada, fill a large zip lock bag or shallow baking dish with the ingredients listed above. The flank steak (that has been previously baked and rested) juice, herbs, and spices. Refrigerate for at least 2 hours but the longer the better.

  2. If you are making homemade fries, wash and cut the potatoes into fries, leaving the skin on the potatoes (or use frozen fries) If you wish to deep fry the fries, heat a large skillet with several inches of oil over medium heat. Once the oil is nice and hot add the fries in batches (do not over crowd the pan) until they get nice crispy. Remove the fries placing them on a cooling rack that is sitting on a paper towel lined baking sheet, and continue with remaining potatoes. I typically double fry mine (if using fresh potatoes.) This means that after I have fried all the potatoes once, I repeat with the already fried fries to get them extra crispy. You can also air fry the fries by misting them with oil and placing them in the air fryer at 400 degrees for 10-12 minutes. You can also oven bake the fries at 400 on a cookie sheet being sure to turn them a few times as they bake. Bake until nice and crispy.

  3. Make queso according to instructions. If it gets cold before you are ready to use it, you can reheat it in the pot and add a little more water to thin it back out. (it will thicken as it cools)

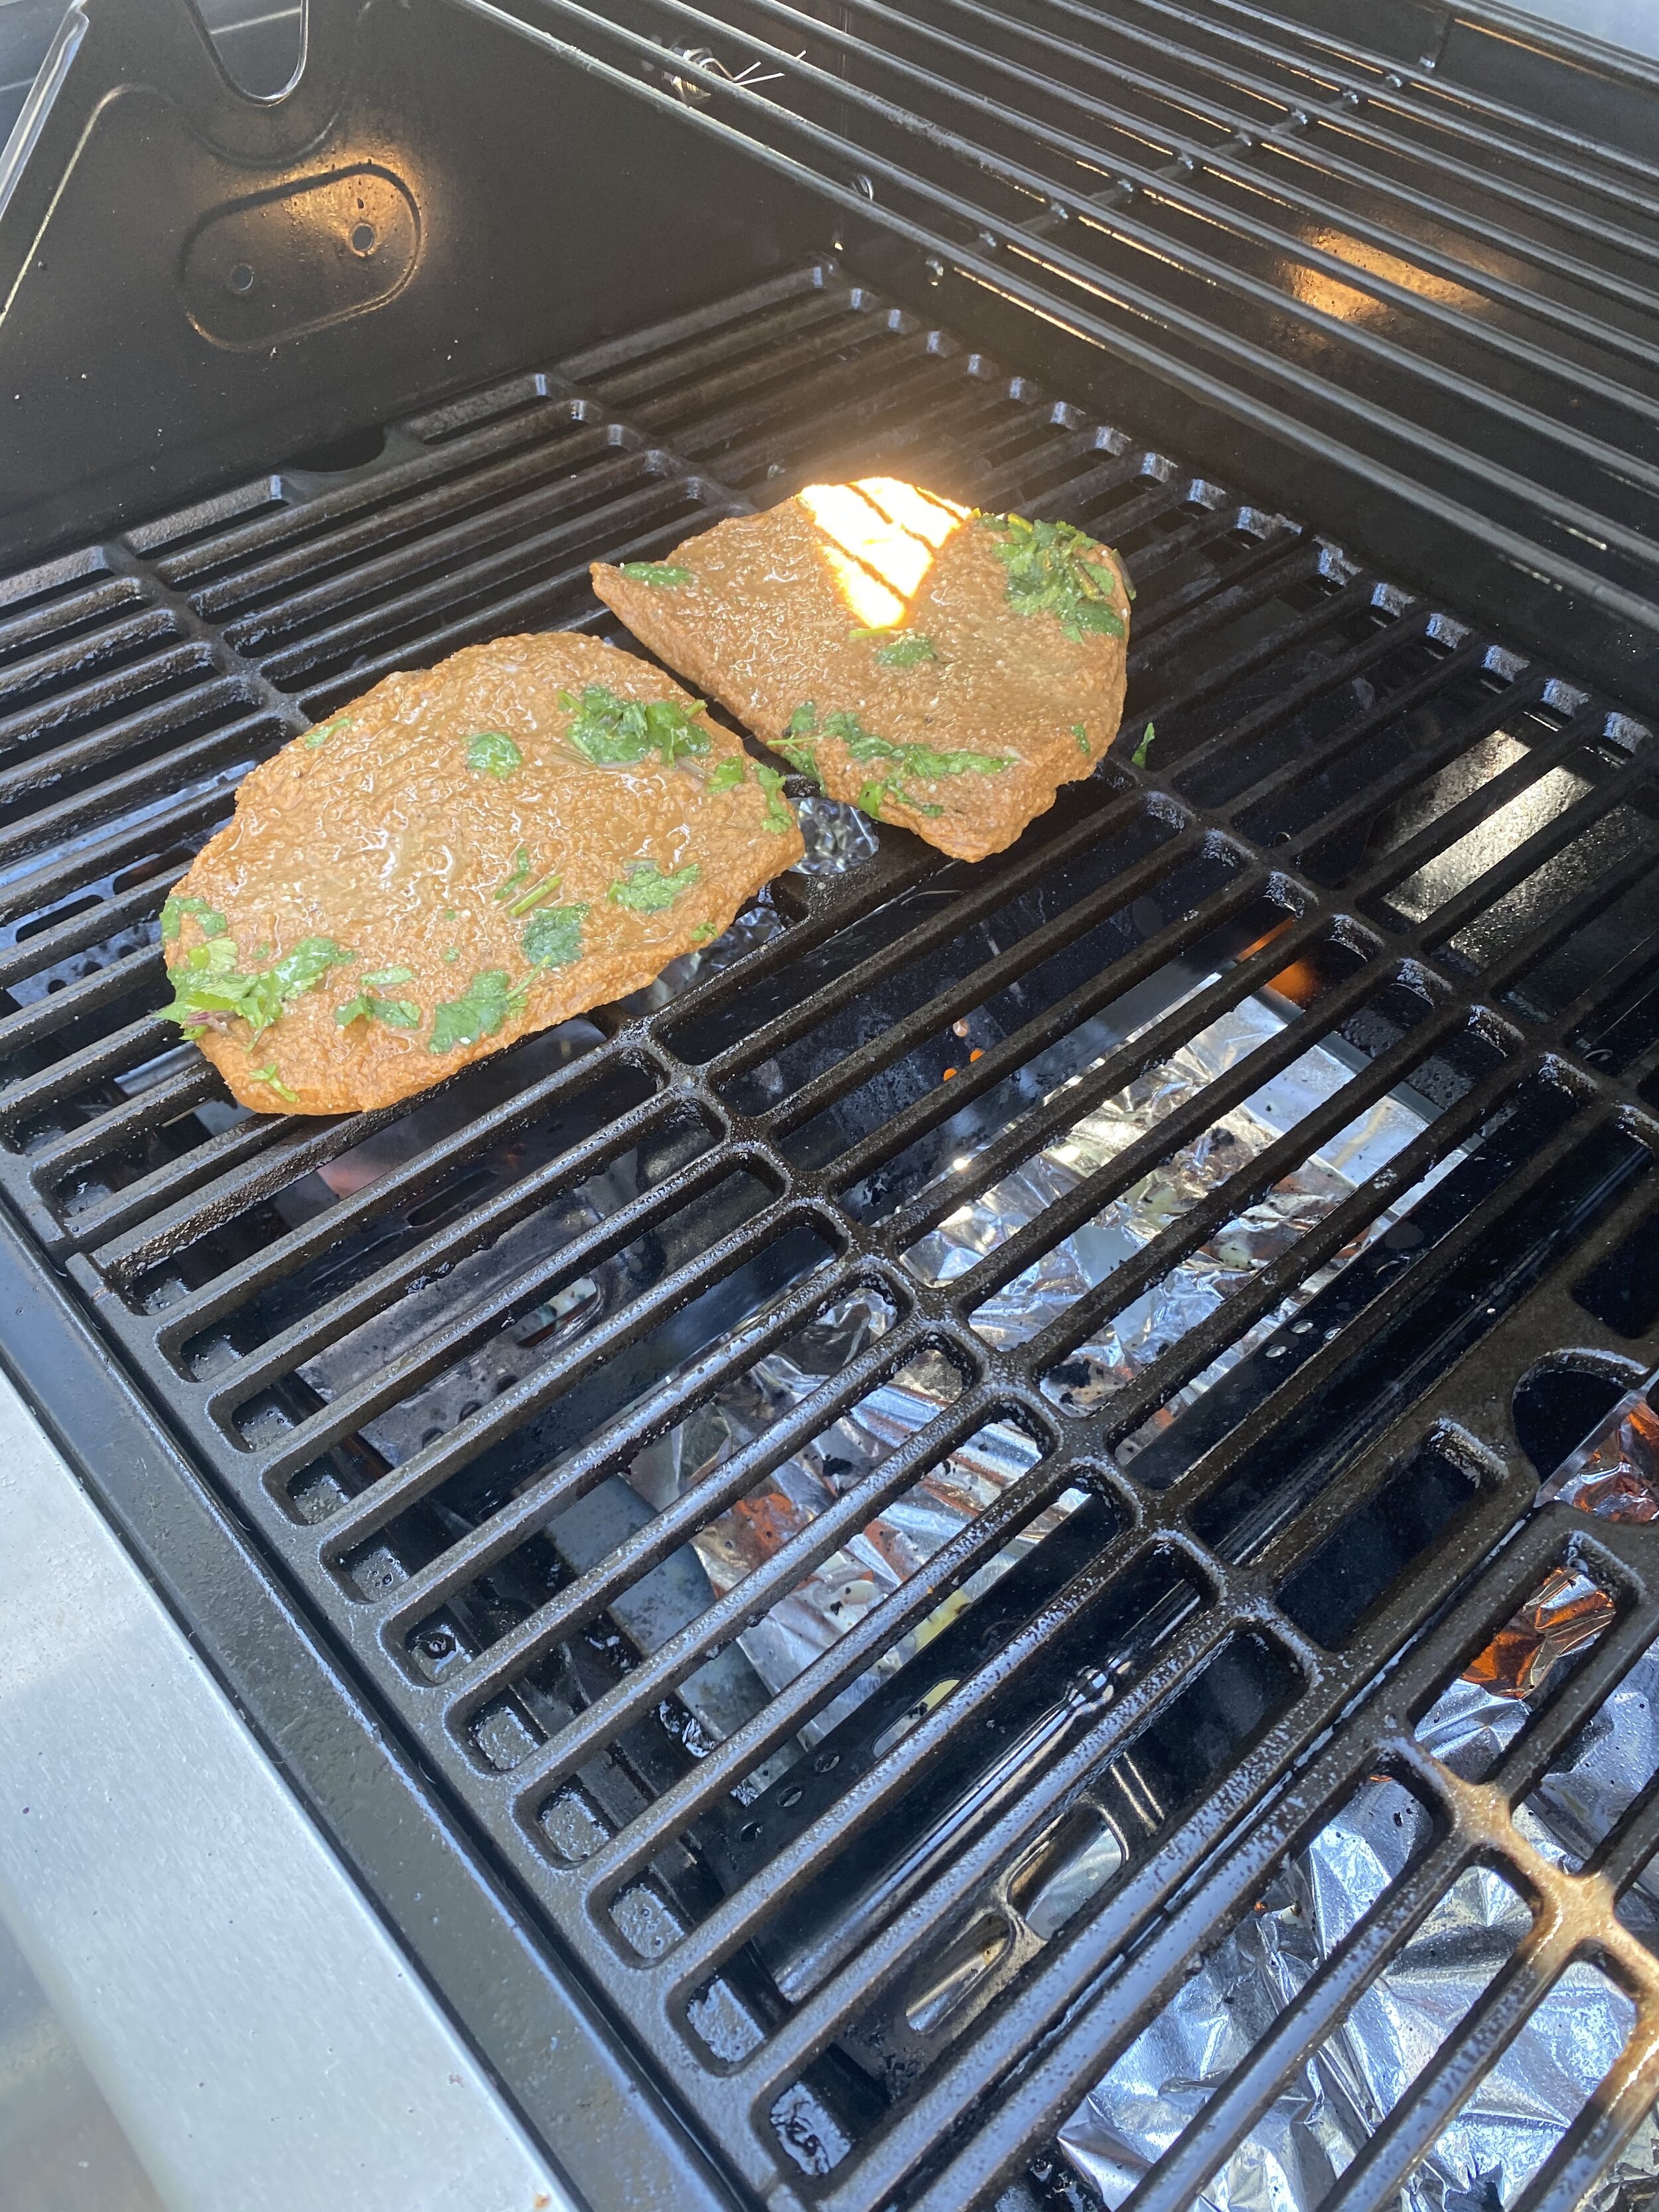
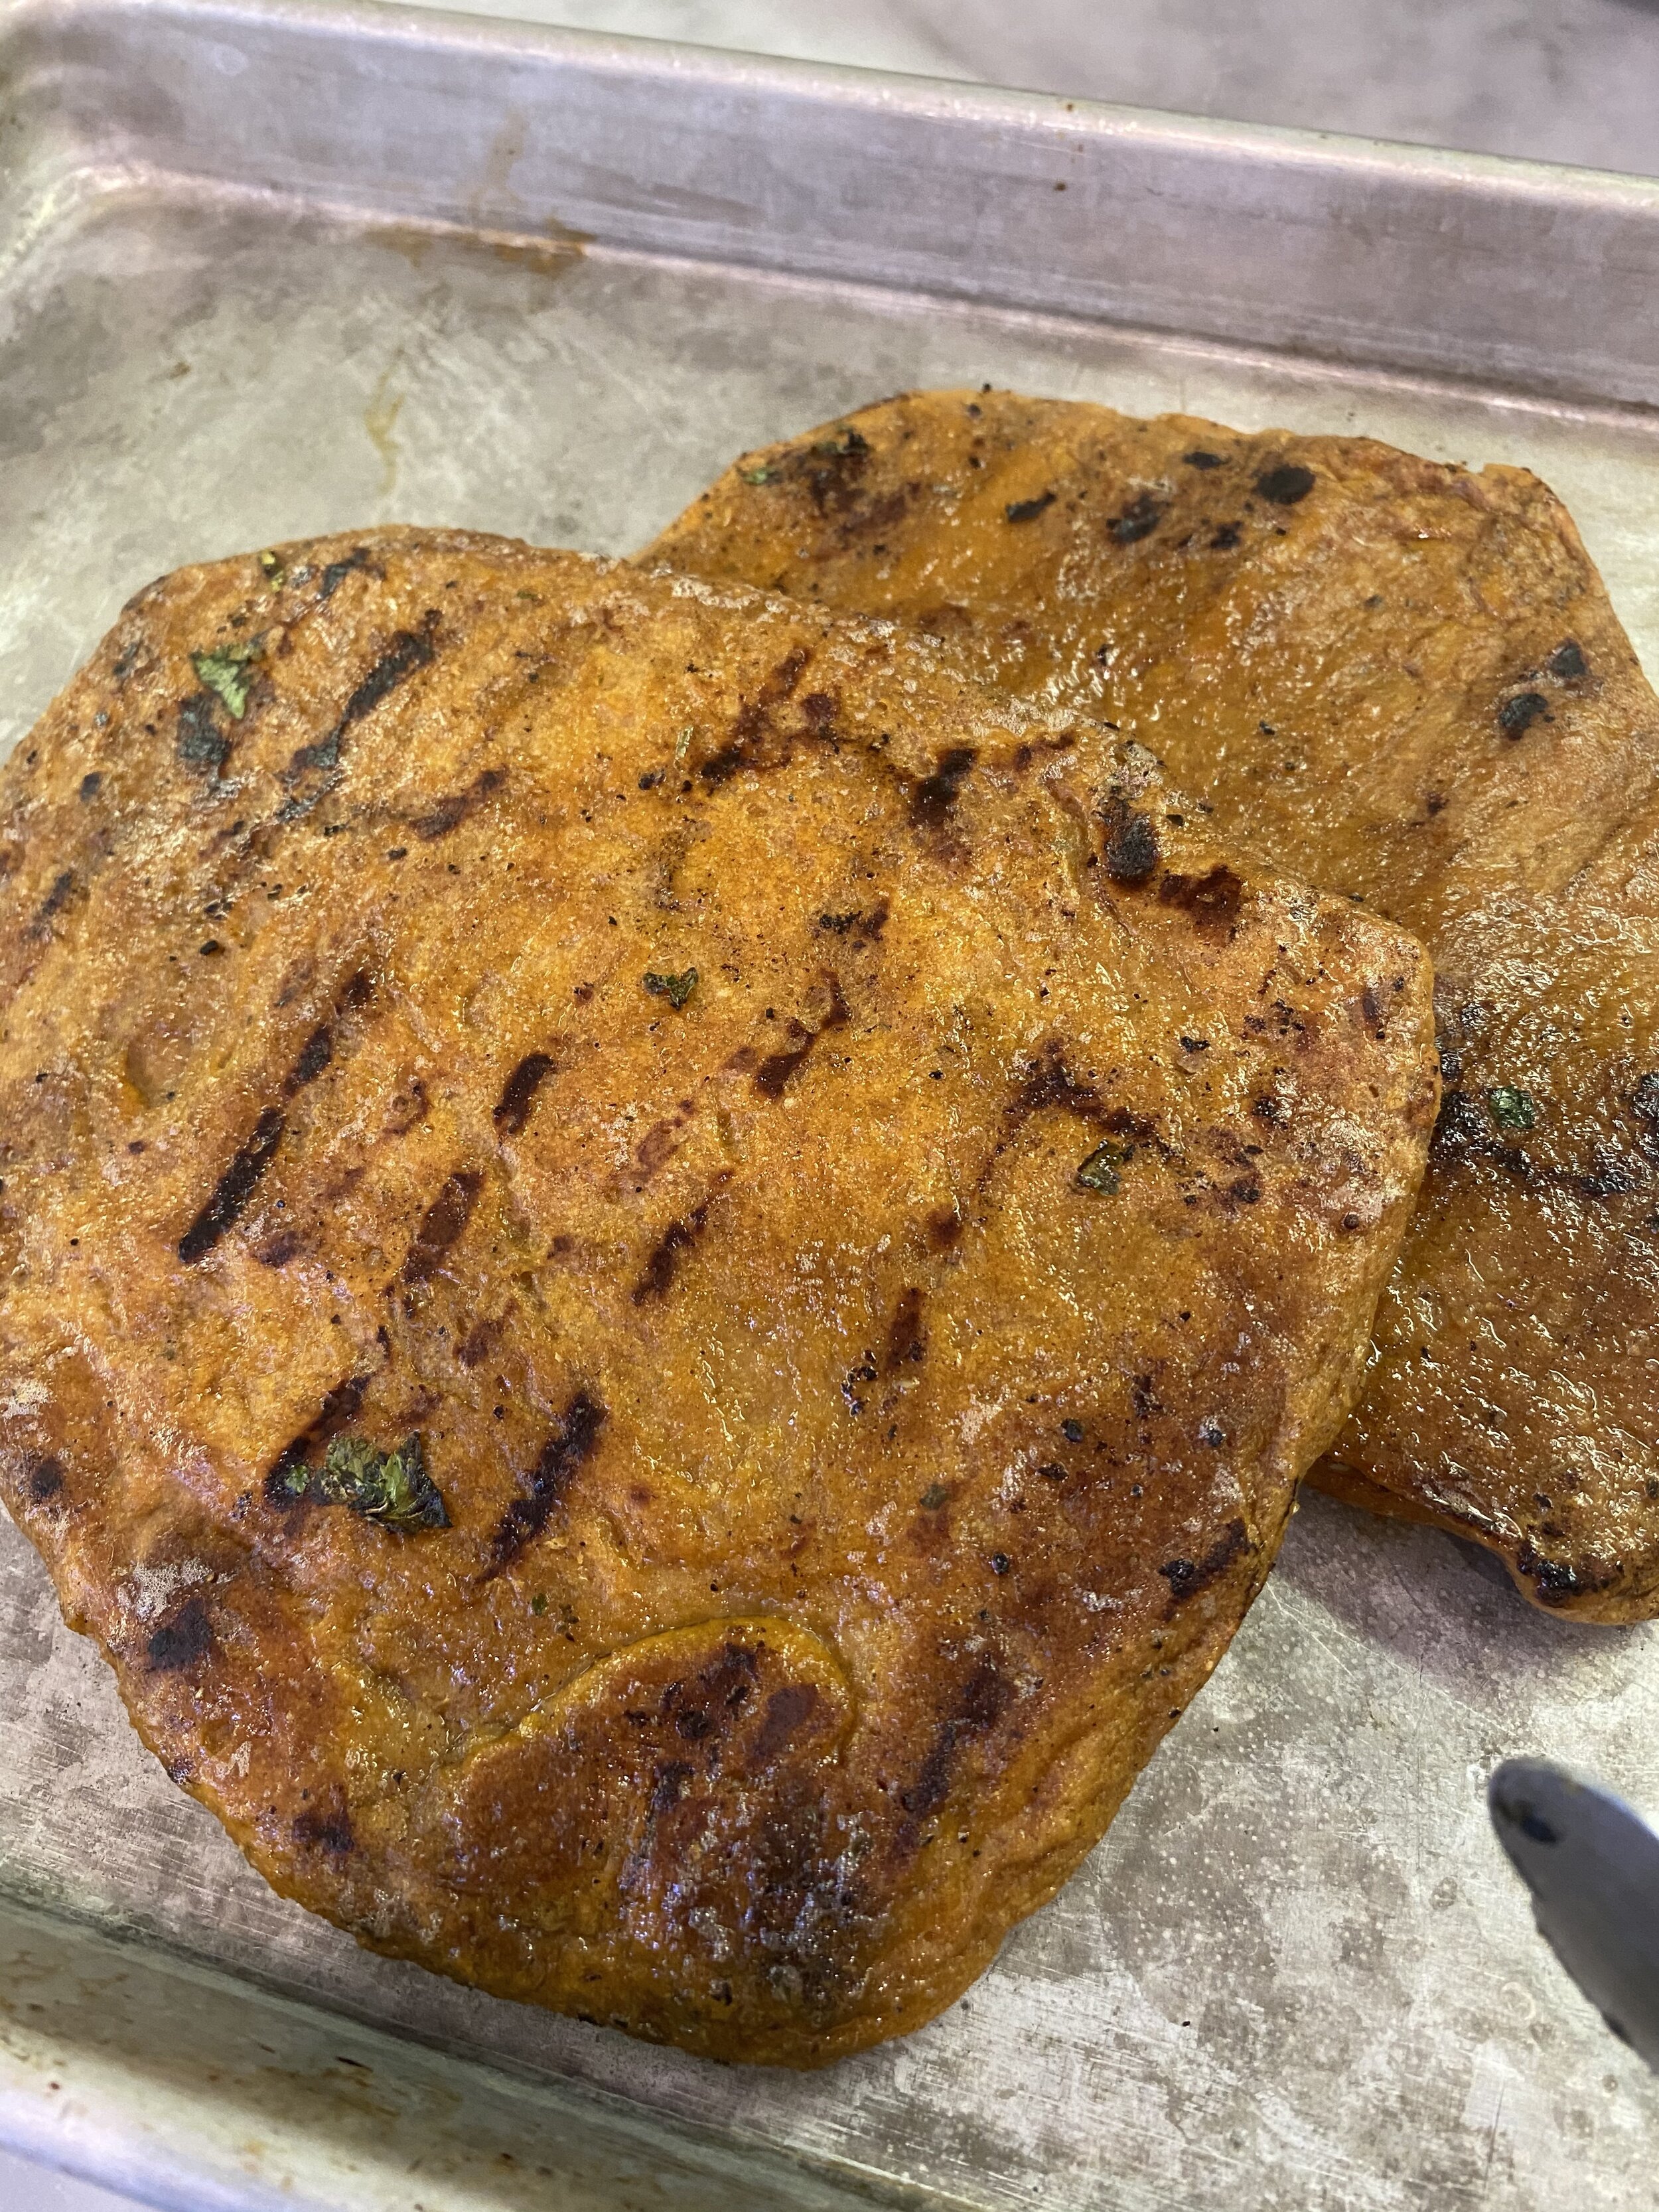
  4. Heat a grill over medium/ high heat. Spray the grates with some oil to help avoid sticking. Remove the steaks from the marinade place on the hot grill for about 5 minutes per side, or until you get some nice grill marks and char on the steaks.

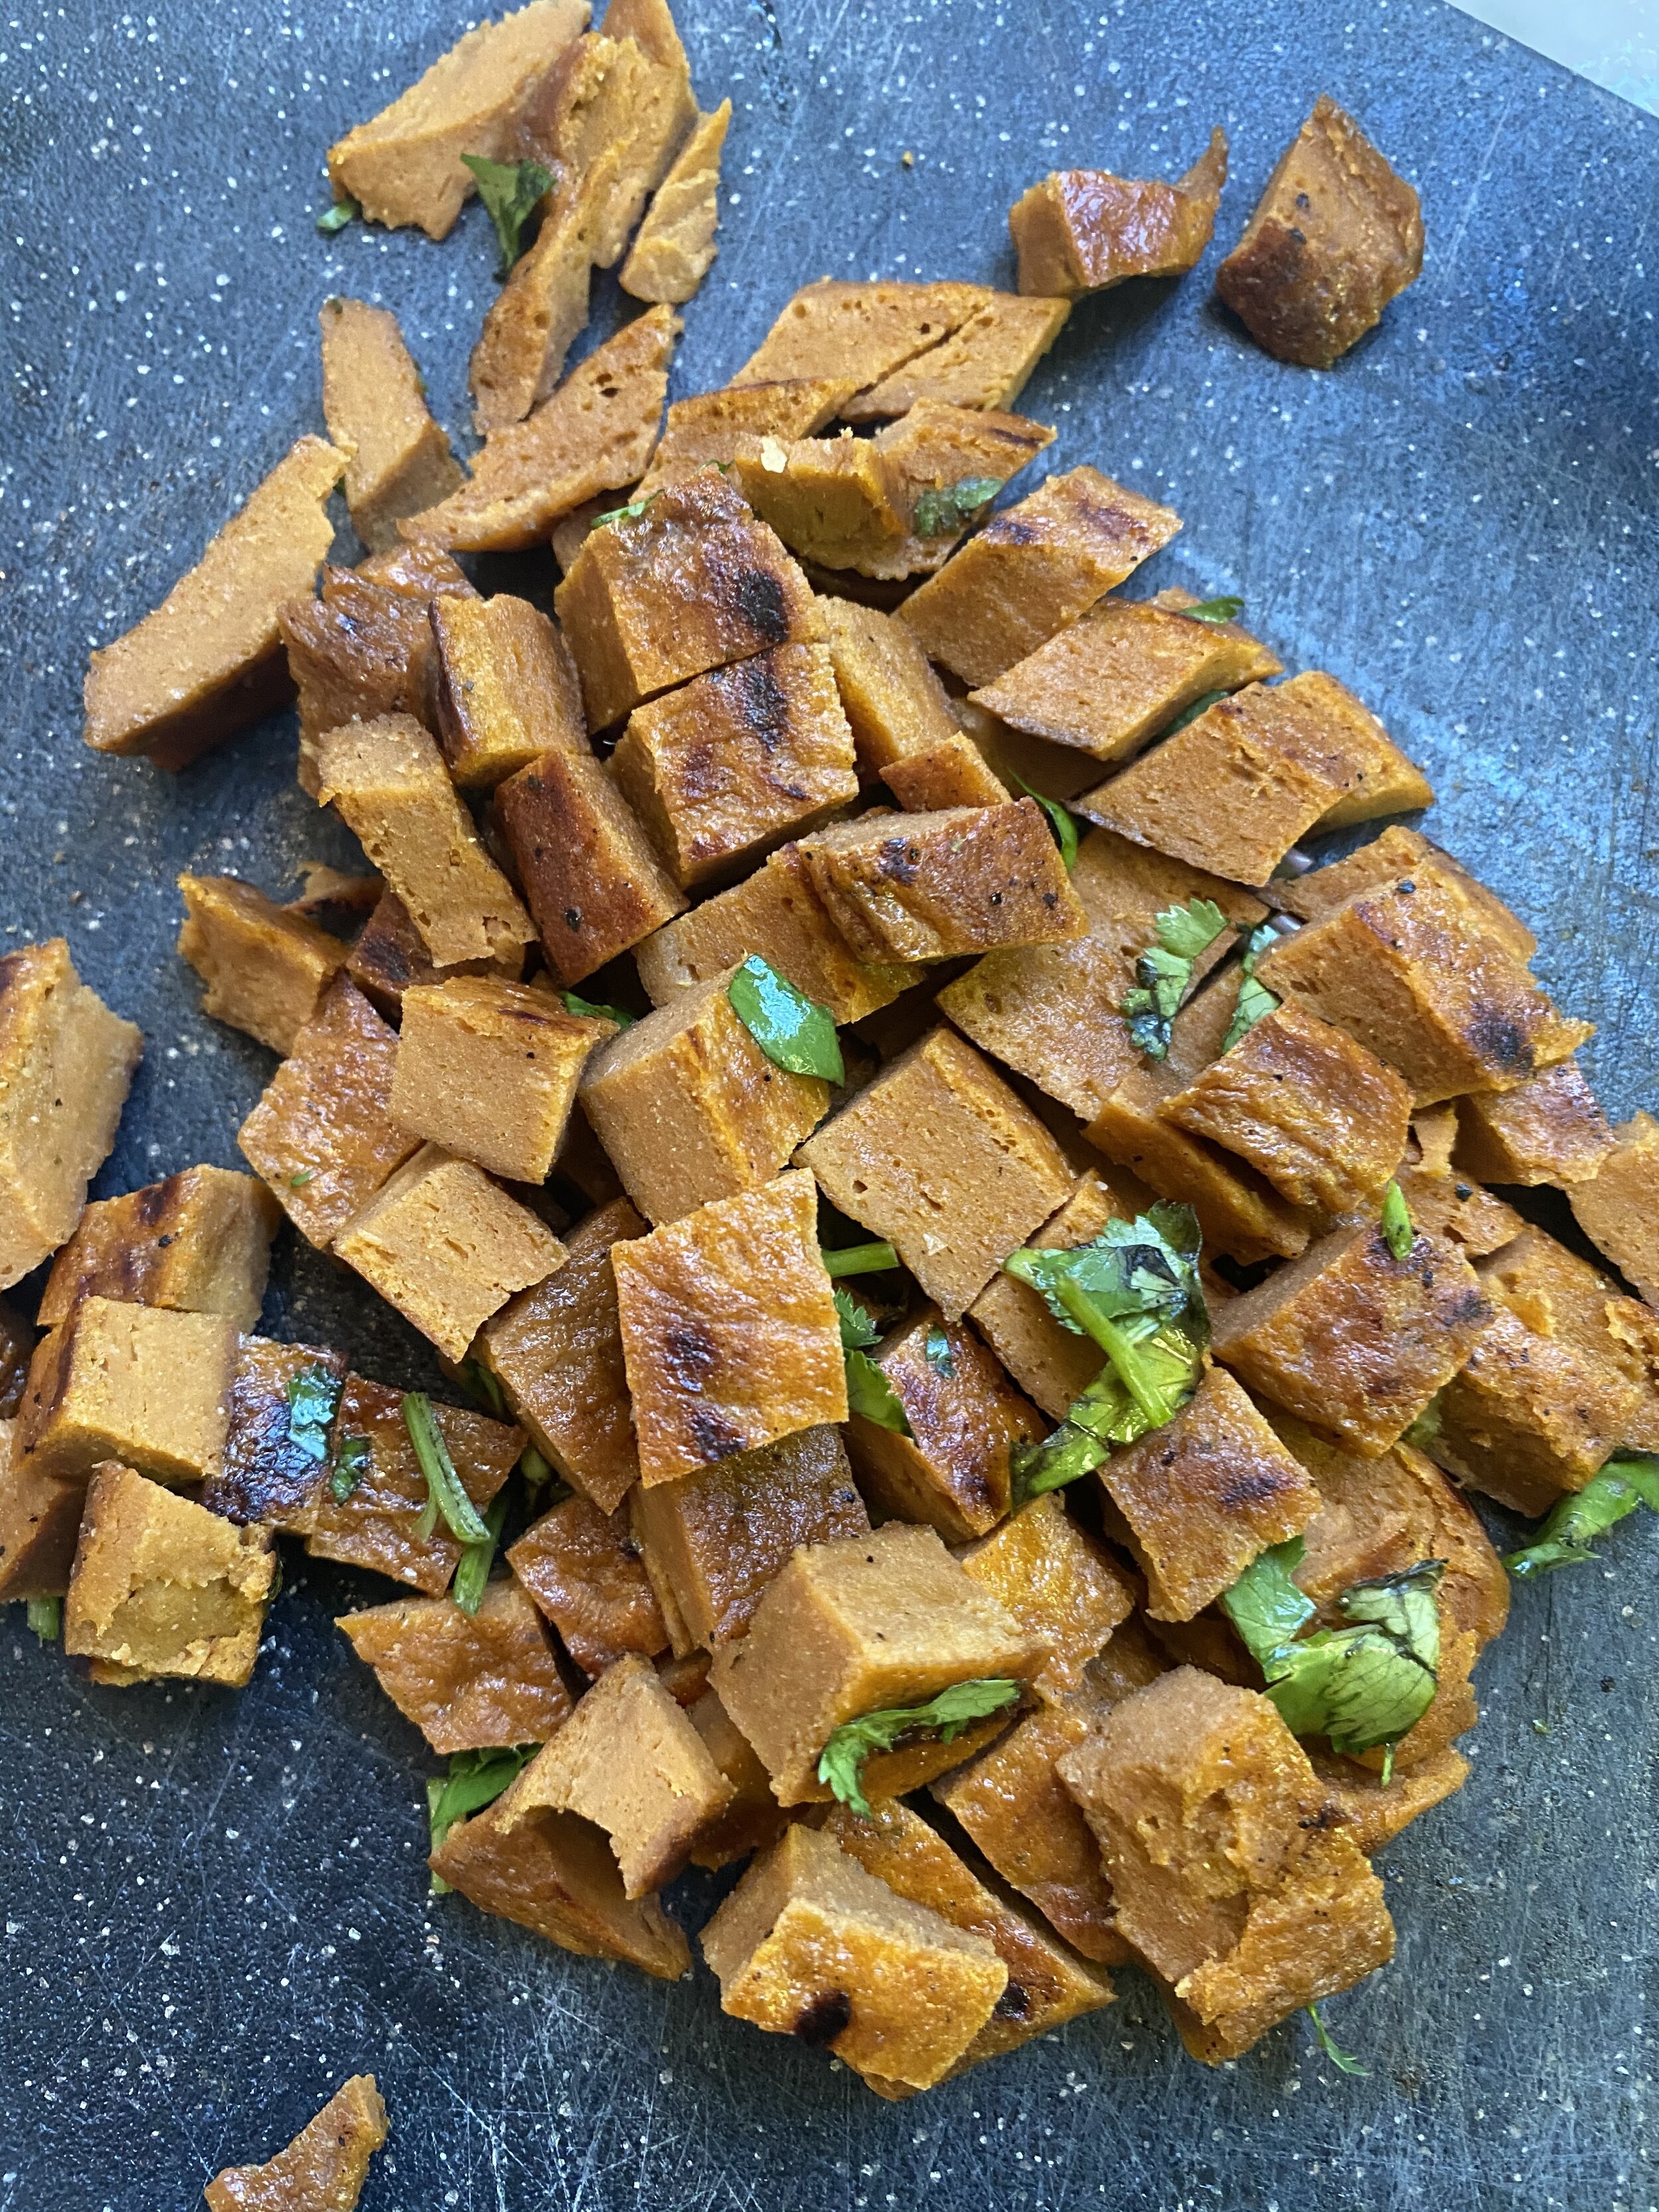
  5. Once the steaks have cooled a bit, slice and cut into small bitesize cubes.

  6. Scoop 2 avocados out of the peal and into a bowl. Mash with a fork. Sprinkle salt and add the juice from one lime. Mix it all up.

  7. Top the fries with the vegan carne asada, queso, guac, vegan sour cream, diced tomatoes, onion, and extra cilantro to serve.

If you like this recipe, then try these:
vegan flank steak

vegan flank steak

Vegan Flank Steak

vegan flank steak

vegan flank steak

Often I find myself waning to make vegan versions of old steak recipes I used to love.

Things like steak fajitas, steak and cheese quesadillas, steak tacos, and even beef pot pies.

In order to recreate these classic recipes I needed to make an easy all purpose “steak” that could be used in a variety of ways.

I opted to try my hand at a vegan flank steak because that way I could form it thin so it would cook quickly, and the rest time would be fairly short.

If you have tried my recipe for vegan baked chicken breast, this recipe is sort of the same. A quick and easy seitan recipe that freezes well and can be used in a variety of recipes.

If this is your first go at seitan, trust me when I tell you this recipes is EASY. Like so easy. Mix the dough up, form into a steak shape, bake for half an hour, and let rest. So, So, So easy, y’all!

I used super firm tofu and I explain why below. Please read the notes concerning your tofu choice and also trust me when I tell you if you can find super firm, it is your best option!

As a new addition for flavor in this recipe is used store bought sofrito. You can find sofrito in the Hispanic grocery isle in your local grocery store, or google a recipe to make your own. If you are not familiar with sofrito, it is basically a blend of vegetable herbs and spices used to flavor various dishes. It’s so good in so many recipes and worth including as a fridge staple to add a quick and easy punch of flavor to lots of dishes.

Please read the label…this is another example of thinking something is vegan that may not be. I originally googled Goya brand and read it was vegan. I bought AND used this brand for a while without reading the tiny print on the label. Later I was told it is in fact not vegan and contains pork. To say I was upset is an understatement.

I also apologize for my first version of the recipe stating I used a brand that is in fact NOT vegan.

Otherwise this recipe is pretty straightforward, basic, and tasty.

Making your own seitan at home will save you so much money over buying frozen pre-made seitan. It is easier than most people think and actually pretty healthy .

Vital wheat gluten has a good amount of protein per serving, as much as lean chicken, and using the super firm higher protein tofu adds even more protein to this flank steak recipe. Seitan is low calorie as well. So unless you have a wheat intolerance, seitan makes a great protein source or vegans and vegetarians.

So go forth and make vegan flank steak without fuss or worry you will mess it up. You probably won’t. And then go and make all those steak dishes you may have been missing!

Did somebody say steak fajitas!!!

vegan flank steak

vegan flank steak

INGREDIENTS:

  • 16 oz super firm tofu (the kind that is vacuum sealed not in a tray of water)

  • 1 cup vital wheat gluten

  • 2 tablespoons tomato paste

  • 3 tablespoons sofrito, tomato cooking base (make sure the brand is vegan, I used Goya at first because the internet said their products are vegan, then learned they are NOT)

  • 1/4 cup nutritional yeast

  • 1/4 cup corn or tapioca starch

  • 1 tablespoon No Beef, or Vegetable Better Than Bouillon

  • 1 teaspoon black pepper

  • 2 teaspoons minced garlic

  • 2 teaspoons onion powder

  • 2 tablespoons nurtural flavored oil

  • 1 -2 teaspoons liquid smoke

  • any all purpose seasoning you like for coating

***I use SUPER FIRM tofu in this recipe. The kinds that is high protein and vacuum sealed in very little water. This makes a big difference in the texture of this flank steak vs using even extra firm tofu. If you opt to use extra firm tofu you will need to press the tofu very well before using, making sure to remove as much water as possible.

INSTRUCTIONS:

Preheat oven to 350 degrees

  1. Break up the tofu and place it into a food processor with the regular metal blade. Run the processor for around a minute until the tofu is broken down.

  2. Add all of the remaining ingredients (just not the all purpose seasoning for coating ) and let the food processor run for a couple of minutes. You want the mixture to form a dough. Letting the processor run will help knead the dough. We want this seitan to be firm so we need it to knead for a bit.

  3. Once you have a smooth but firm dough, remove it from the food processor and place on a clean counter. Knead the dough with your hands for about a minute, Press the dough out into a large oval about 1/4 inch thick.

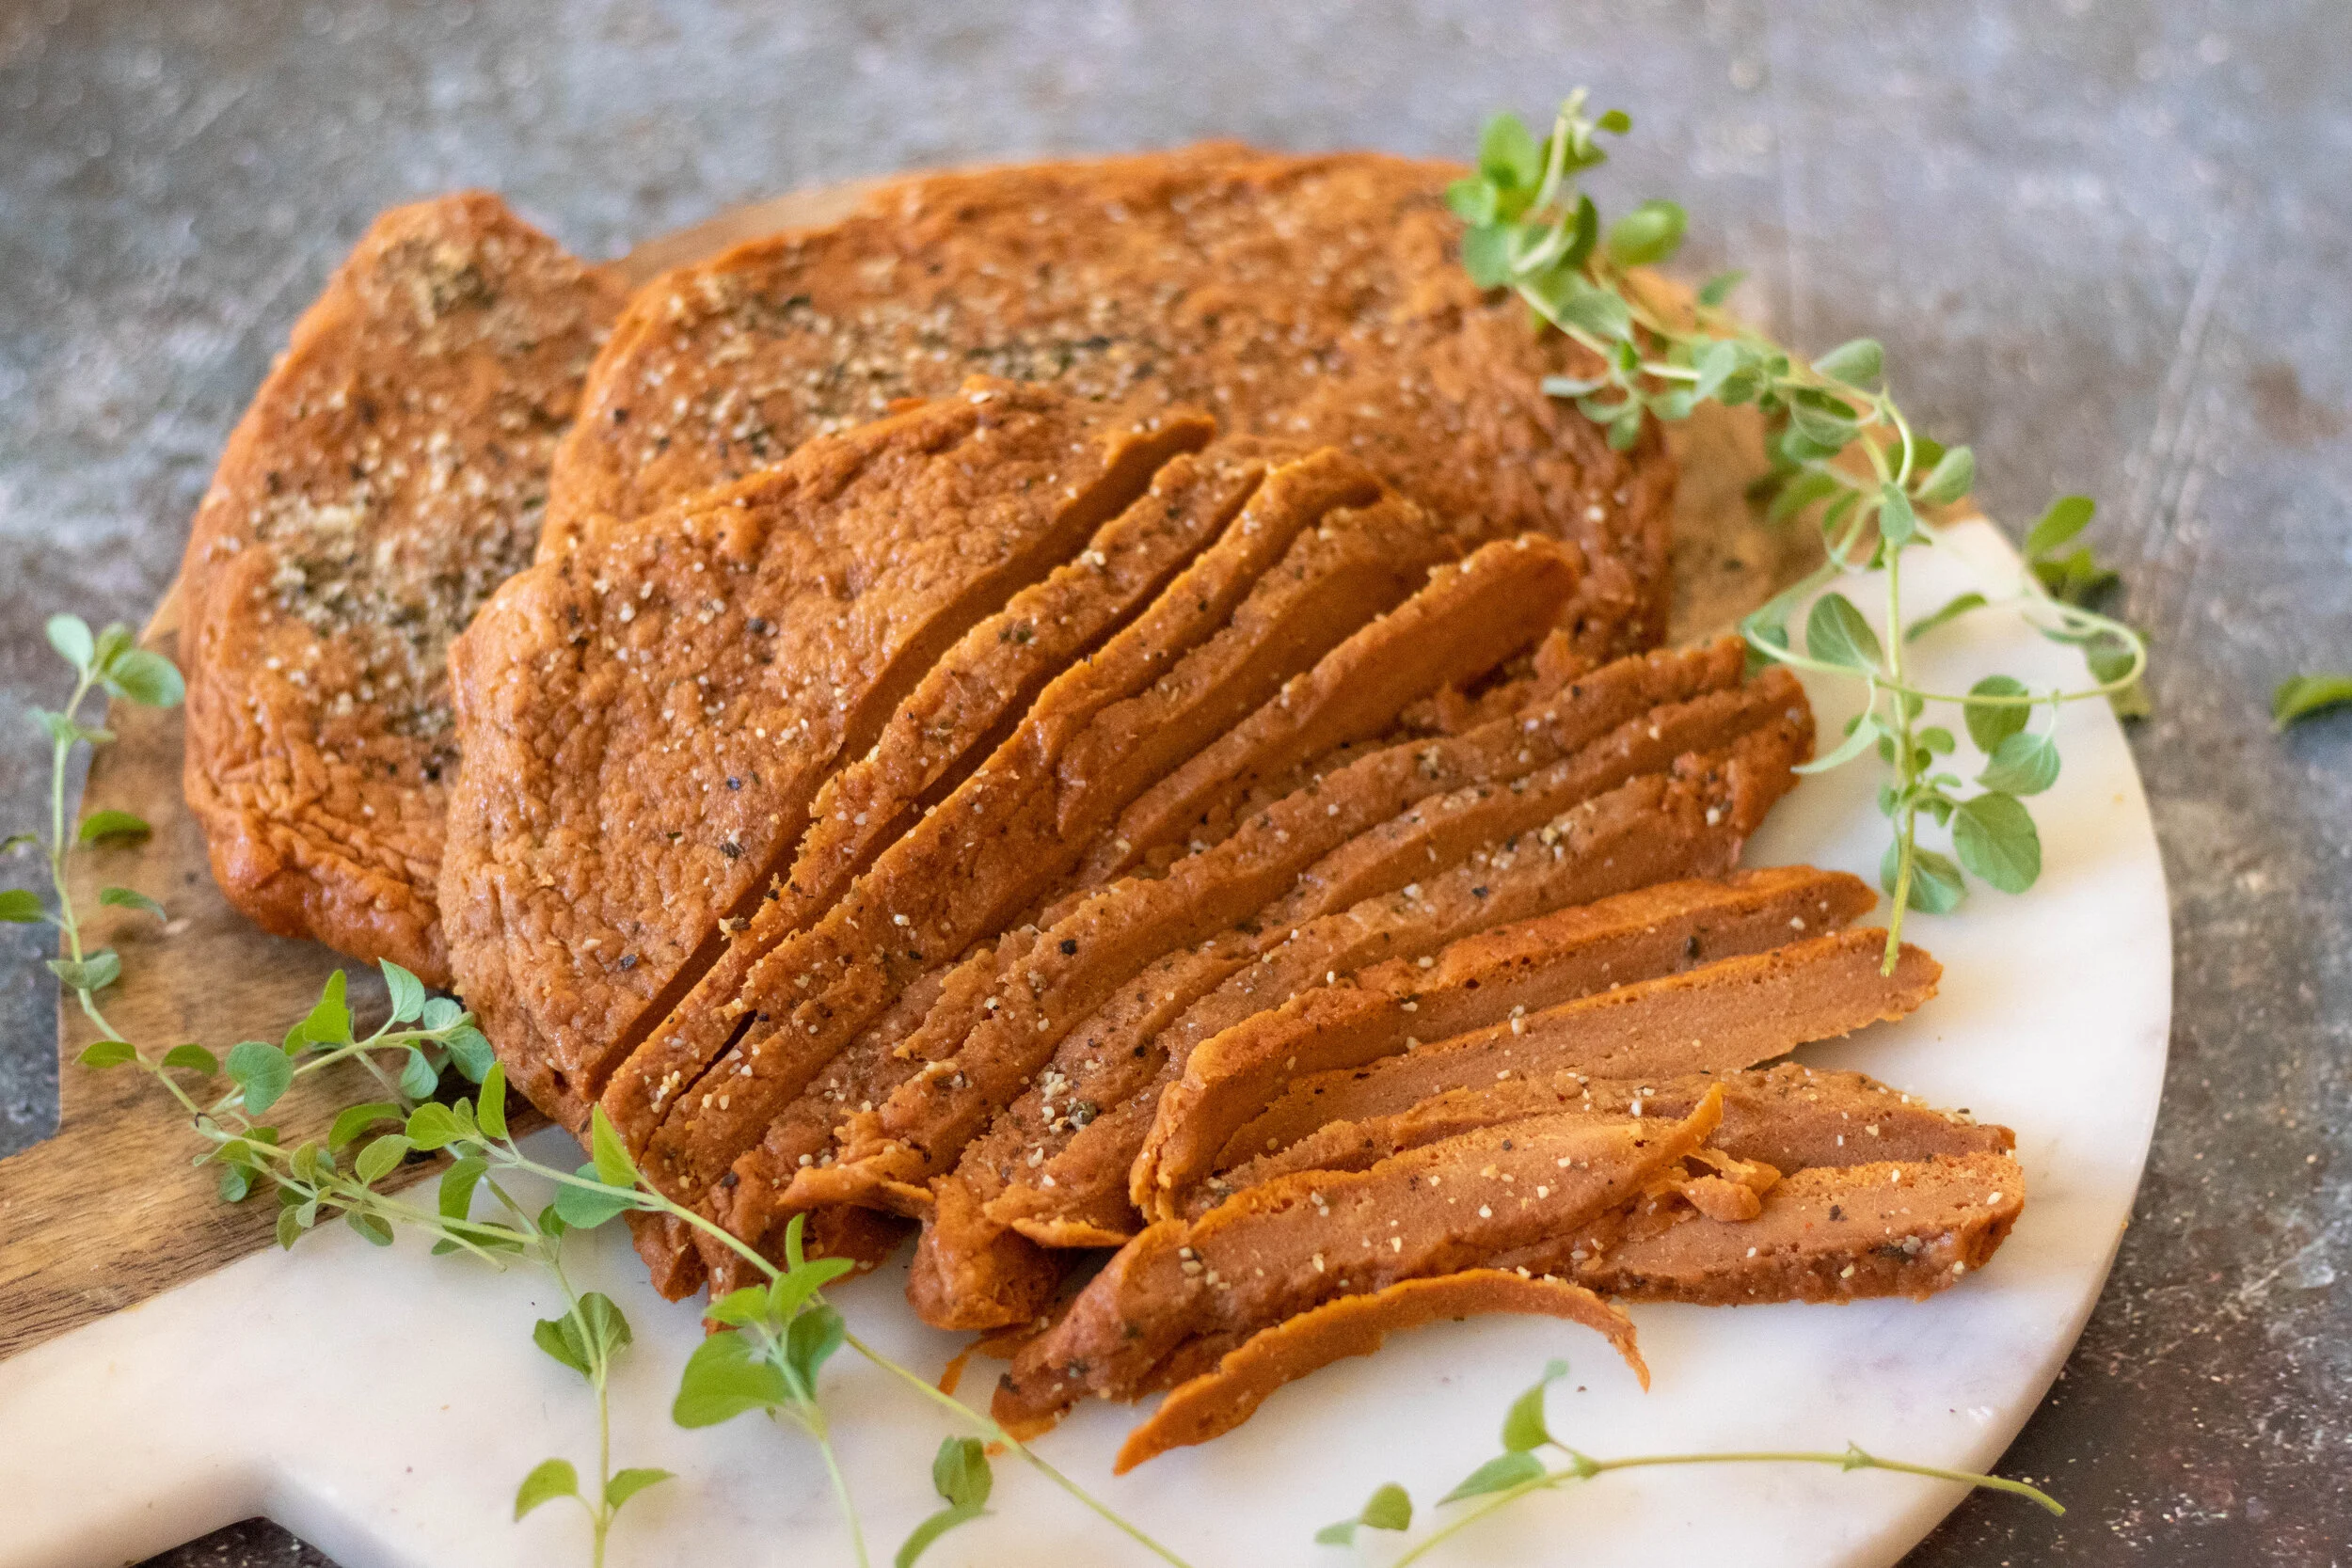
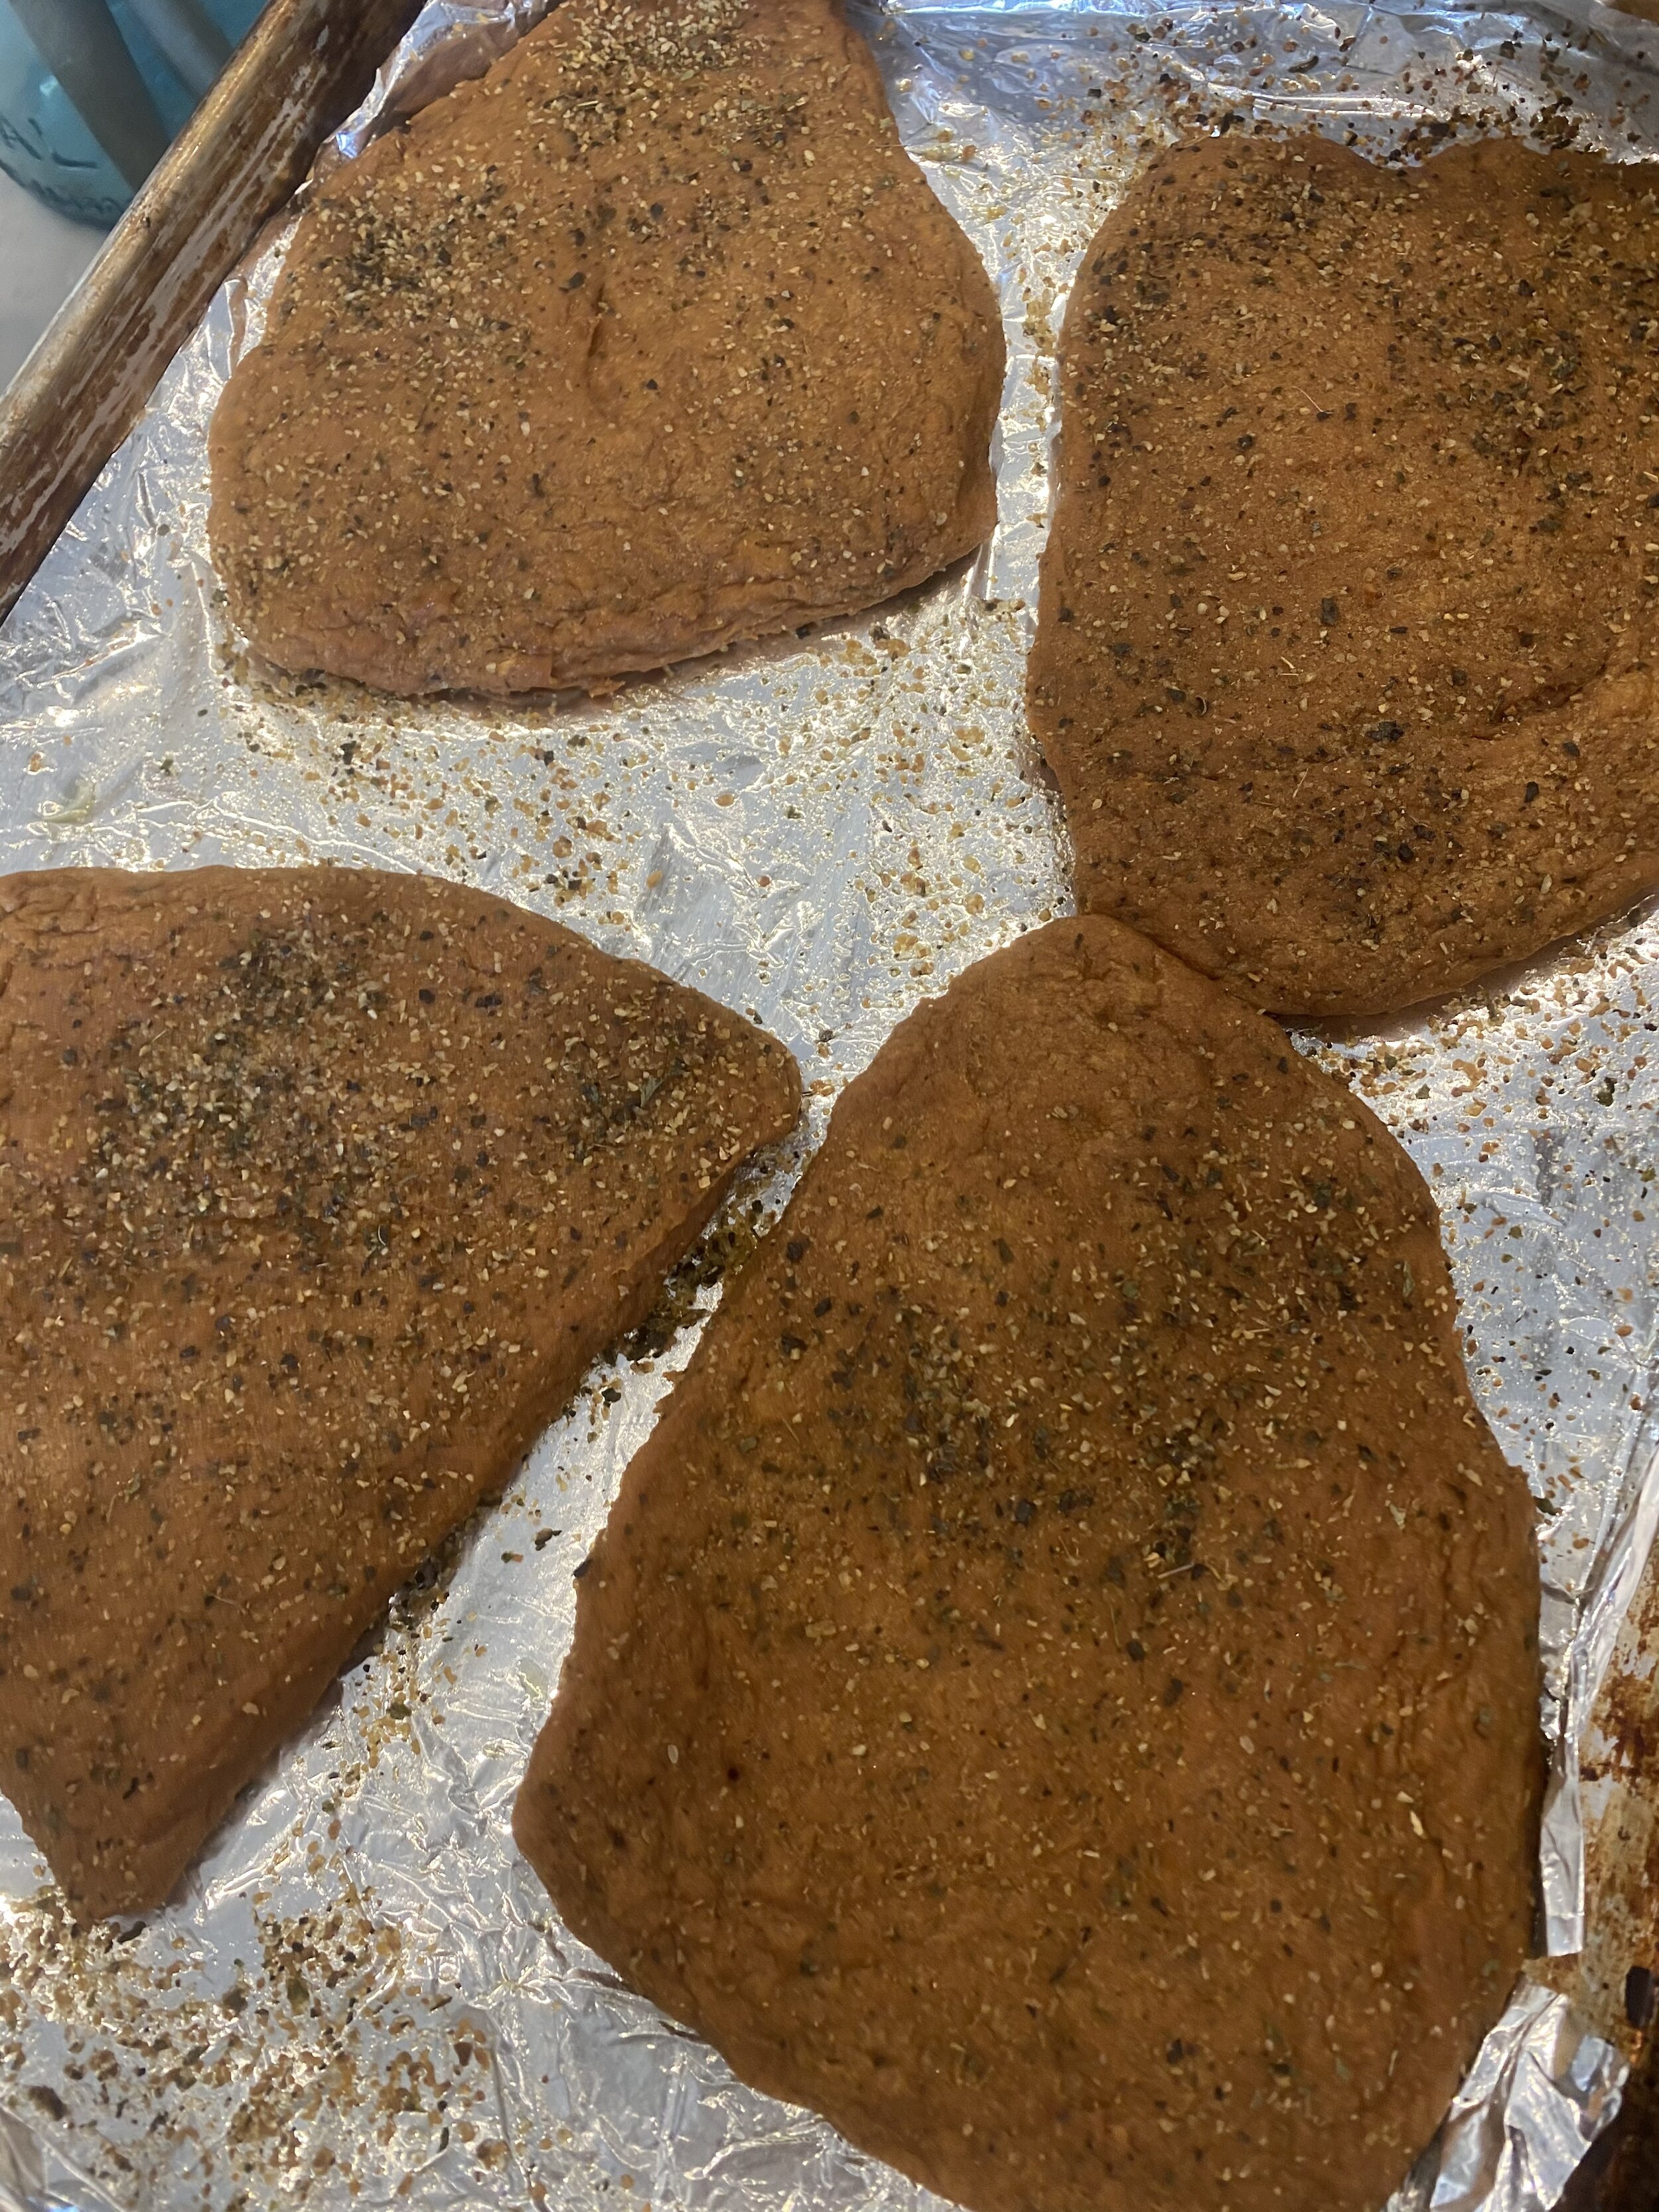
  4. Cut the dough into 4 pieces and sort of shape them into a flank “steak” like shape. (see photo above)

  5. Spray a cookie sheet with some oil or line it with aluminum foil and spray the foil. Place the “steaks” on the pan and spray the tops with some oil as well. Give them a generous sprinkle with whatever all purpose seasoning you like.

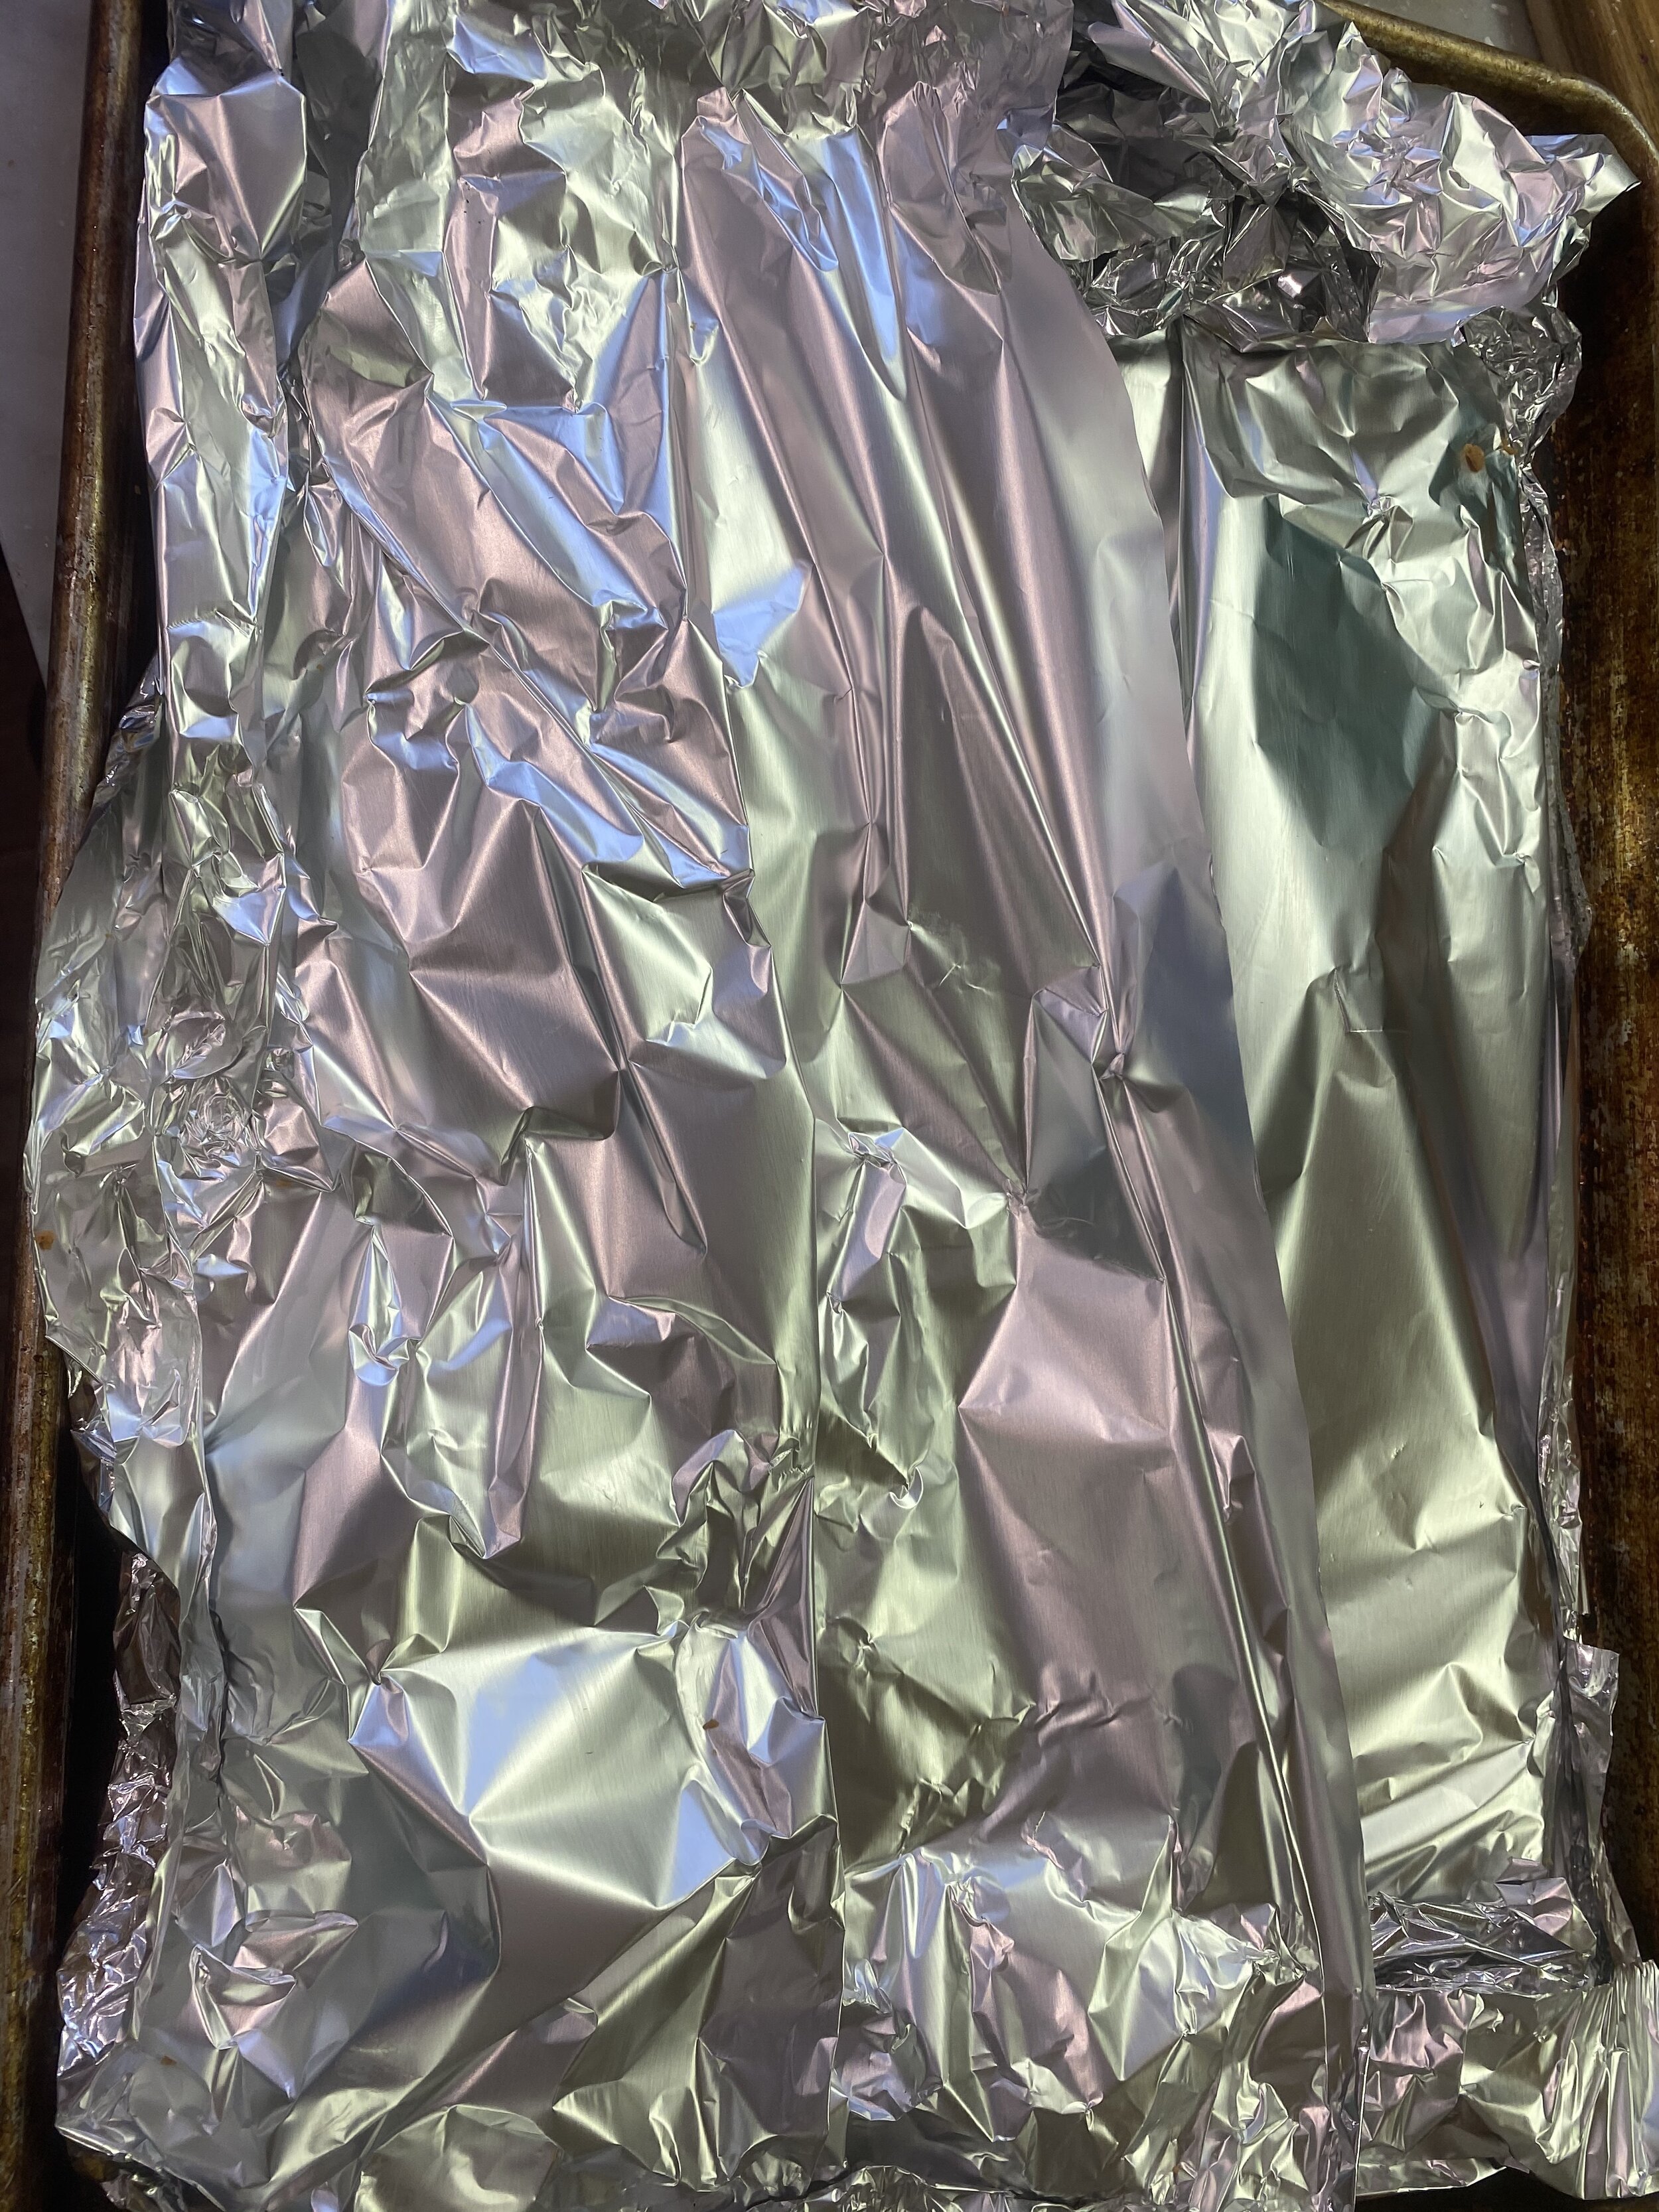
  6. Cover the baking sheet tightly in another large piece of foil. We do this to allow the seitan to steam inside the pan and not dry out!

  7. Place on a baking sheet in the oven on the middle rack. Bake sealed for 20 minutes. After 20 minutes carefully open up the foil, and continue baking for another 10 minutes.

  8. Remove finished flank “steaks” and let cool at room temp. Seal the foil back up and place the “steaks” in the fridge to rest for at least 6 hours. This step is important to get the texture we are trying achieve. If you try and serve it before it rests it will not be nearly as firm.

  9. You can slice and reheat the streaks in a pan to use for tacos, fajitas, sandwiches. You can grill the steaks or reheat it the oven covered with foil at 350 degrees.

  10. The flank “steaks” can be refrigerated for up to 10 days and frozen for up to 6 months in air tight container or freezer zip lock bag.

If you like this recipe, then try these:
vegan flank steak

vegan flank steak